Applies to:
Reseller Hosting
Difficulty:
Intermediate
Time Needed:
30 minutes
Contents
Introduction
This is a step-by-step walkthrough for cleaning up a hacked WordPress website, on Reseller Hosting.
Although this guide cannot guarantee your site will look exactly as it did prior to being hacked, it will clean your website of all malicious content and ensure it is safe to use again.
Take a Snapshot
Important: We strongly recommend taking a snapshot of your website before starting this guide. Please refer to our guide on ‘How to take a Snapshot‘.
Logging in via SSH
STEP 1
Configure SSH access to your account
Shell access to your account uses the same details as SFTP, so you may need to follow our guide on ‘How to Manage Your SFTP Access Details’, in order to update your password. You will also need to unlock your SFTP account.

STEP 2
Connect to your account using SSH
You will need to connect to your account using SSH in order to access WP-CLI. Exactly how to do this will depend on the operating system that you are using.
Windows
You should use a client such as PuTTY.
Mac OS X
The ssh command is available from Terminal (Applications > Utilities > Terminal).
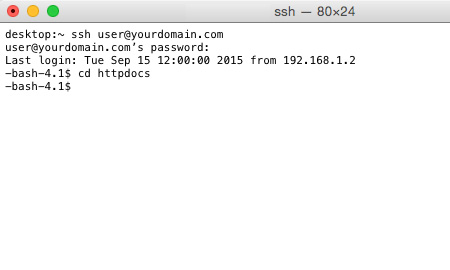
To connect, you should access your account with your SFTP username. In this example, the username is ‘user’.
Once connected, you will need to change directory into httpdocs, by typing the following:
cd httpdocs
Preparing your site for cleaning
STEP 1
List the active plugins
After you have logged into your site via SSH, you will be in the /httpdocs directory of your website.
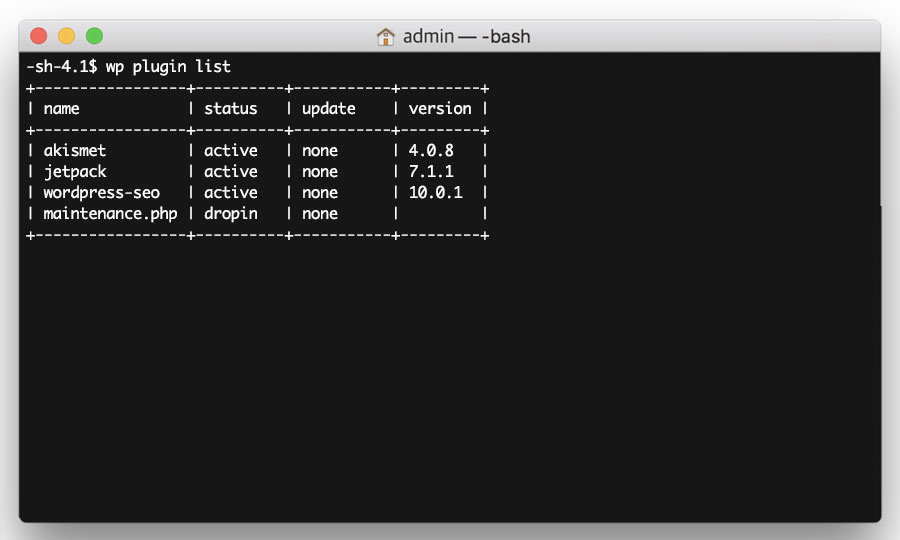
To produce a list of the plugins installed on your website, enter the following command:
wp plugin list
Then make a list of your active plugins in a text file (such as Notepad or TextEdit), as you will need these later on.
STEP 2
List the active theme
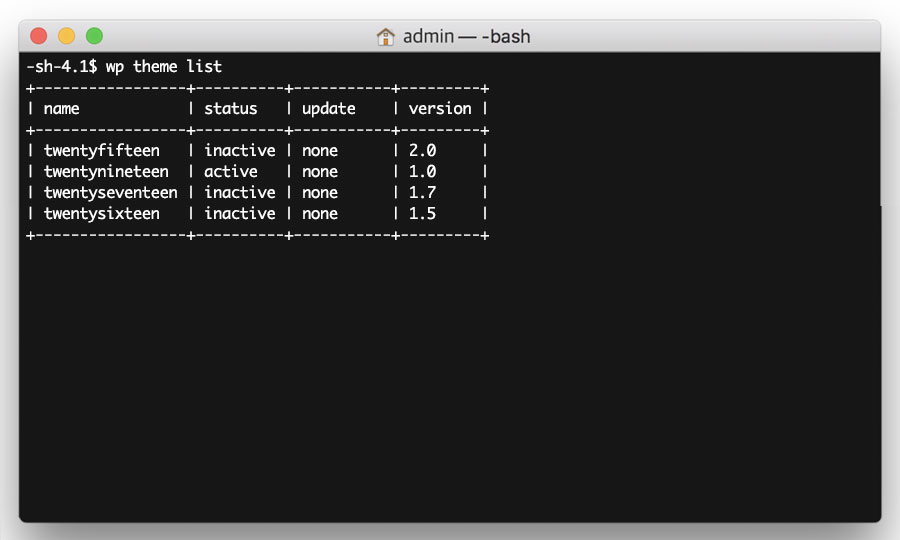
You then need to list your active theme, which you can do by running the following command:
wp theme list
Again, make a note of your active theme name in a text file (such as Notepad or TextEdit), as you will need this later on.
STEP 3
Export the website content
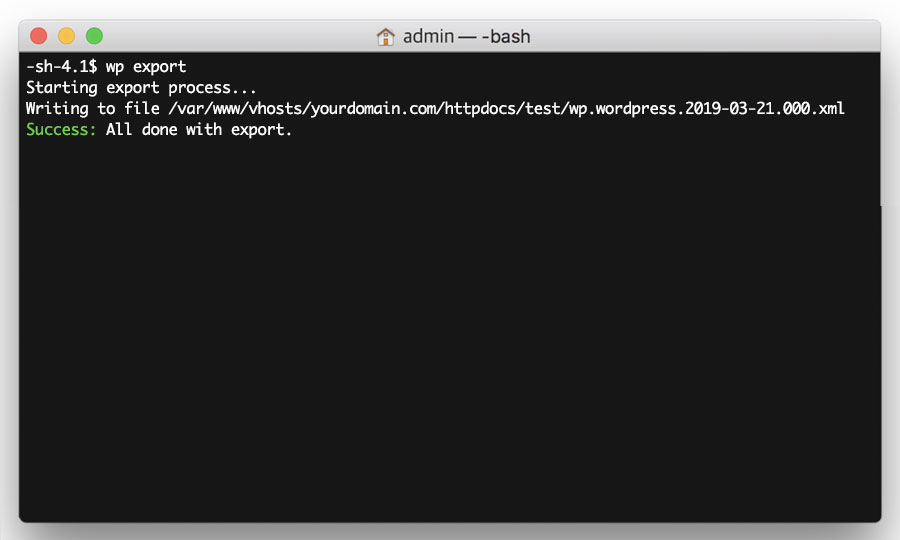
Next, you need to export your website’s content (posts, pages etc). To do this, run the following command:
wp export
This will generate an XML file that you will need later on. Copy and paste the path of the file (i.e. /var/www/vhosts/mydomain.com/httpdocs/sitename.wordpress.2019-03-06.000.xml) into a text file (such as Notepad or TextEdit).
Isolating the hacked content
STEP 1
Go to the parent directory
Now you have all the information you need from your hacked website. The next step is to isolate the hacked content, by renaming the /httpdocs directory.
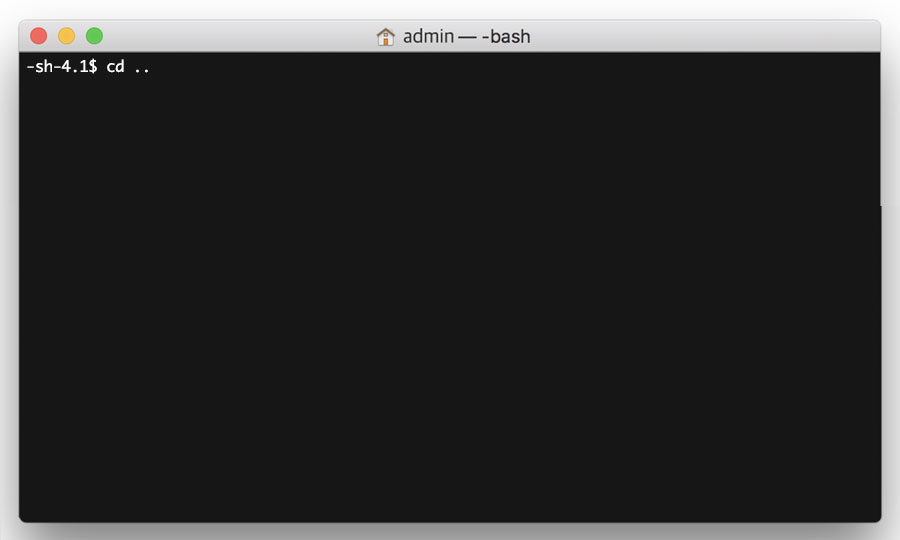
Firstly, go to the parent directory with the following command:
cd ..
STEP 2
Rename your /httpdocs directory
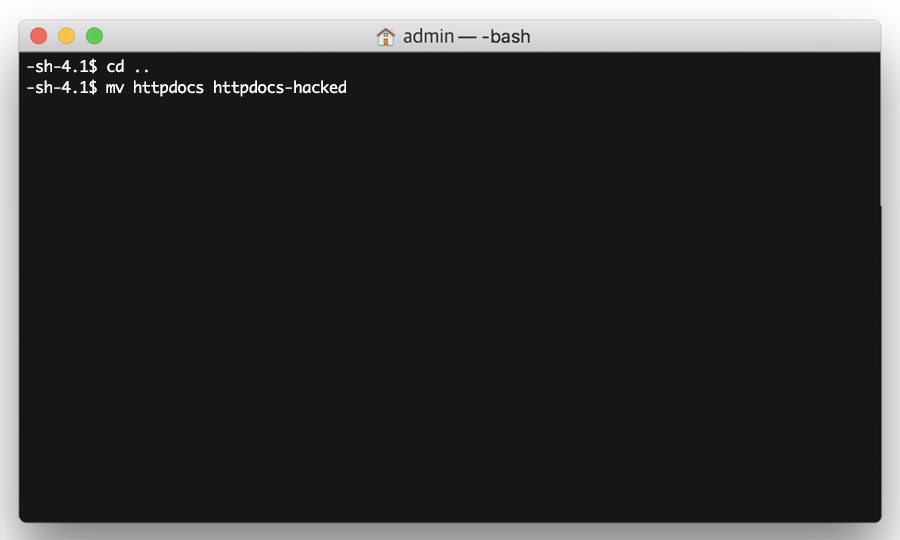
Then rename the /httpdocs directory with the following command:
mv httpdocs httpdocs-hacked
STEP 3
Create a new /httpdocs directory
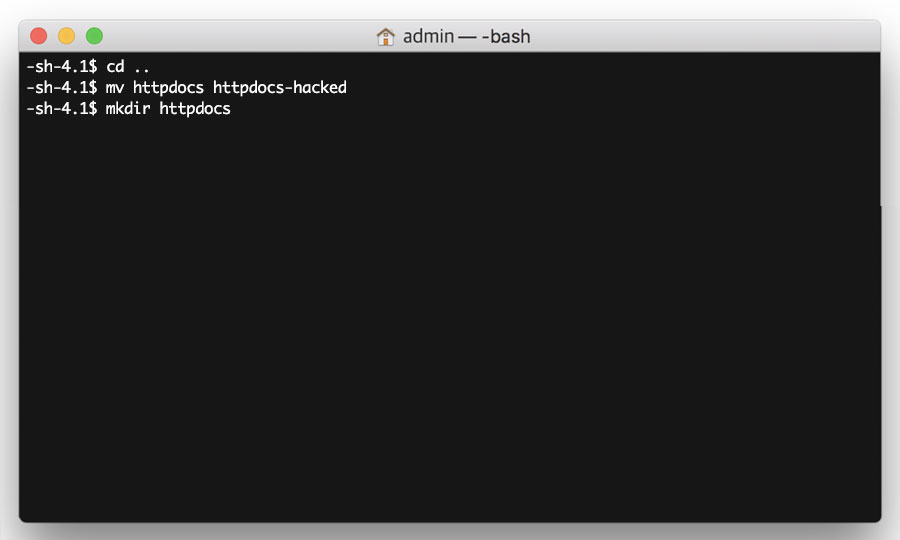
Now create a brand new /httpdocs directory with the following command:
mkdir httpdocs
Setting up a new WordPress installation
STEP 1
Login to your account
Firstly, you’ll need to login to your 34SP.com account at https://account.34sp.com.
STEP 2
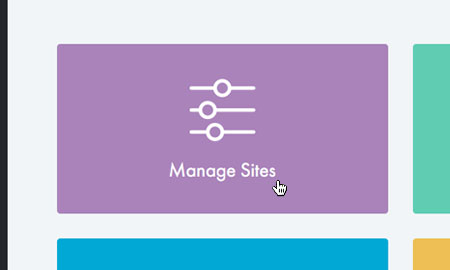
Choose ‘Manage Websites’
Once you have logged in, click on the ‘Manage Sites’ icon.
STEP 3
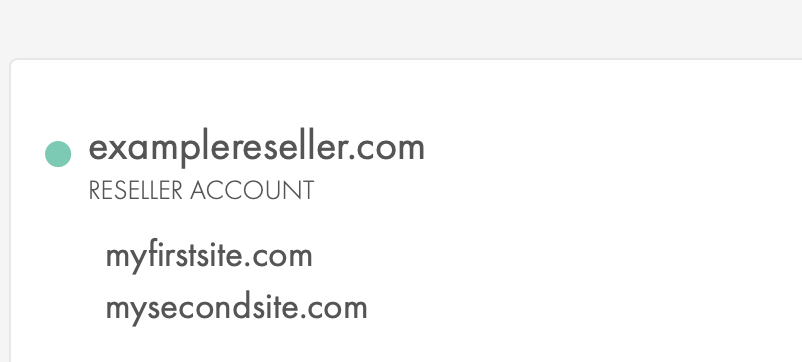
Choose your Reseller account
From the ‘Manage sites’ menu, select the site you are working on from the list of Reseller websites.
STEP 4
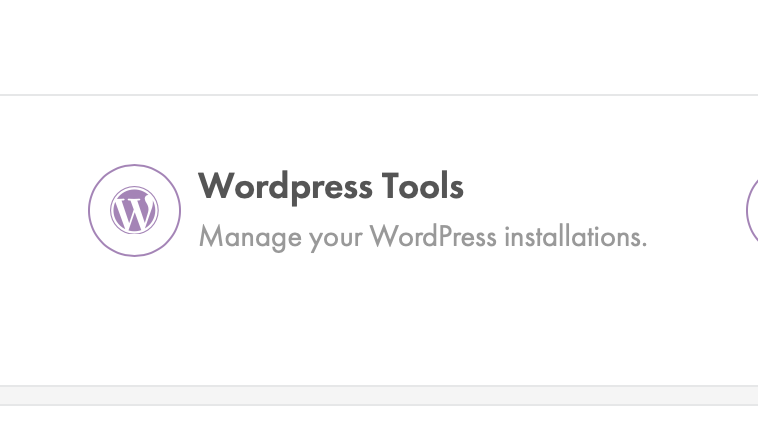
Select ‘WordPress Tools’
From the list of available site options select ‘WordPress Tools’.
STEP 5
Install WordPress
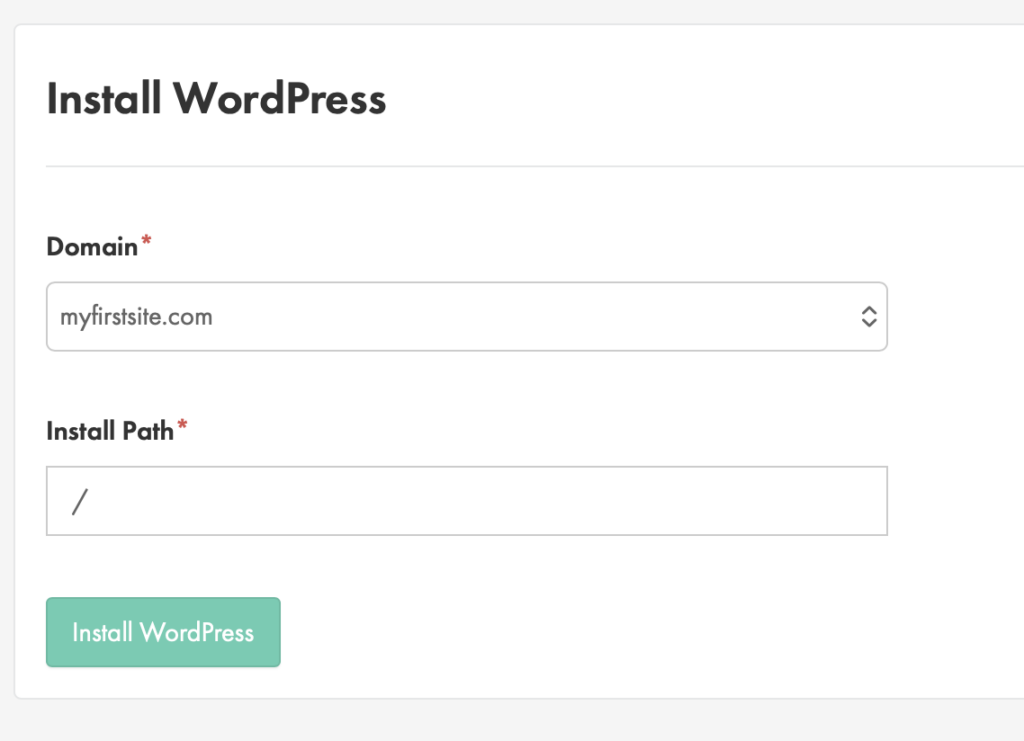
You now need to install a new version of WordPress to your newly created /httpdocs directory.
Click ‘Install WordPress’ and start the installation process, ensuring that the installation path matches the path of your new clean directory.
Run the installer and this will set up a brand new WordPress installation to your site’s directory.
STEP 6
Check your uploads
Before you can start transferring data from your hacked site to your new one, you need to scan your uploads directory for any malicious content. To do this, you will need to manually check the uploads folder for any file types that should not be there.
This usually means any .php or .exe files but can extend to other file types. Uploads will typically only hold image, text, and cached css files, but depending on your plugins there can be other safe file types.
To access your uploads you can step in to it using the following command:
cd httpdocs-hacked/wp-content/uploads
Please note: If you are not confident checking and cleaning this directory using SSH you can do it manually by downloading your snapshot and cleaning the uploads folder on your PC, then upload it using SFTP.
STEP 7
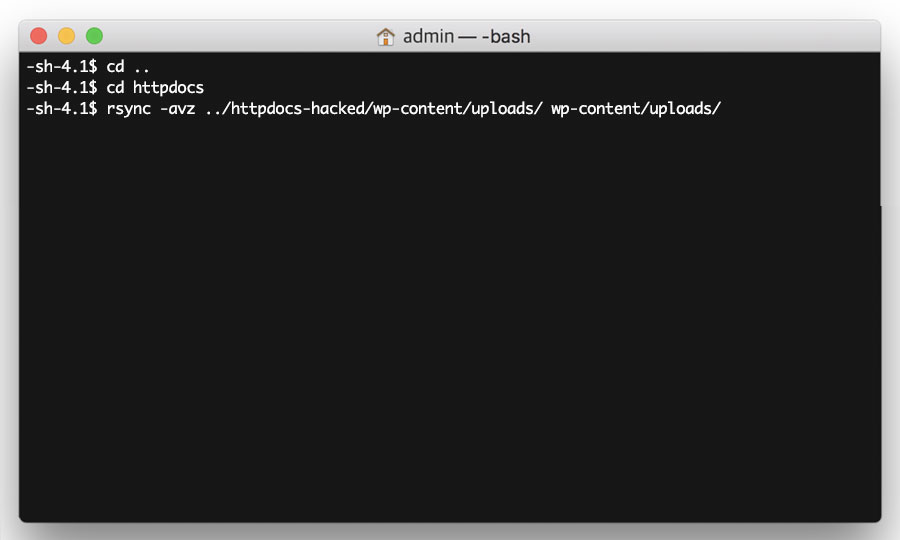
Sync your uploads
Now go to the parent directory again, with the following command:
cd ..
Then go to your new /httpdocs directory with the following command:
cd httpdocs
Then sync your old uploads directory with your new uploads directory, with the following command:
rsync -avz ../httpdocs-hacked/wp-content/uploads/ wp-content/uploads/
Please note: If WordPress is installed in a subdirectory, either on your hacked site or your new install, you will need to update the rsync path accordingly.
STEP 8
Install ‘WordPress Importer’ plugin
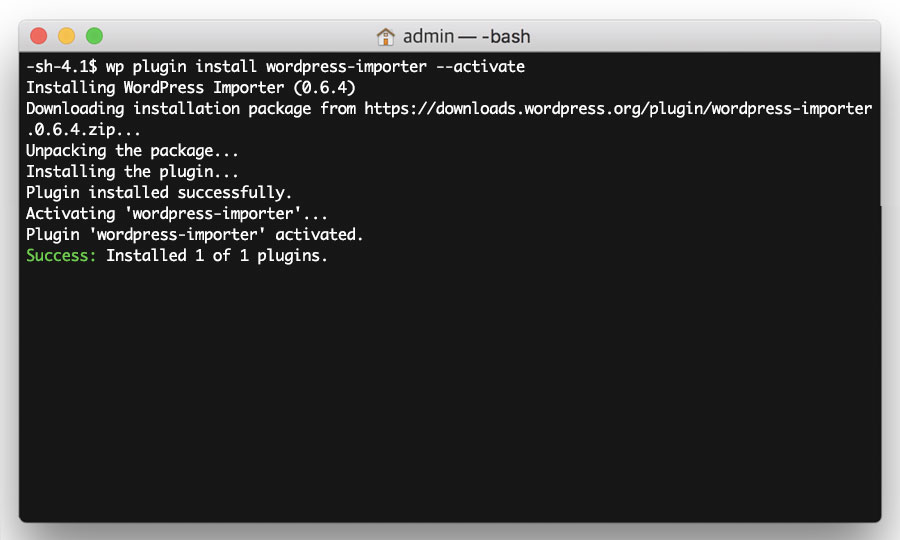
Next, you need to install the WordPress Importer plugin, so that you can import the content from your hacked site into your new WordPress installation.
To do this, simply enter the following command.
wp plugin install wordpress-importer --activate
STEP 5
Install your plugins
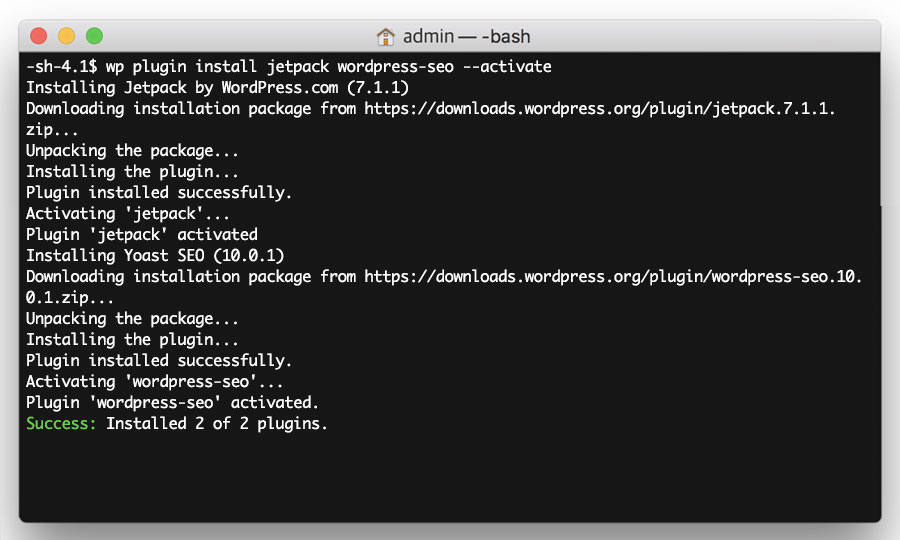
Now install the rest of your plugins, using the list of plugins you generated in Step 1 of the previous section ‘Preparing your site for cleaning’.
Enter the following command, replacing <PLUGIN LIST> with your list of plugins, separated by spaces.
wp plugin install <PLUGIN LIST> --activate
STEP 9
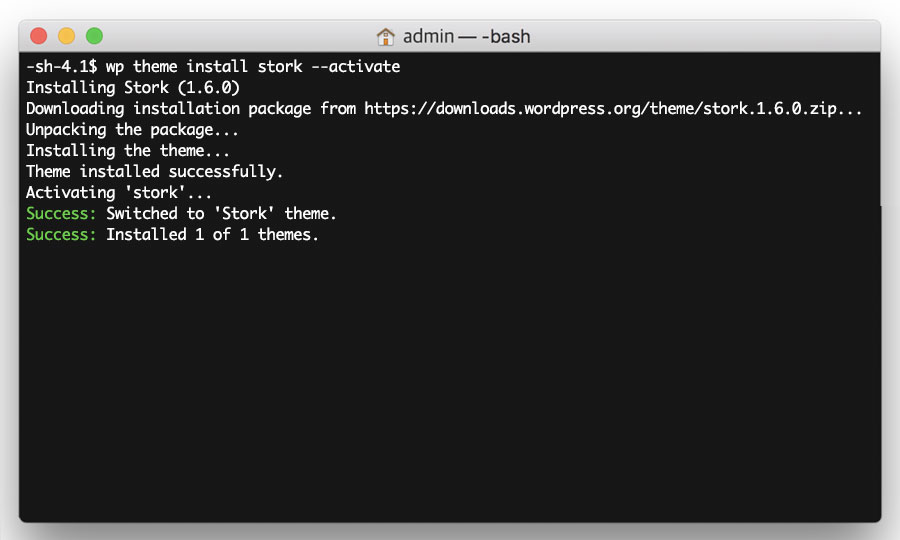
Install your theme
Now install the theme, using theme name generated in Step 2 of the previous section ‘Preparing your site for cleaning’.
Enter the following command, replacing <THEME NAME> with your theme name.
wp theme install <THEME NAME> --activate
Please note: This step will only work if your theme is in the WordPress repository. If your theme was supplied by a third party (for example, downloaded from a theme website or via a web designer), then you will need to contact them to obtain a new copy.
STEP 10
Import your content
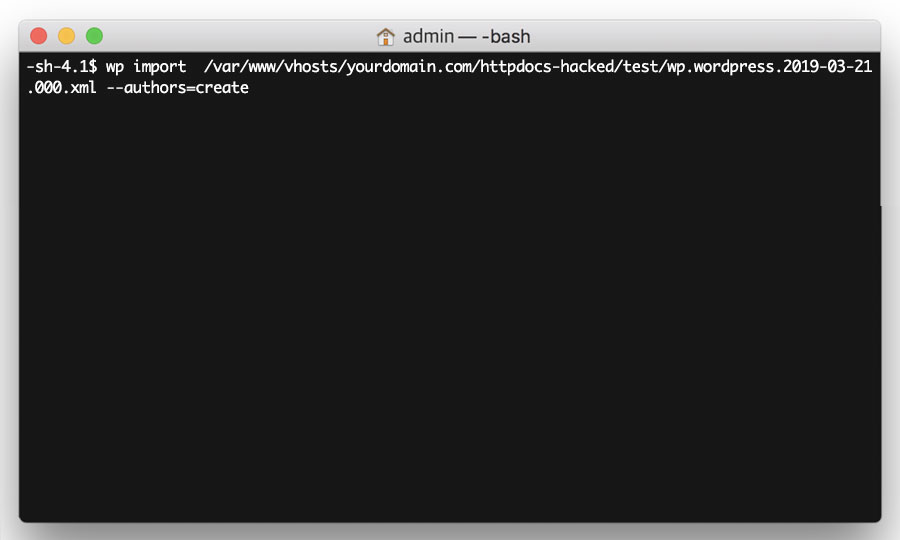
Now import your website content, using the XML file you generated in Step 5 of the previous section ‘Preparing your site for cleaning’.
Firstly, update the httpdocs part of the path to httpdocs-hacked.
For example, if your output reads:
/var/www/vhosts/mydomain.com/httpdocs/sitename.wordpress.2019-03-06.000.xml
Update it to:
/var/www/vhosts/mydomain.com/httpdocs-hacked/sitename.wordpress.2019-03-06.000.xml
Then simply enter the following command, replacing <PATH TO FILE> with the updated path to your file.
wp import <PATH TO FILE> --authors=create
STEP 11
Congratulations!
You’ve completed all the steps to ensure your WordPress site is clean. You now have a new WordPress site, using the same theme, plugins and content your hacked site was using.
You may notice that your website still isn’t looking or behaving exactly as it was prior to the hack. This could be for a number of reasons. For example, if your hacked WordPress website had any custom settings, then these will need updating on your new WordPress install too. This applies to your plugins and theme as well.
If you run into any problems following the above steps, or you have completed the steps but still feel your website is not fully restored, don’t hesitate to contact our support team who will be happy to advise you.