Applies to:
Website Builder
Difficulty:
Easy
Time Needed:
10 minutes
Introduction
This is a quick step-by-step guide to creating a contact form for your website, using Website Builder.
If you have any questions regarding Website Builder, please contact our technical support team.
STEP 1
Login to your account
Firstly, you’ll need to login to your 34SP.com account at https://account.34sp.com.

STEP 2
Choose ‘Manage Sites’
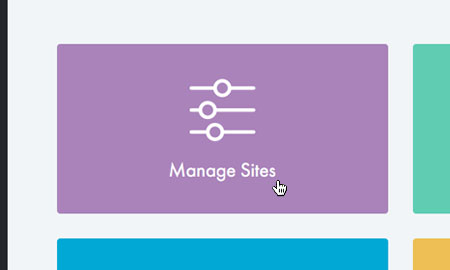
Once you have logged in, click on the ‘Manage Sites’ icon. This will bring up a list of websites or domain names you have in your 34SP.com account. Simply choose the website or domain name to wish to edit by clicking on it.
STEP 3
Login to Website Builder
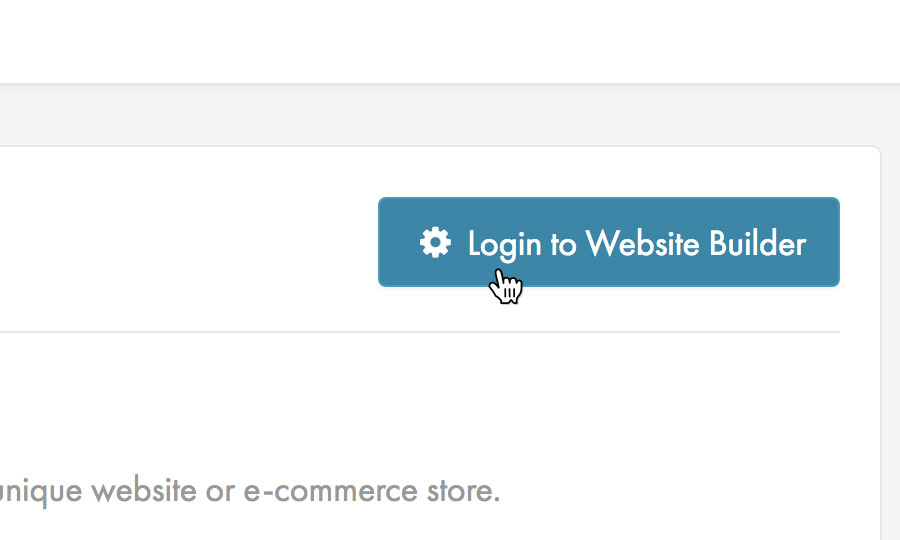
After you have clicked on the website or domain name you wish to edit, simply click on the buttons labelled ‘Login to Website Builder’.
STEP 4
Create a contact form
To create a contact form, locate the ‘Contact Form’ element from the menu on the left-hand side of the screen, and drag it into position on your website.

STEP 5
Customise form elements
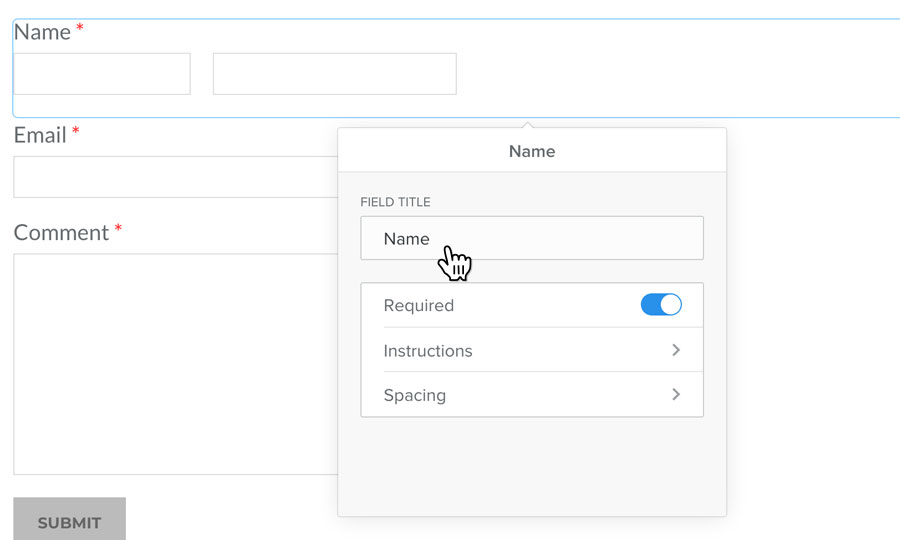
When you create a contact form, Website Builder automatically creates a form with a Name, Email and Comment fields. If you wish you can customise how these fields look, their name, whether they are required fields and also add instruction to help your users.
To customise a form field, simply click on it and choose one of the options from the associated menu.
STEP 6
Add more form elements
Should you wish to, you can add new form elements to your form, including text boxes, dropdown boxes, option buttons and checkboxes.
To add a new form element, just locate the type of form element you wish to add from the left-hand menu, then click and drag it into position. After you have added your form element, you can edit it by clicking on it.

STEP 7
Form options
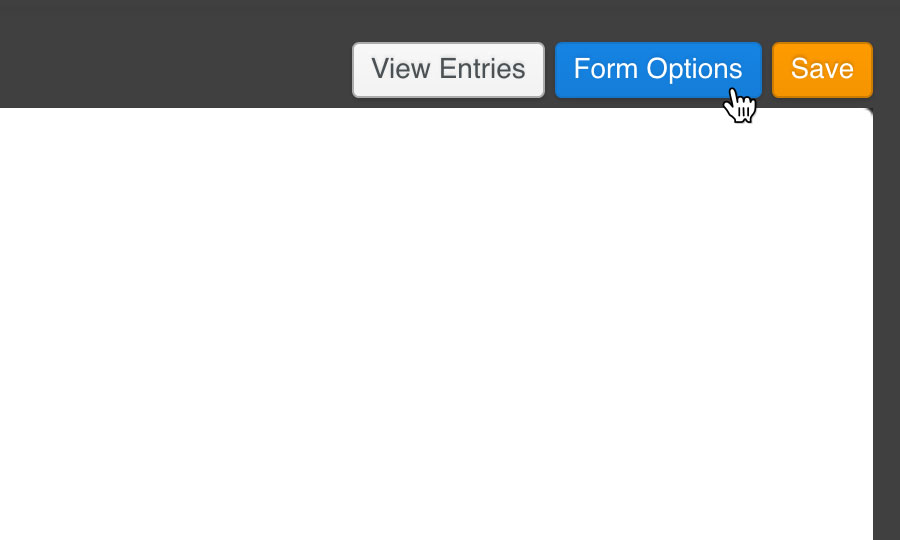
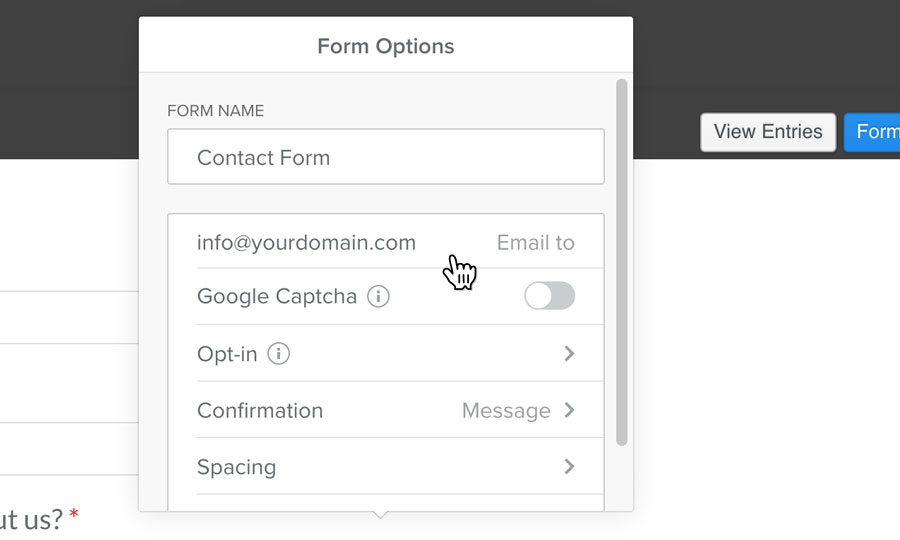
When you are satisfied with your form elements, you can customise your form’s behaviour by clicking on the button labelled ‘Form Options’.
STEP 8
Customise form behaviour
Using the form options menu, you can customise your forms behaviour. This includes specifying an email address the form submissions are sent too, the message your website visitors see after they have submitted your form, the ability to add Captcha (to reduce form spam) and options for controlling opt-ins.
STEP 9
Save your form
When you have finished building your form, click the button labelled ‘Save’ to save your changes.

STEP 10
Publishing your site
To publish your changes to your live website, simply click the ‘Publish’ button, located in the top right-hand corner.
