Applies to:
Reseller Hosting
Difficulty:
Easy
Time Needed:
5 minutes
Introduction
This is a quick step-by-step walkthrough for enabling website statistics on a Reseller Hosting account, via the Plesk Onyx control panel.
Please note: This KB article is for Reseller Hosting accounts purchased after December 2014.
Enable Web Statistics in Plesk Onyx
STEP 1
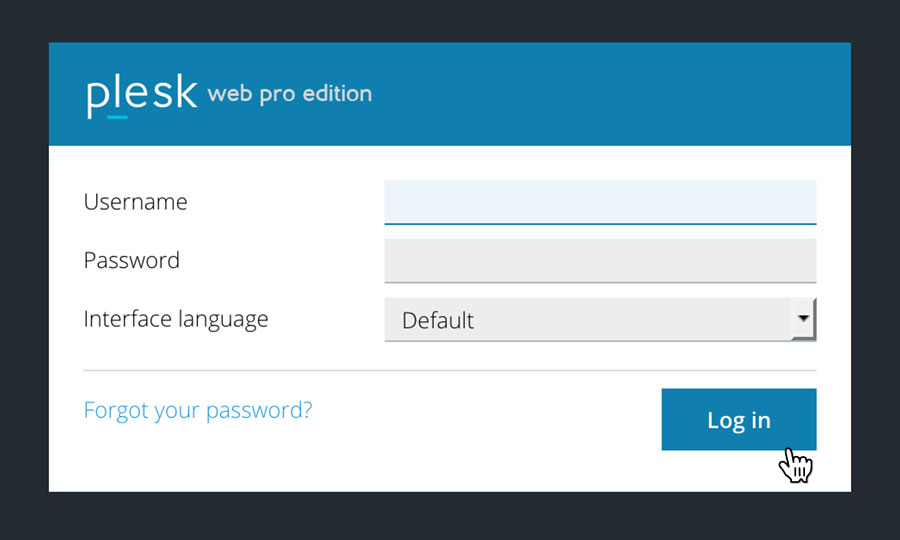
Login to your account
Firstly you’ll need to login to your Plesk 12.5 control panel, which will be at a URL similar to https://your_server_number.xenserve.com:8443/
STEP 2
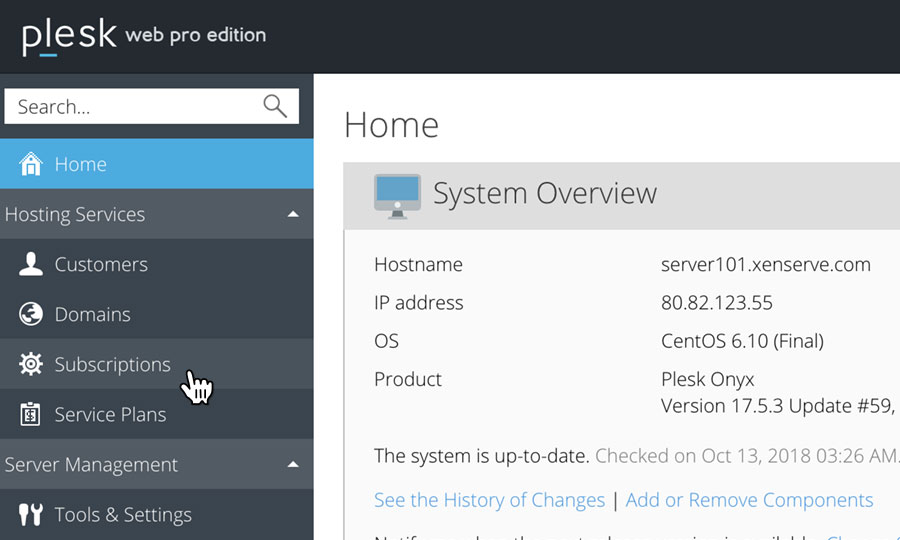
Choose ‘Subscriptions’
Once you have logged in, click on the ‘Subscriptions’ option, in the left hand menu.
STEP 3
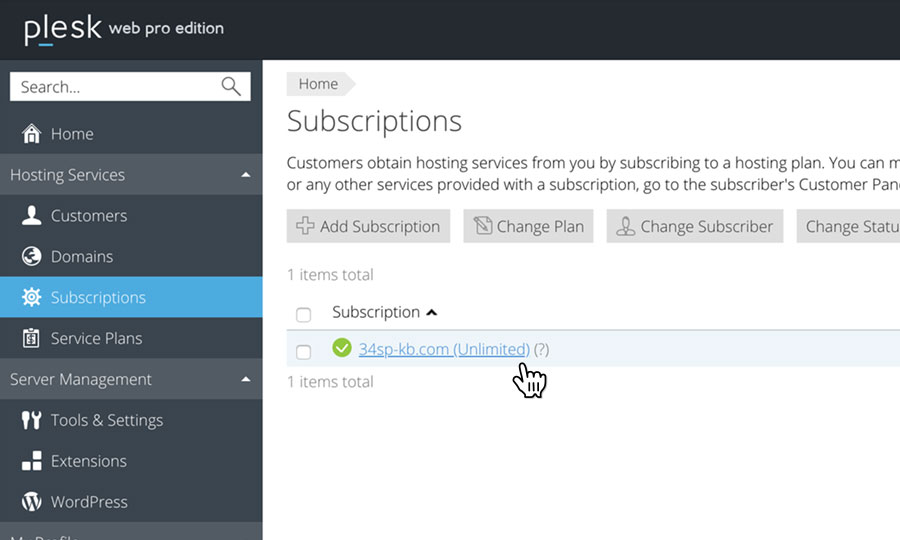
Choose Your Site
This will bring up a list of websites you have on your Reseller Hosting account.
Locate the domain name you wish to access, then simply click on it.
STEP 4
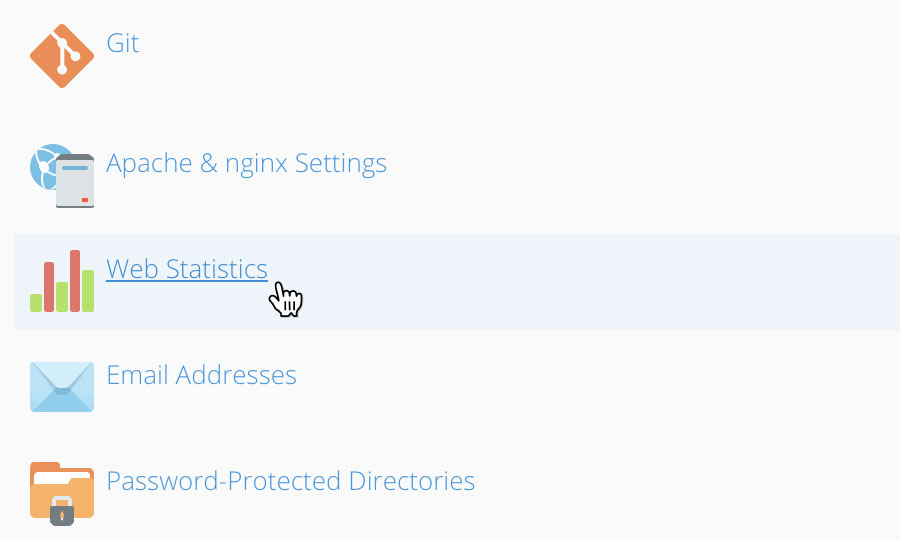
Choose ‘Web Statistics’
This will present a list of icons. To enable website statistics for the domain you have chosen, just click on the icon labelled ‘Web Statistics’ and follow the on screen instructions.