Applies to:
Domains
Difficulty:
Easy
Time Needed:
10 minutes
Introduction
This is a quick step-by-step guide to adding a CAA DNS records via the 34SP.com Control Panel. CAA is a new type of DNS record. It tells the world which certificate authority (CA) is allowed to issue SSL certificates for your domain name.
If you have an active hosting account or domain name with 34SP.com, you can manage your DNS records via our Control Panel.
Please Note: DNS changes typically take 24-48 hours to fully propagate. We recommend you only make alterations to your DNS if you have prior experience in DNS management. If you have any questions regarding your DNS setting, please contact our technical support team.
Adding a CAA DNS record
STEP 1
Login to your account
Firstly, you’ll need to login to your 34SP.com account at https://account.34sp.com.

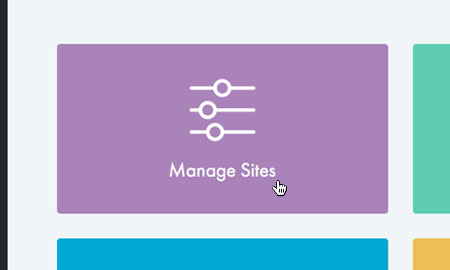
STEP 2
Choose ‘Manage Sites’
Once you have logged in, click on the ‘Manage Sites’icon. This will bring up a list of websites or domain names you have in your 34SP.com account. Simply choose the website or domain name to wish to edit by clicking on it.
STEP 3
Choose ‘Manage DNS’
After you have clicked on the website or domain name you wish to edit, you will be presented with a page of icons. Please click on the tab labelled ‘DNS’.

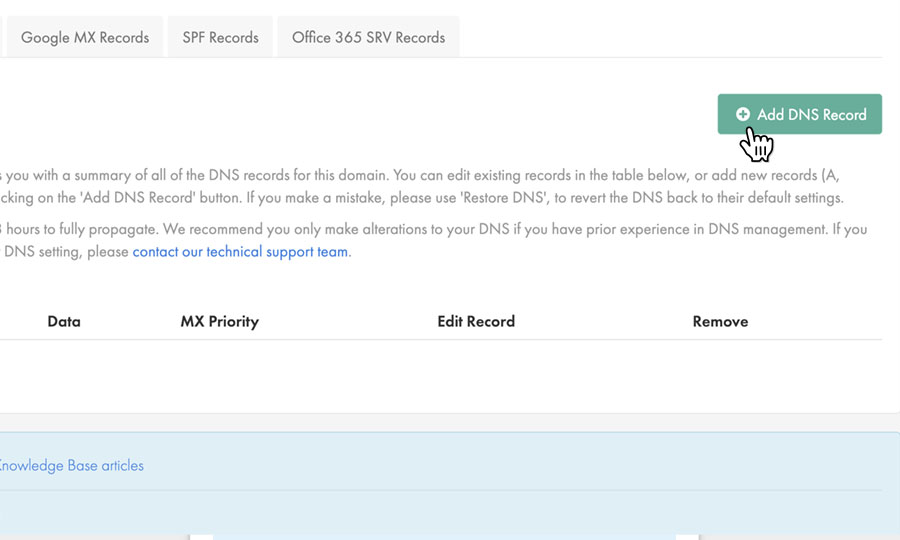
STEP 4
Add DNS Record
Then simply click on the button labelled ‘Add DNS Record’ when viewing the ‘Manage DNS’ page.
STEP 5
Create your CAA record
This will bring up a form. Simply fill in the form with the following information.
Record type:CAA
Host:@
Data:letsencrypt.org
CAA Flag:0
CAA Tag:issue
When you’re done, click ‘Add DNS Record’ to save your changes.
Please note: If you an SSL provider other than Lets Encrypt, this will stop a new SSL certificate from being issued. Your CA will be able to tell you the appropriate values to use.
