Applies to:
Billing
Difficulty:
Easy
Time Needed:
5 minutes
Introduction
This is a quick step-by-step walkthrough for adding and removing stored credit or debit cards via the 34SP.com Control Panel.
Contents
Stored credit or debit cards
STEP 1
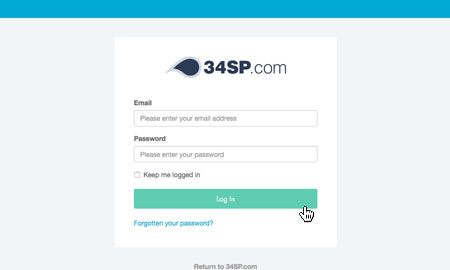
Login to your account
Firstly, you’ll need to login to your 34SP.com account at https://account.34sp.com.
STEP 2
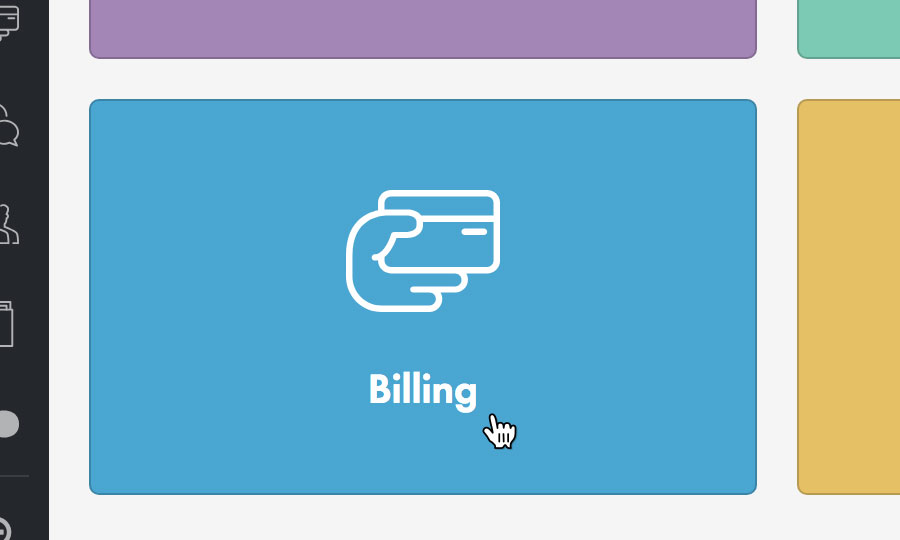
Choose ‘Billing’
Once you have logged in, click on the ‘Billing’ icon.
STEP 3
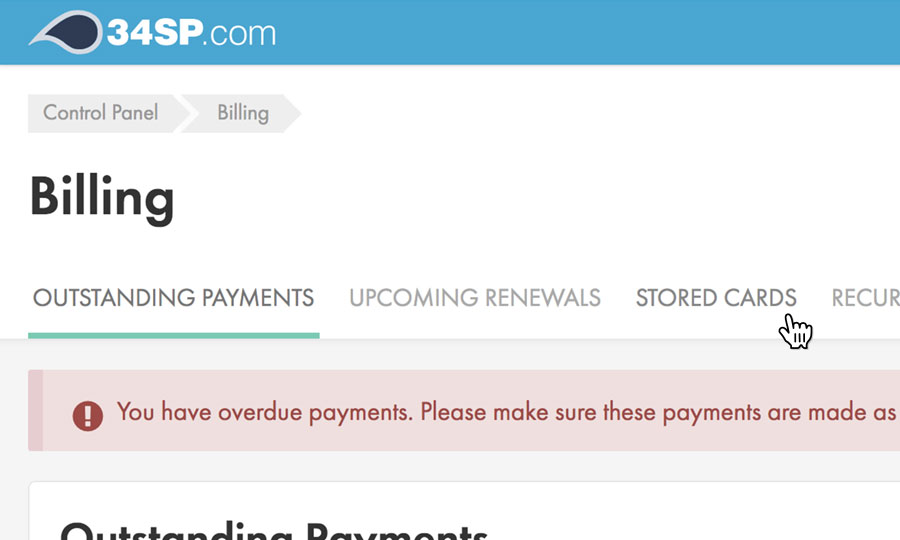
Choose ‘Stored Cards’
When viewing the Billing page, just click on the tab labelled ‘Stored Cards’.
The ‘Stored Cards’ page lists all the cards you currently have stored on 34SP.com. Along with viewing on overview of each card, you can add or remove individual credit or debit cards on this page.
Adding a new stored credit or debit card
STEP 1
Add New Card
To add a new credit or debit card, just click on the button labelled ‘Add New Card’.
STEP 2
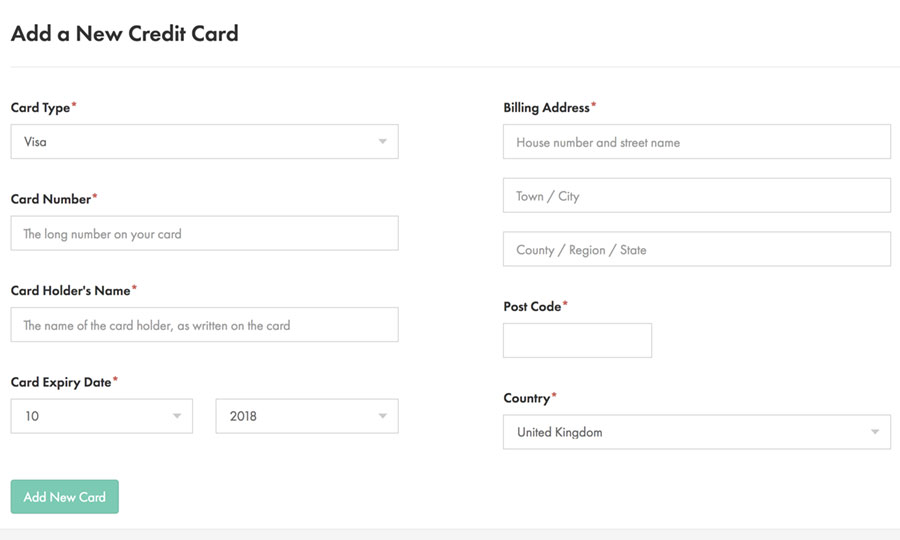
Enter Your Card Details
This will bring up a form. Simply fill in the form with the relevant information. When you’re done, click ‘Add New Card’ to save your changes.
Removing a stored credit or debit card
STEP 1
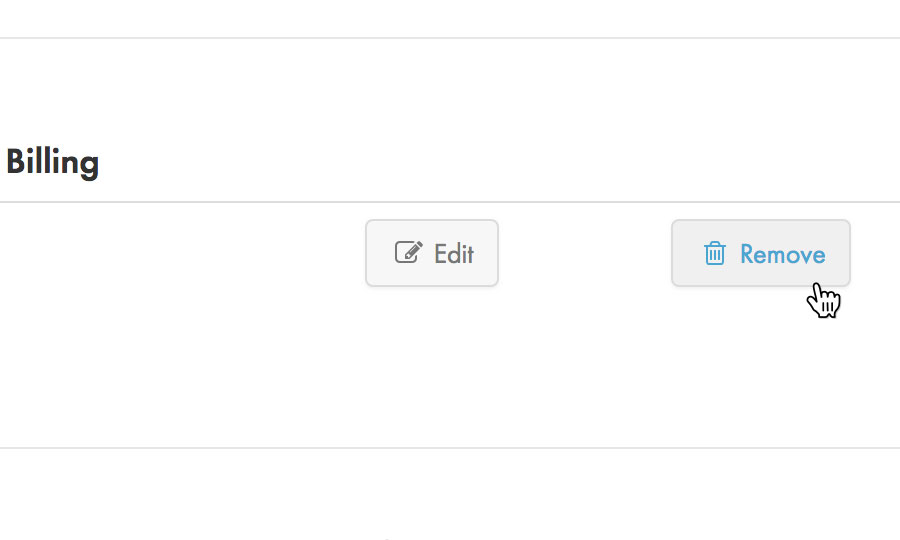
Remove Card
If you wish to delete a stored credit or debit card, click on the ‘Remove’ button (the ‘trash can’ icon) for the card you wish to remove, when viewing the ‘Stored Cards’ page. This will remove the card from 34SP.com’s records.
Please note: If you remove a card that is being used for recurring billing, those products will automatically be set to manual payment. For more information on recurring billing, please read ‘How to setup recurring billing’.