Applies to:
Professional Hosting
Universal Hosting
Reseller Hosting
WordPress Hosting
Difficulty:
Easy
Time Needed:
5 minutes
Introduction
This is a step-by-step walkthrough for updating plugins in WordPress.
Plugin updates are important, they keep your site up-to-date with the latest features available, as well as protect your site against vulnerabilities.
Before updating your plugins you may wish to take a snapshot of your site, in case you wish to revert these changes and troubleshoot any issues that occur.
STEP 1
Log in to the WordPress admin dashboard
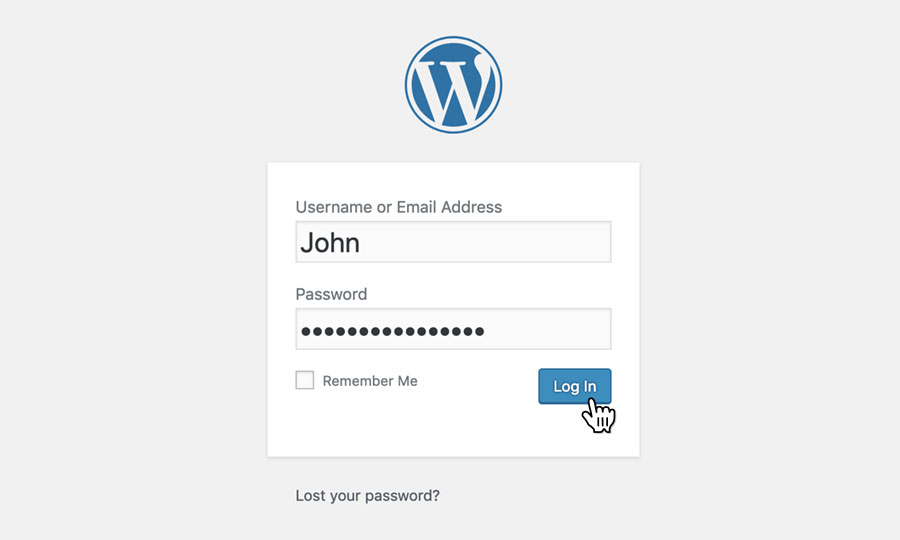
Firstly, you’ll need to log in to the WordPress admin dashboard. To access the login screen, simply go to yourdomain.com/wp-admin.
At the login screen, enter your username and password into the fields provided, then click the button labelled ‘Log In’.

STEP 2
Choose ‘Plugins’
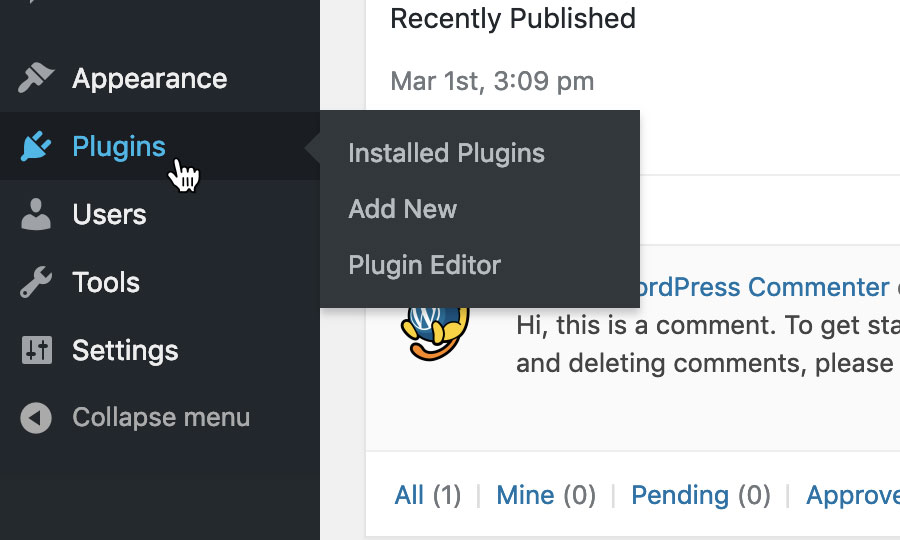
After logging in, you will be taken to the WordPress admin dashboard.
Use the navigation bar on the left-hand side of the screen, and choose ‘Plugins’.

STEP 3
Update the plugin
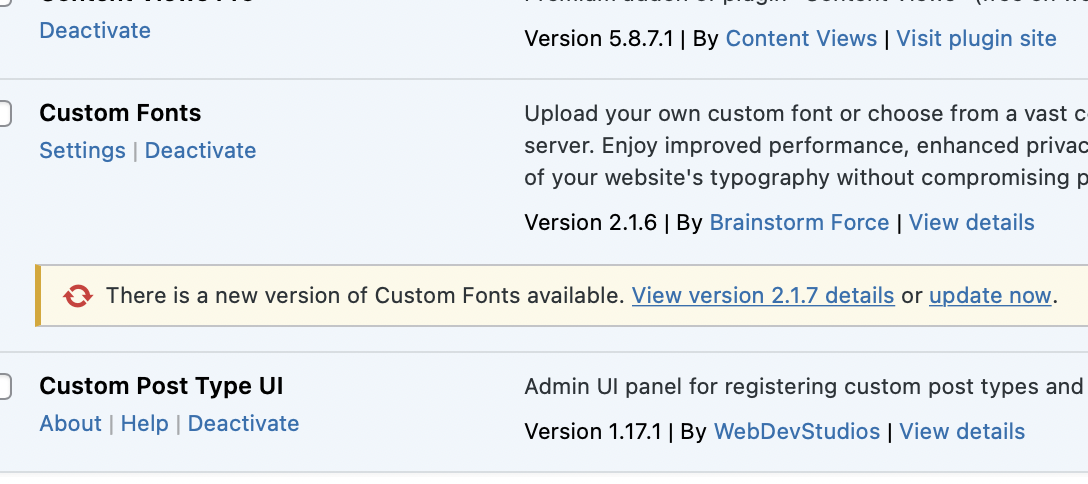
Any plugins with an update available will have a yellow bar below them with a notification that ‘There is a new version’ available.
Click on the ‘update now’ text in this box to update the plugin.

Optional: Enable automatic Updates
STEP 4
Enable automatic updates
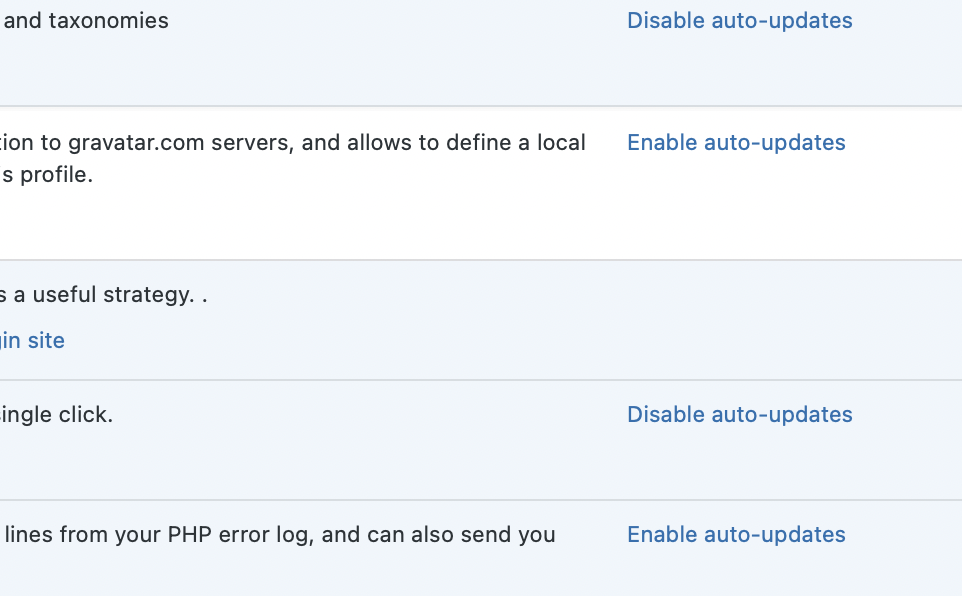
To the right of the plugins list, there is a button to ‘Enable auto-updates’ per plugin.
We recommend enabling automatic updates for all your plugins, but this may depend on your site’s specific needs.

If you do encounter any issues or errors when updating your plugins, please contact our support team and we will be happy to troubleshoot with you.