Applies to:
Professional Hosting
Universal Hosting
Reseller Hosting
WordPress Hosting
Difficulty:
Easy
Time Needed:
5 minutes
Introduction
Routing contact forms to use SMTP holds many benefits over PHP and sendmail. Although all 3 protocols can and do support SPF verification, only SMTP also supports DomainKeys signed email, something which Gmail in particular are enforcing more and more.
This is a step-by-step walkthrough for setting up SMTP mail using a plugin in WordPress.
STEP 1
Log in to the WordPress admin dashboard
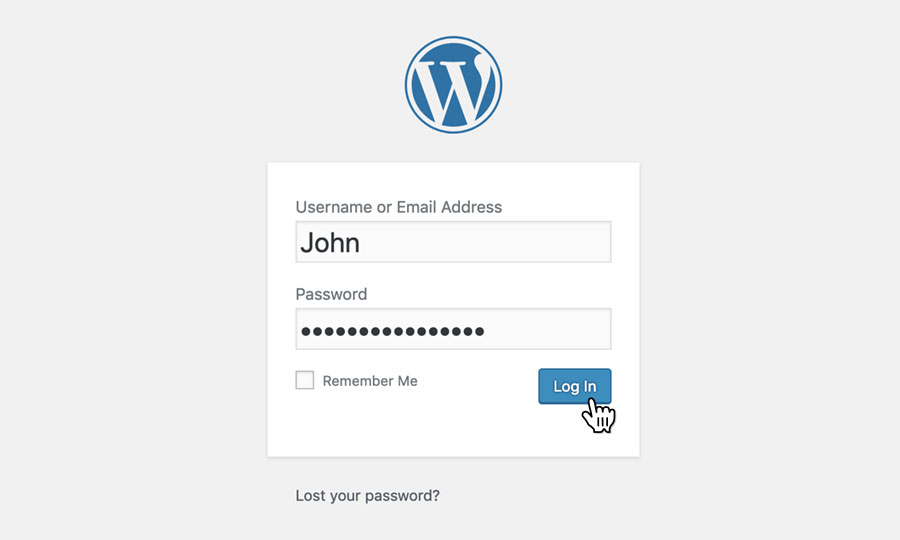
Firstly, you’ll need to log in to the WordPress admin dashboard. To access the login screen, simply go to yourdomain.com/wp-admin.
At the login screen, enter your username and password into the fields provided, then click the button labelled ‘Login’.
STEP 2
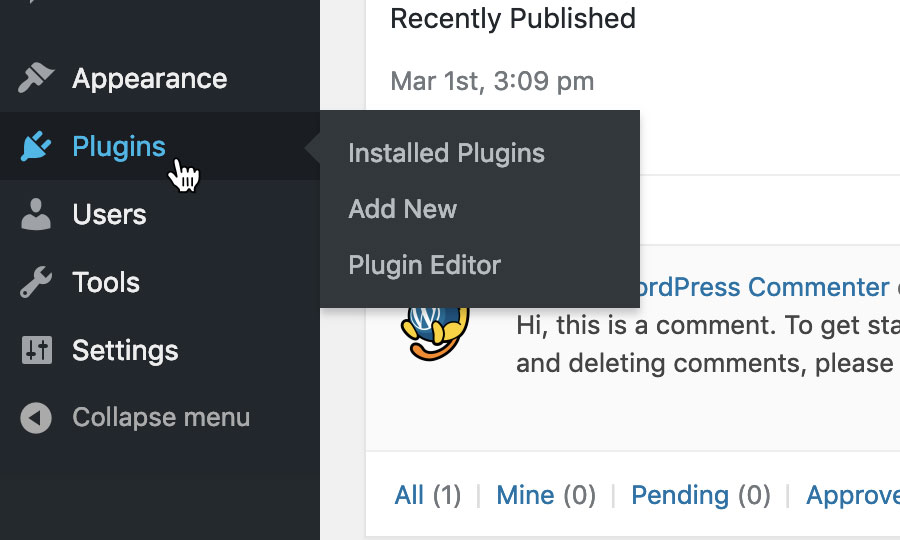
Choose ‘Plugins’
After logging in, you will be taken to the WordPress admin dashboard.
Use the navigation bar on the left-hand side of the screen, and choose ‘Plugins’.
STEP 3
Add new plugin
The Plugin screen lists all the plugins currently installed on your WordPress website.
To install a new plugin, click on the button labelled ‘Add New’.

STEP 4
Find ‘WP Mail SMTP’
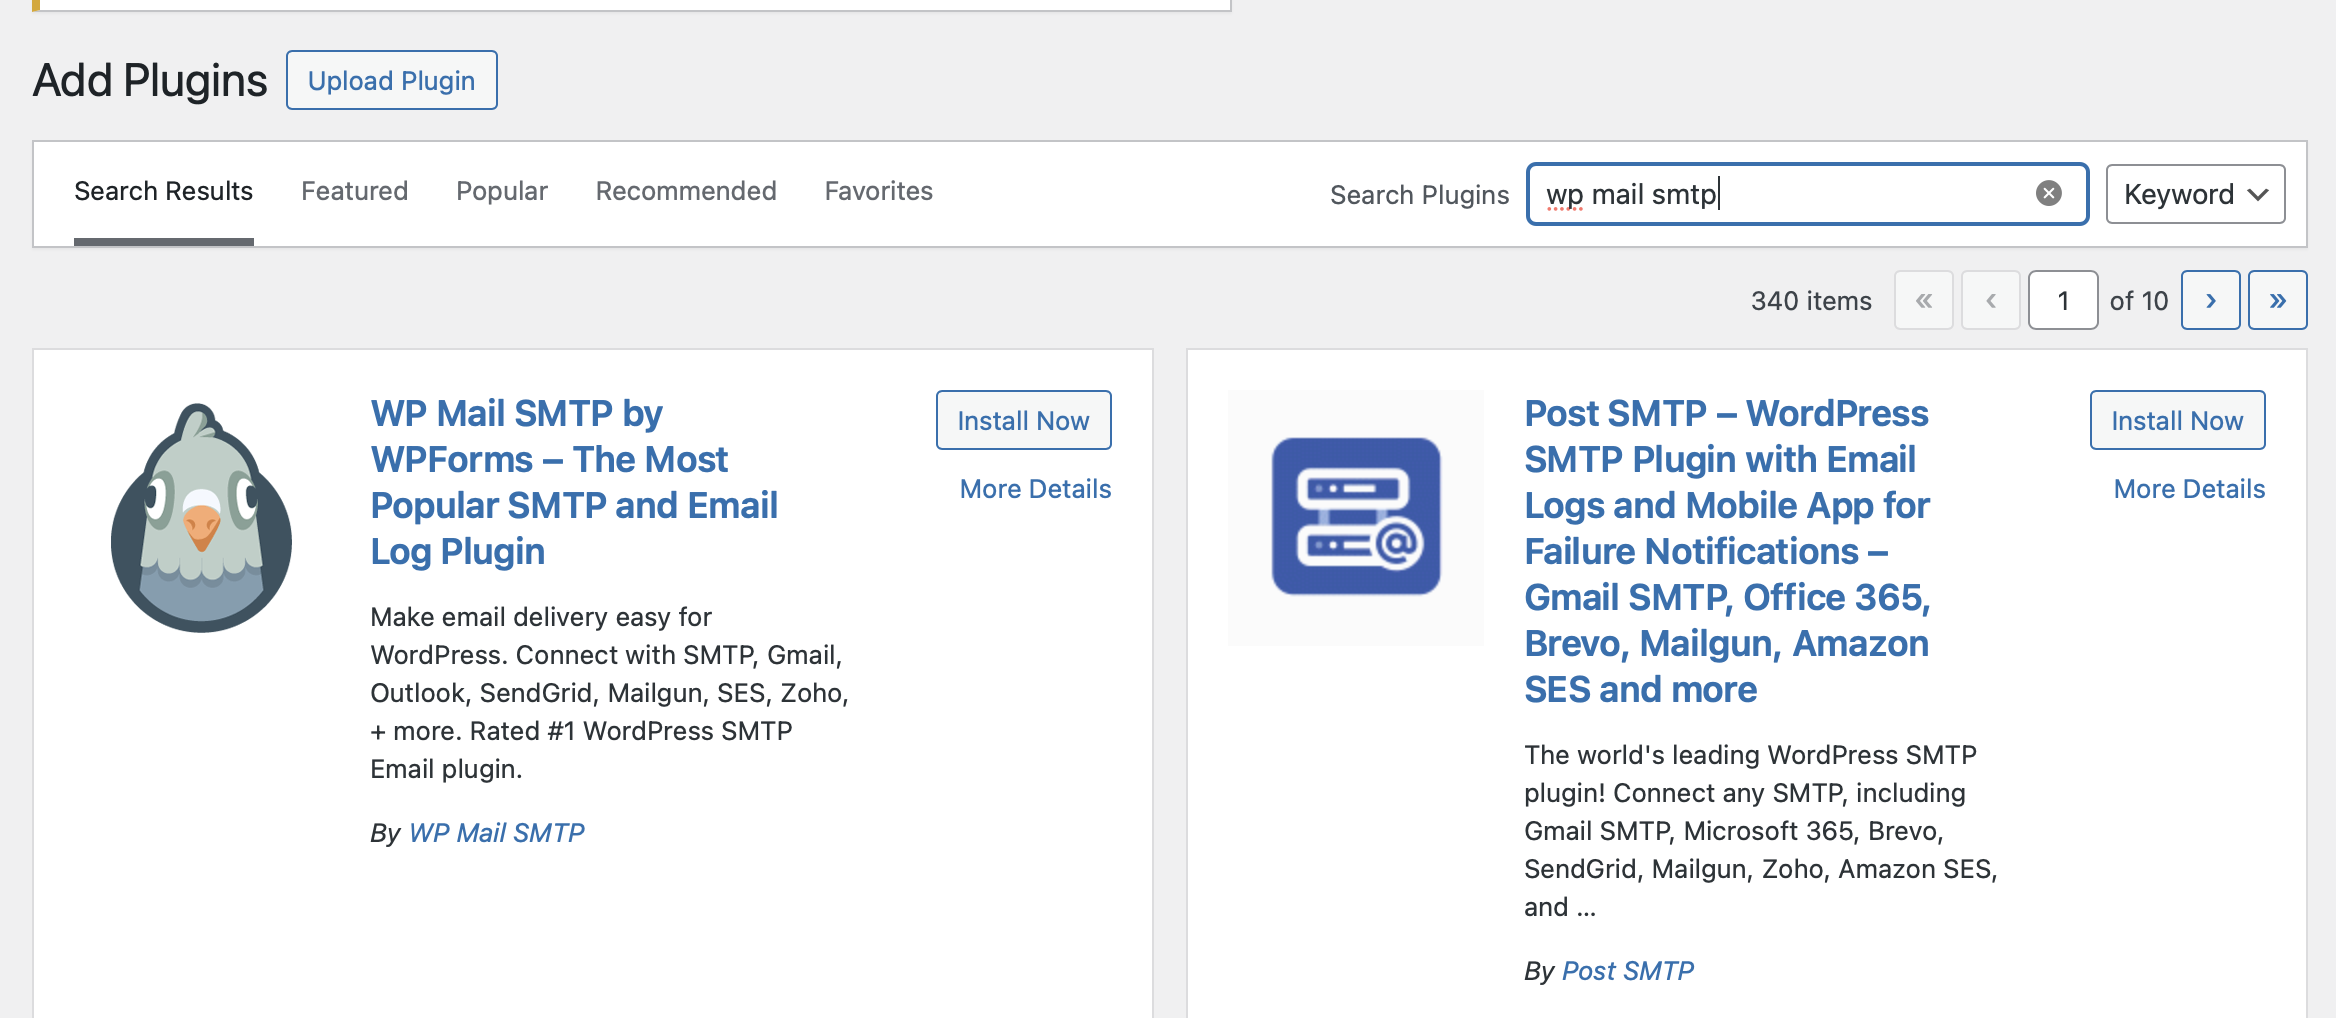
On the add plugin screen, you can browse popular and recommended plugins, as well as search for something more specific using the ‘Search plugins’ form.
Use the search field to find ‘WP Mail SMTP’ and select the first plugin.
STEP 5
Install the plugin
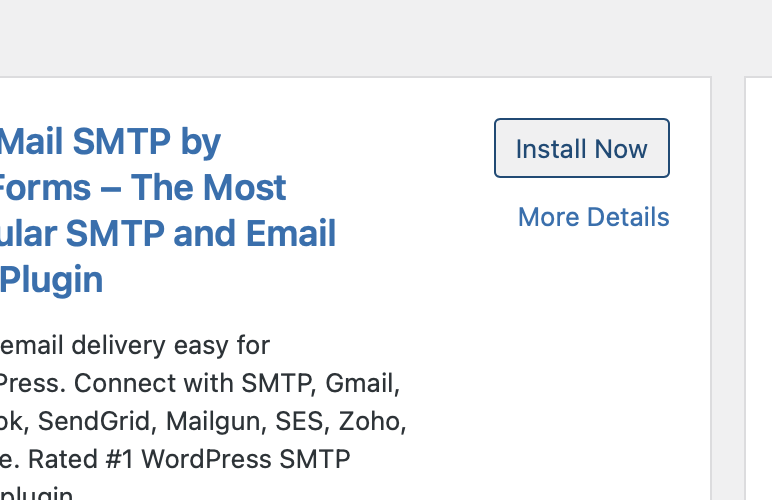
When you have found the plugin, simply click on the Install Now button to begin installing the plugin.
STEP 6
Activate the plugin
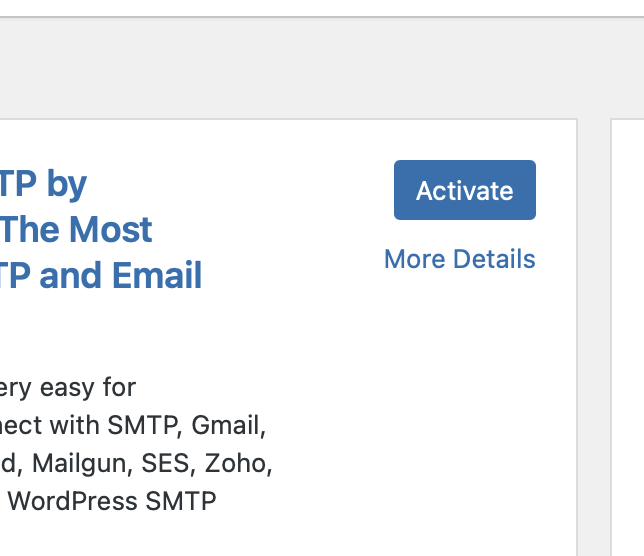
After the plugin is installed, the ‘Install Now’ button will turn in to a blue ‘Activate’ button. Press this button to activate WP Mail SMTP.
STEP 7
Select ‘WP Mail SMTP’
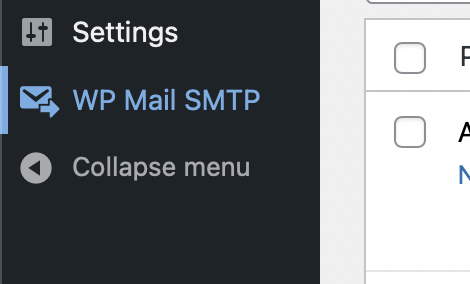
Now that the plugin is installed and activated, you should be able to see a ‘WP Mail SMTP’ menu in your WordPress admin menu’s side bar. Click this button to begin configuring the plugin.
STEP 8
Run the setup wizard.
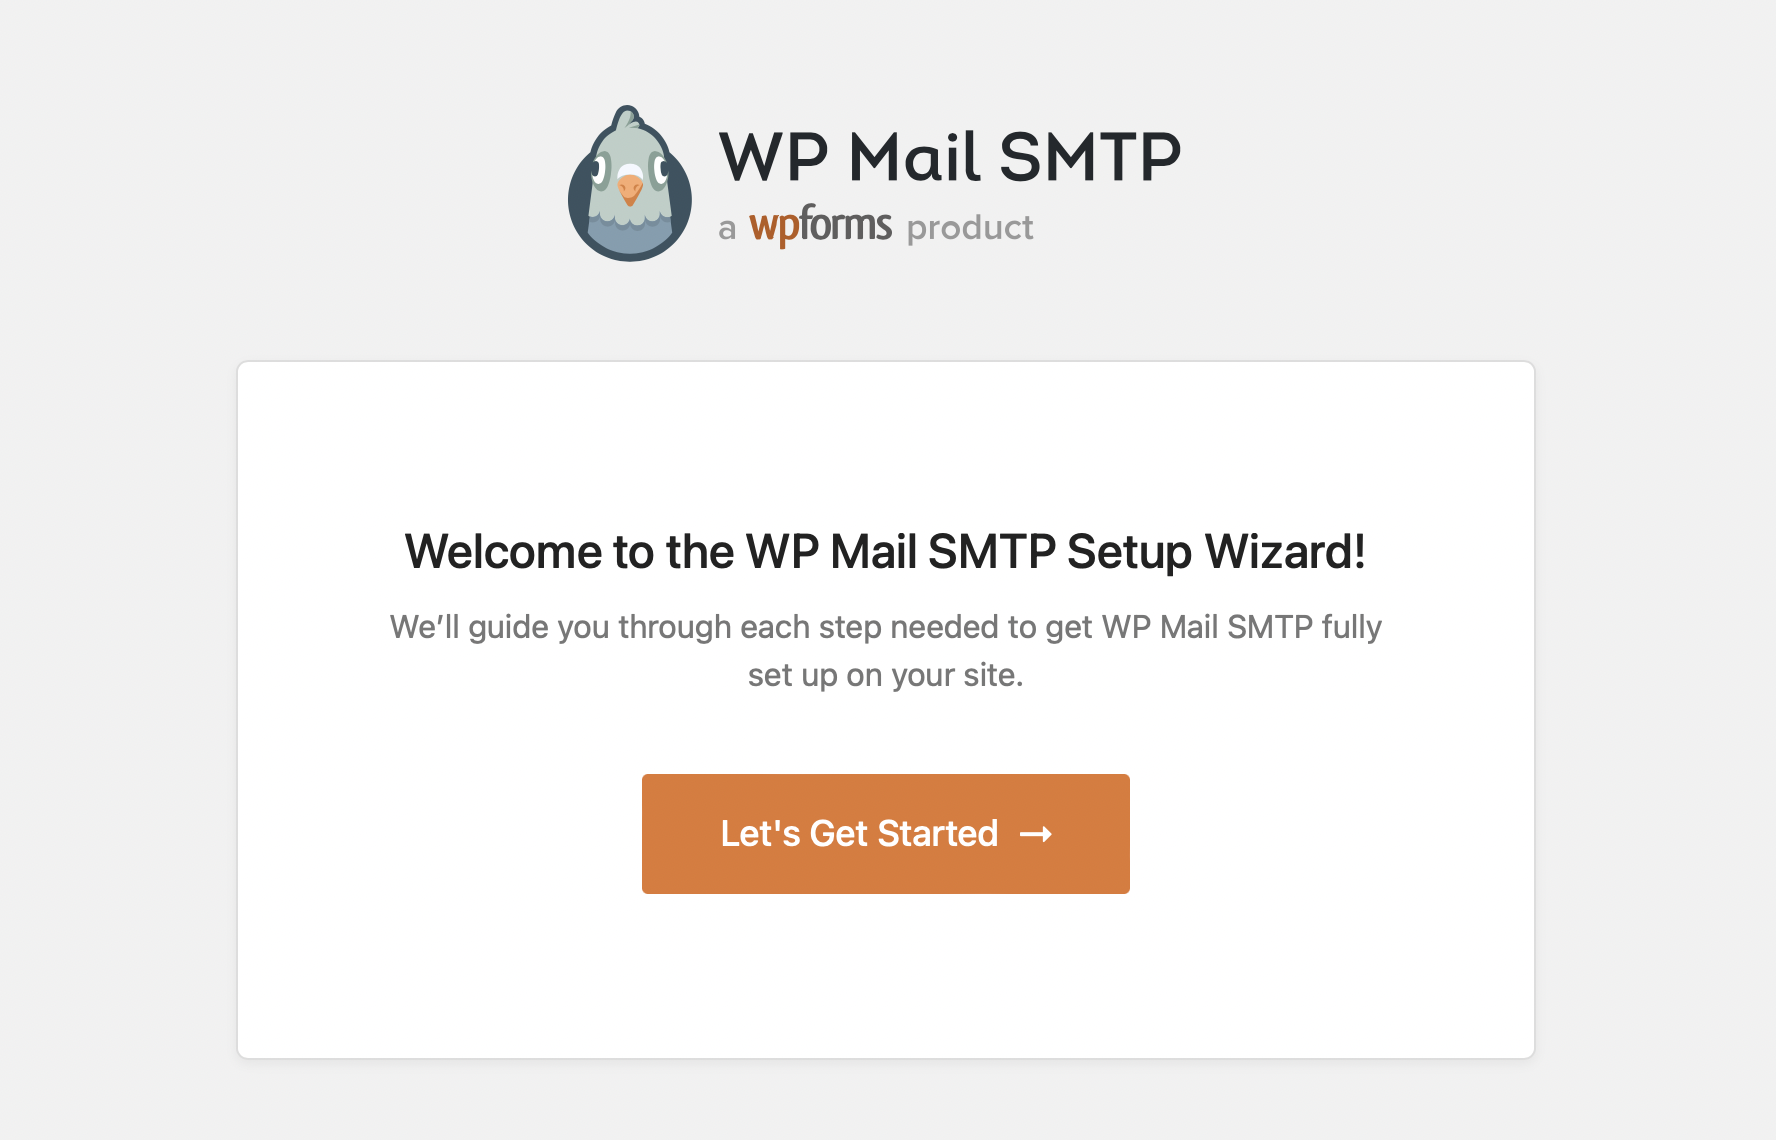
When you access WP Mail SMTP’s settings for the first time, you will be prompted to configure the plugin using the wizard.
Click ‘Let’s Get Started’ to begin.
STEP 9
Select ‘Other SMTP’
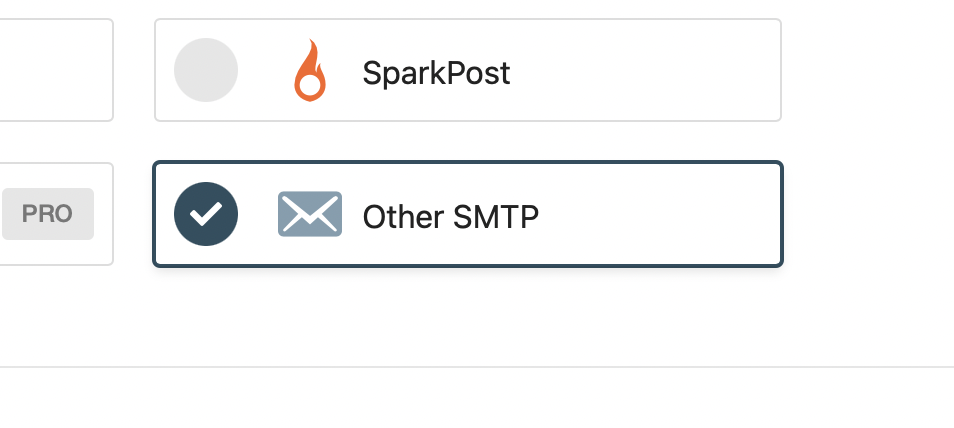
From the list of options available, select ‘Other SMTP’ to begin configuring the plugin to use 34SP.com’s SMTP settings.
STEP 10
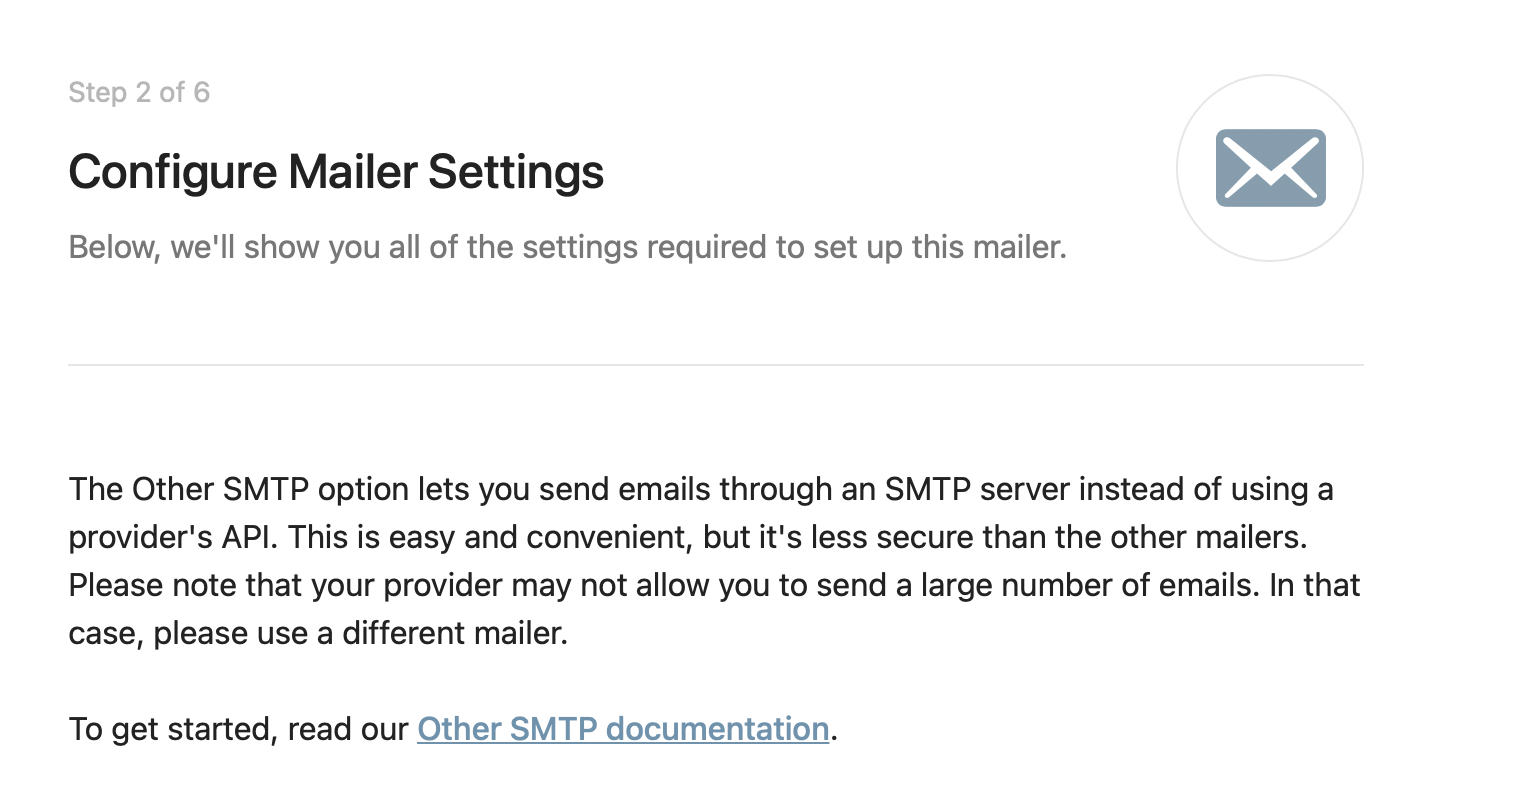
Configure Mailer Settings
The next page in the setup wizard will ask for some settings to configure 34SP.com’s SMTP mail. The settings are as follows:
SMTP Host: smtp.34sp.com
SMTP Username: (Your domain’s mailbox)
SMTP Password: (Your mailbox password)
Encryption: TLS
Port: 587
The settings will need to use a mailbox that is addressed to the domain you are setting the plugin up on. If you have not set up a mailbox yet, please use this guide to do so.
STEP 11
Save and Continue
Click the orange ‘Save and Continue’ button to save your mail configuration settings.
WordPress forms will not be configured to use SMTP mail upon saving.
