Contents
Introduction
This is a step-by-step walkthrough for migrating your WordPress website to 34SP.com.
To migrate a website to us, you must first order a WordPress Hosting package from us. We offer several hosting options depending on your needs; if you are unsure which package is best for you please contact our support team and we will be happy to offer advice.
Migrating to 34SP.com
STEP 1
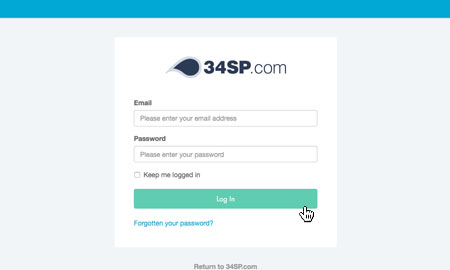
Login to your account
Firstly, you’ll need to login to your 34SP.com account at https://account.34sp.com.
STEP 2
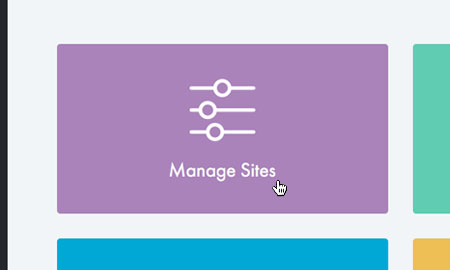
Choose ‘Manage Sites’
Once you have logged in, click on the ‘Manage Sites’ icon. This will bring up a list of websites or domain names you have in your 34SP.com account. Simply choose the website or domain name to wish to edit by clicking on it.
STEP 3
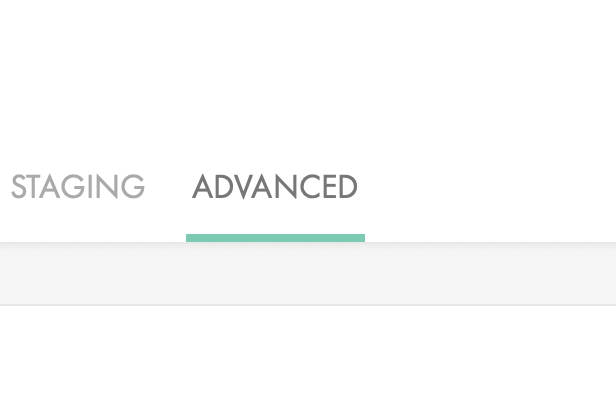
Select ‘Advanced’
From the navigation menu, select the ‘Advanced’ option.
STEP 4
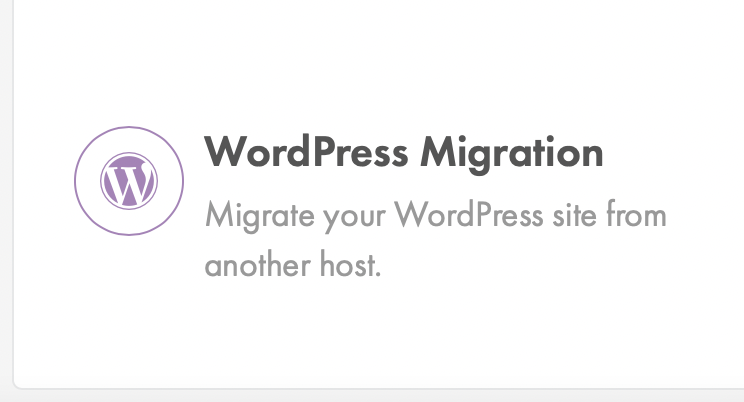
Select ‘WordPress Migration’
From the list of available options, select ‘WordPress Migration’.
STEP 5
Download our migration plugin
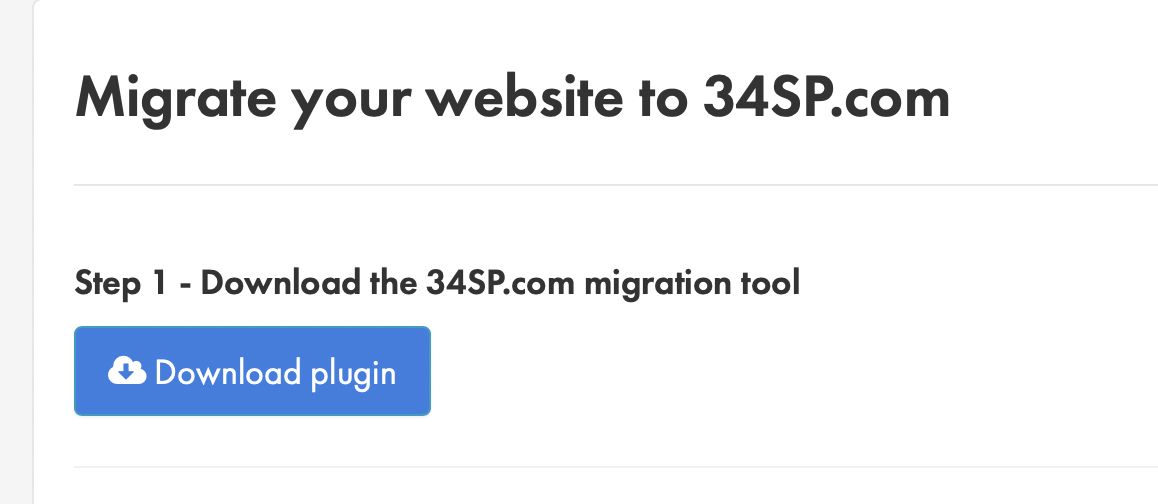
Press the blue ‘Download plugin’ button to download a copy of our WordPress migration plugin.
STEP 6
Copy the token
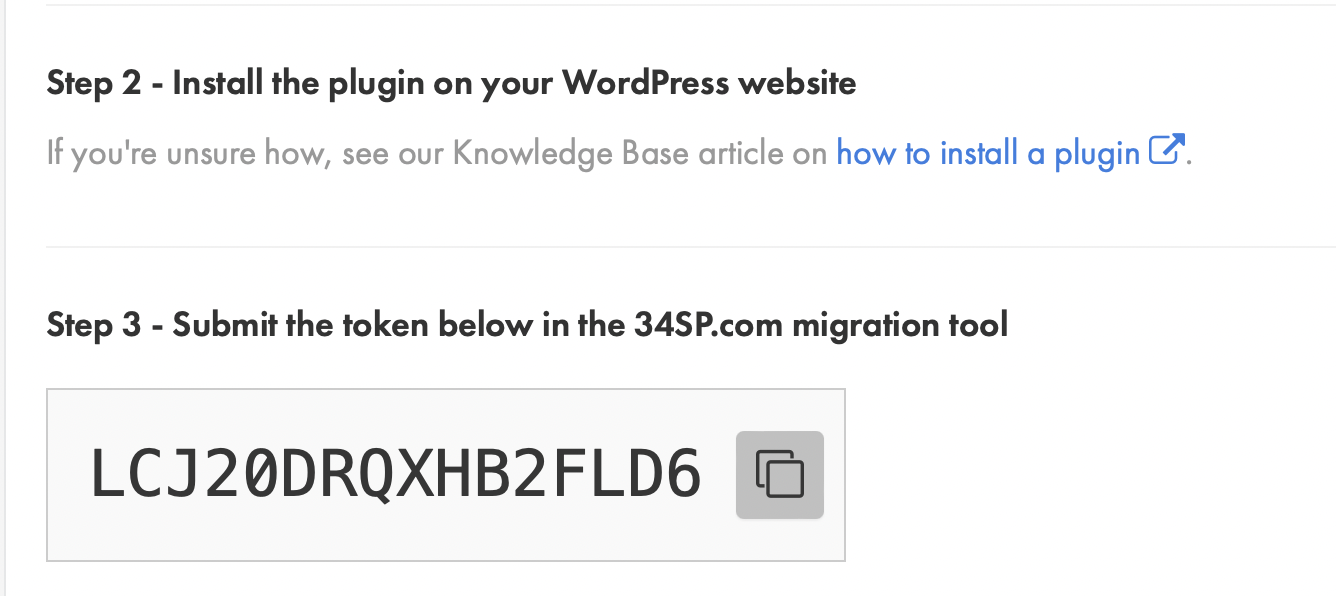
While the plugin is downloading, you will also see a unique token on the same page. Make a note of this as you will need it to complete the migration.
STEP 7
Login to WordPress
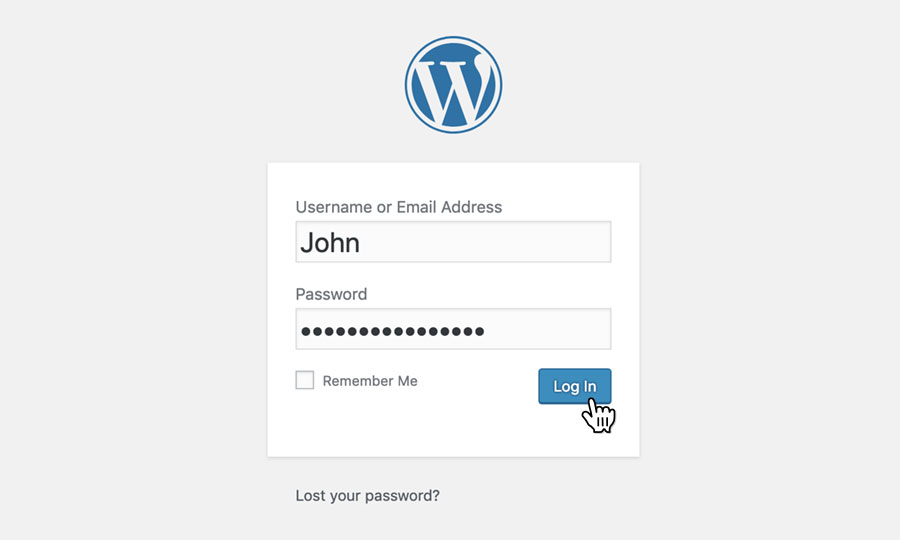
Return to your active website and login to your WordPress admin dashboard.
STEP 8
Select ‘Plugins’ and ‘Add New Plugin’
From the left side menu, hover over the ‘Plugins’ navigation item and click on ‘Add New Plugin‘.

STEP 9
Select ‘Upload Plugin’
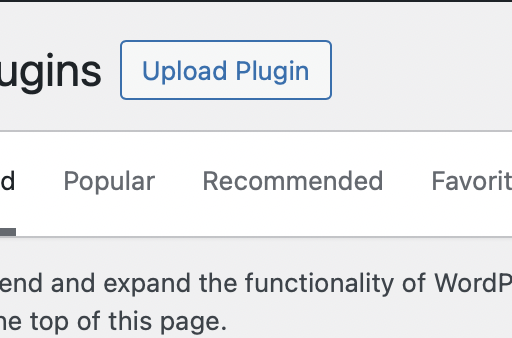
At the top of the plugins page select the ‘Upload Plugin’ button.
STEP 10
Upload the 34SP.com migration plugin
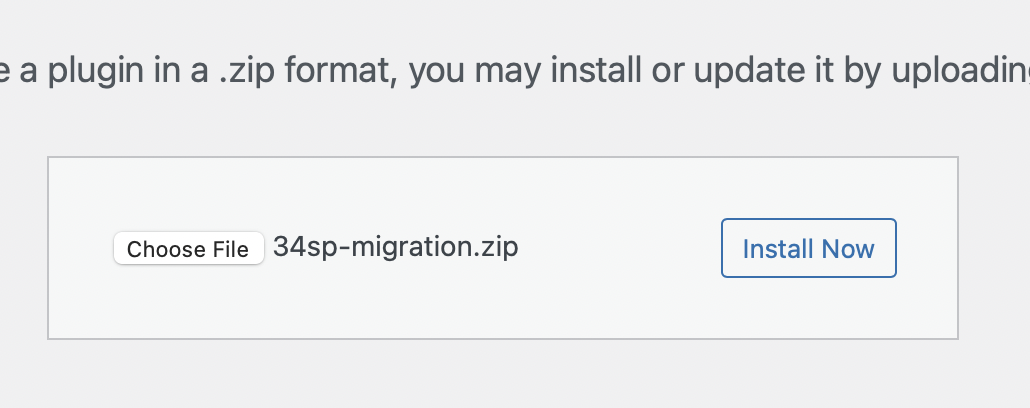
Select ‘Choose File’ to be taken to your computer’s file browser, locate our migration plugin and select ‘Install Now’. This will install our plugin to your existing WordPress website.
STEP 11
Select ‘Tools’ and ’34SP.com Migration’
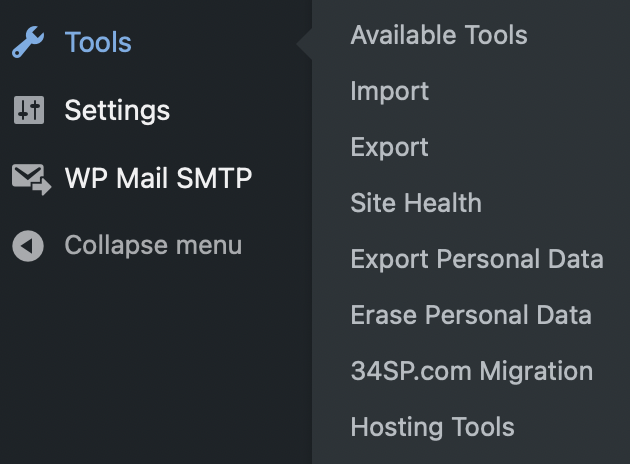
From the left side menu, hover over the ‘Tools’ navigation item and click on ’34SP.com Migration’.
STEP 12
Enter the token
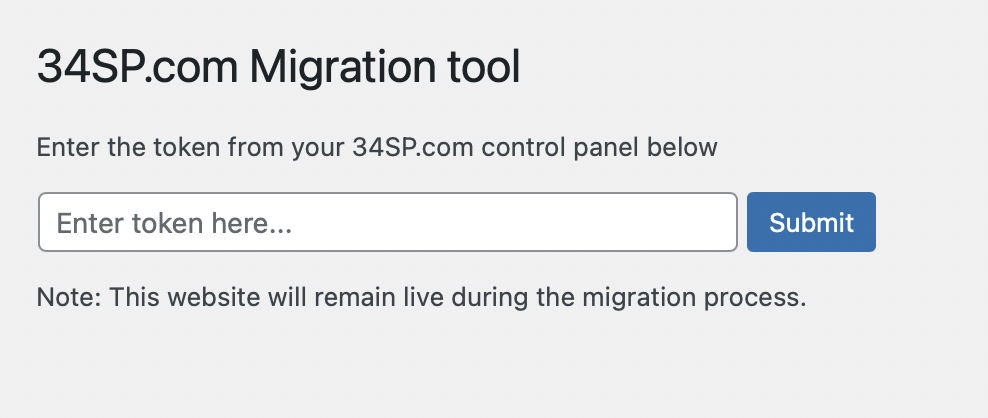
On the migration menu page, paste in the token you made note of earlier in step 6.
STEP 13
Wait for data to migrate
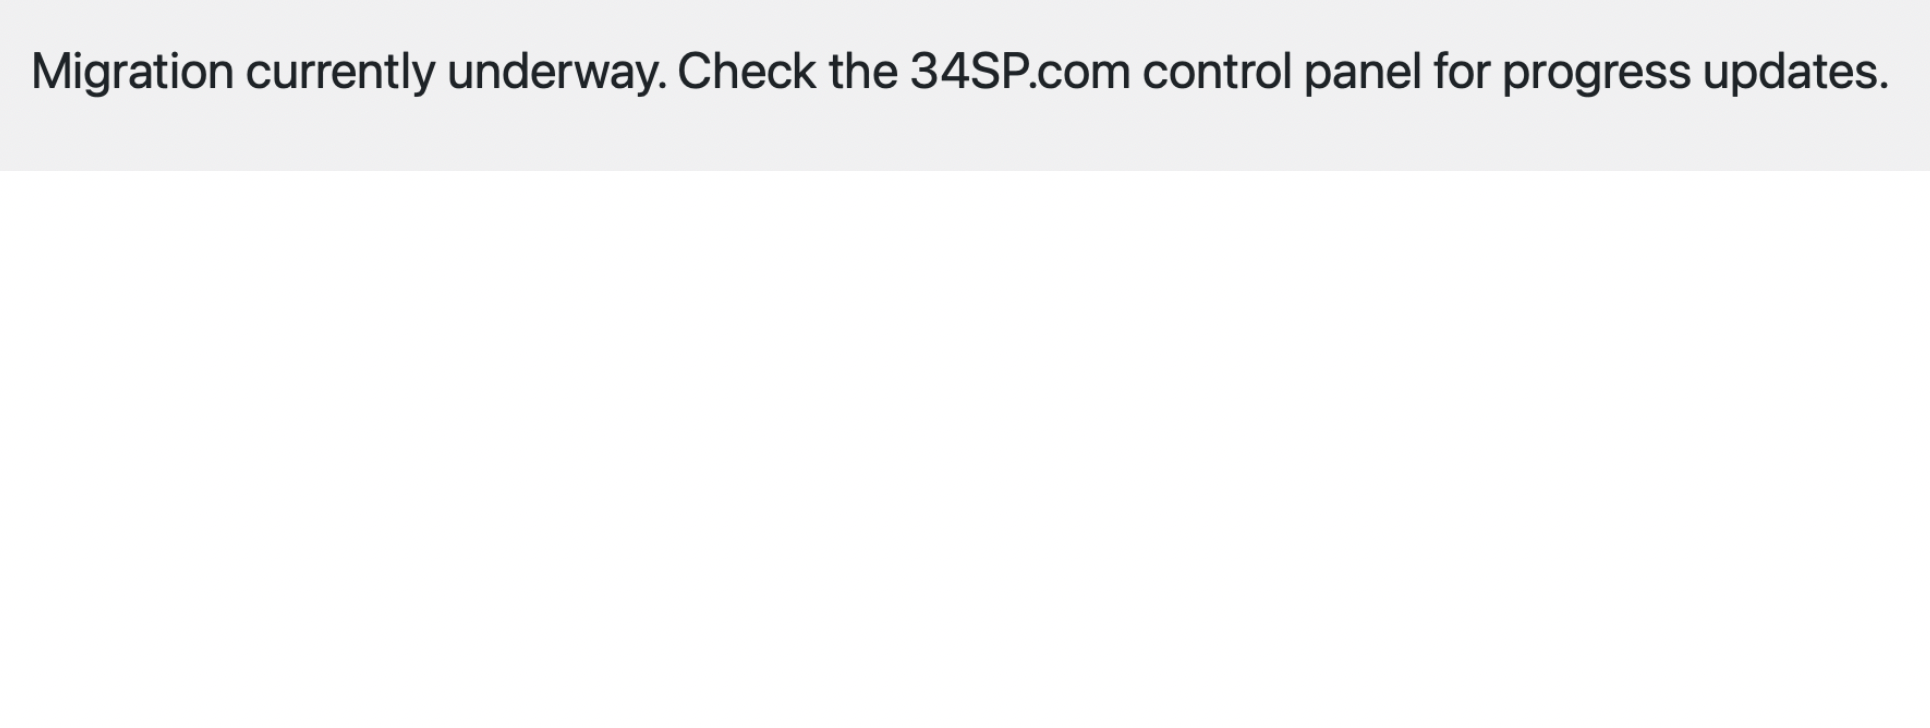
The plugin will now begin transferring your content. You can track the progress of the migration by returning to the ‘WordPress Migration’ advanced option.
Completing the migration
When the migration is completed, you will be able to preview your site on our servers by typing YOURDOMAIN.COM.temp.link, replacing YOURDOMAIN.COM with the domain of your live website.
If the website looks as you would expect it to, then you are ready to take the website live with 34SP.com. This step is essential to complete your migration and should be completed before any further changes are made to your website.
The site will not be live with 34SP.com until you update your DNS or nameservers. Our nameservers are:
ns.34sp.com
ns2.34sp.com
Update this in your domain provider’s control panel to take all services for your site live with us. Please note that this will also change your domain’s mail service provider.
If you are unsure on how to correctly repoint your domain’s nameservers or DNS traffic, please contact our support team to assist you with the final step to take your site live with us.