Applies to:
WordPress Hosting
Difficulty:
Easy
Time Needed:
5 minutes
Contents
Introduction
This is a step-by-step walkthrough for managing plugins on your WordPress multisite network.
Multisite is a feature of WordPress that allows you to create multiple similar small websites all within one WordPress installation. For information on how to enable this, please view our multisite setup guide.
Information
WordPress multisite requires all plugins to be installed by the primary network administrator.
Sites installed to the network cannot add their own plugins, instead they can choose from the pool of plugins installed by the network administrator. For this reason, multisite is best used by a group of small similar websites.
Adding a plugin.
STEP 1
Log in to the Network admin dashboard
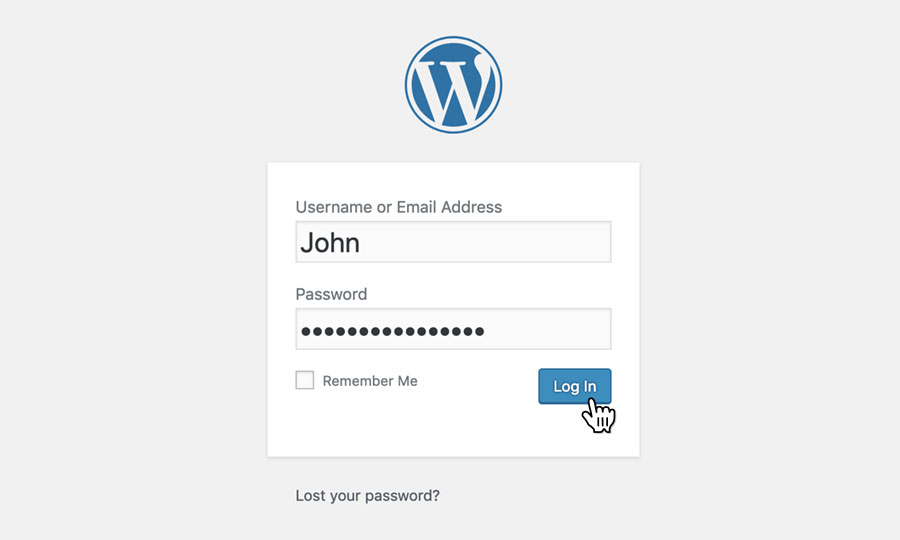
Firstly, you’ll need to log in to the WordPress admin dashboard as the network administrator. To access the login screen, simply go to yourdomain.com/wp-admin.
At the login screen, enter your username and password into the fields provided, then click the button labelled ‘Log In’.
STEP 2
Choose ‘Plugins’
After logging in, you will be taken to the WordPress admin dashboard.
Use the navigation bar on the left of the screen, and choose ‘Plugins‘.

STEP 3
Choose ‘Add New Plugin’
This page will list all your WordPress plugins that are installed to the network.
Click on the ‘Add New Plugin‘ text in this box to add a new plugin.

Enabling Plugins on the network
When you have installed plugins to your multisite network, you can then choose whether you want to install them to every website on the network, or individual sites.
This is how to enable sites on the full network.
STEP 1
Choose ‘Plugins’
When logged in as the network administrator, select ‘Plugins‘ from the side menu.

STEP 2
Choose ‘Network Activate’
Select ‘Network Activate‘ below the plugin name.
This will enable that plugin on every website under your multisite network.
Plugins enabled using ‘Network Activate‘ cannot be disabled in the individual site dashboards or by single site administrators.
Any plugins that are enabled on the network level will have a ‘Network Active‘ note below them in the plugins menu on the individual site’s dashboard.


Enabling Plugins on single sites
This is how to enable plugins on individual site installations. Please note that any plugins need to be installed by the network administrator to be usable by individual sites on the network.
STEP 1
Login to the single site’s dashboard.
From the ‘Sites‘ list, select ‘Dashboard‘ to be taken to the dashboard for that specific network installation.

STEP 2
Choose ‘Plugins’
From the side menu, select ‘Plugins‘ to be taken to the plugin menu.
STEP 3
Choose ‘Activate’
From the list of available plugins, select ‘Activate‘ to enable that plugin on your site single installation.
Please note that new plugins can only be installed by the network administrator, then will need enabling on the individual site’s dashboard.

Multisite is a great way to allow administrators to control the plugins made available to sites under their network.
Please note that multisite is not recommended for hosting multiple websites with a lot of data and variation. It is much better suited to a small collection of similar sites, such as a business that requires multiple language or location variations.