Applies to:
Reseller Hosting
Difficulty:
Easy
Time Needed:
5 minutes
Introduction
This is a quick step-by-step walkthrough for updating WordPress using SSH and WP-CLI.
Before you begin, you will need to know your SFTP username and password for your website. This guide will show you how to manage your username and password.
Login via SSH
STEP 1
Open your SSH client.
You will need to connect to your account using SSH in order to access WP-CLI. Exactly how to do this will depend on the operating system that you are using.
Windows
You should use a client such as PuTTY.
Mac OS X
The ssh command is available from Terminal (Applications > Utilities > Terminal).
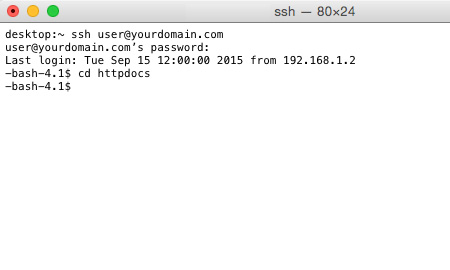
To connect, you should access your account with your SFTP username. In this example, the username is ‘user’.
Once connected, you will need to change directory into httpdocs (or the directory your WordPress installation is in), by typing the following:
cd httpdocs

How to run updates using WP-CLI
STEP 1
Use WP-CLI
WP-CLI is already installed on your account, and can be accessed simply by typing:
wp
If you press enter at this point, you’ll be shown a screen of help, which you can close by pressing the Q key.
You can manipulate plugins, themes, users and more using WP-CLI. We’ll show how to install a new plugin. First, type the following:
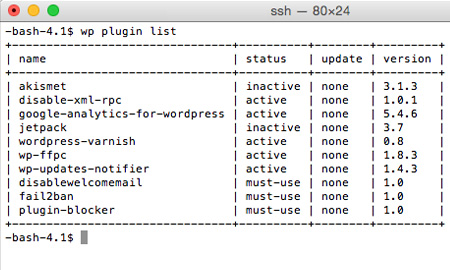
wp plugin list
This will check to see what plugins are installed, along with their version and status.

STEP 2
Update Plugins
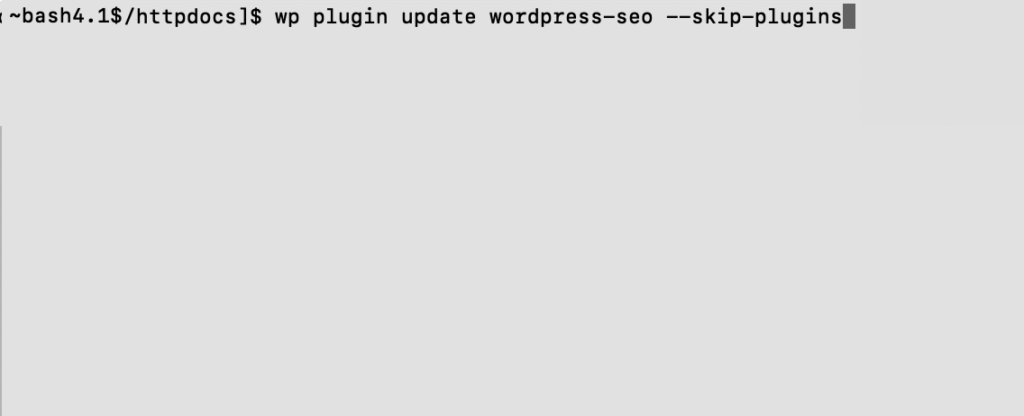
You can use the following command to update your plugins:
wp plugin update PLUGINNAME –skip-plugins
This will update singular plugins, to update all plugins you can use:
wp plugin update --all --skip-plugins
Note: The –skip-plugins flag stops WP-CLI loading in the plugin code as part of its execution, allowing it to run faster in most cases.

STEP 3
Update Core
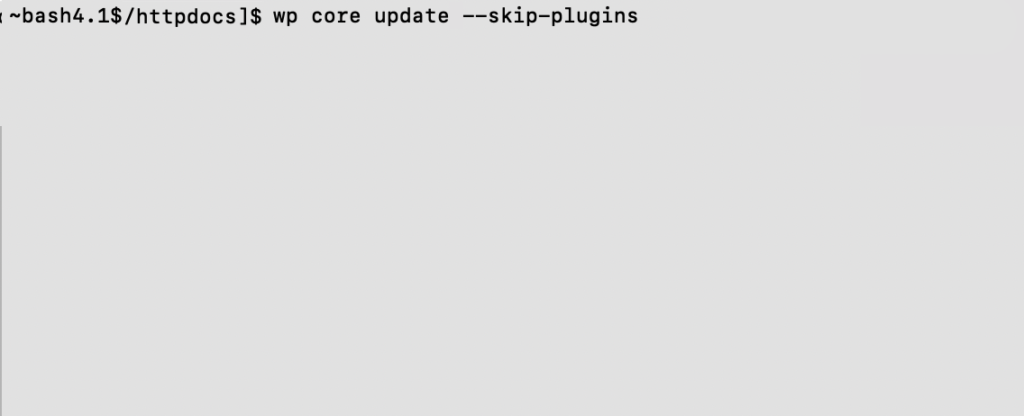
You can use the following command to update your WordPress version:
wp core update –skip-plugins
Be sure to check the website after running this update and if you encounter any issues please contact support.
