Applies to:
Professional Hosting
Universal Hosting
Reseller Hosting
WordPress Hosting
Difficulty:
Intermediate
Time Needed:
15 minutes
Contents
Introduction
As of 2025, Microsoft is phasing out Basic Authentication as a method of connecting to their SMTP services. This will affect the popular plugin ‘WP Mail SMTP’ which we recommend for using SMTP on your WordPress Hosting account.
You can continue to use your existing setup by upgrading to the pro version of WP Mail SMTP, which will guide you through setting up OAuth to authenticate with your Microsoft account.
However, as a 34SP.com hosting customer you can use the mail service included with your hosting account to authenticate and send emails using the standard, free version of WP Mail SMTP. This guide will show you how.
Part 1: Setting up your 34SP.com email
STEP 1
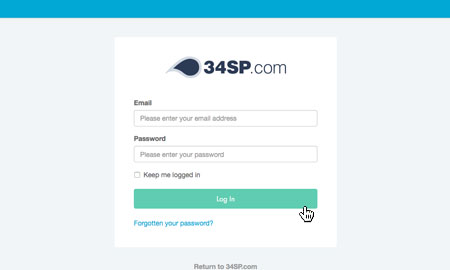
Login to your account
Firstly, you’ll need to login to your 34SP.com account at https://account.34sp.com.
STEP 2
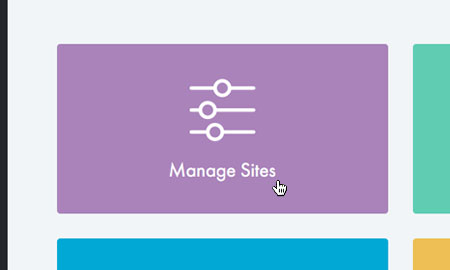
Choose ‘Manage Sites’
Once you have logged in, click on the ‘Manage Sites’ icon. This will bring up a list of websites or domain names you have in your 34SP.com account. Simply choose the website or domain name to wish to edit by clicking on it.
STEP 3
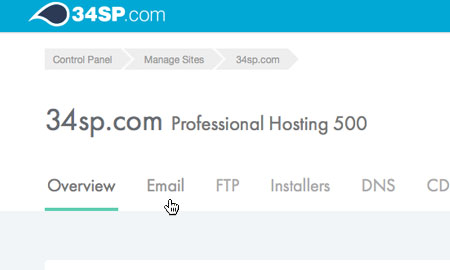
Choose ‘Email’
After you have clicked on the website you wish to edit, you will be presented with your website overview page. Choose ‘Email’ from the product navigation.
STEP 4
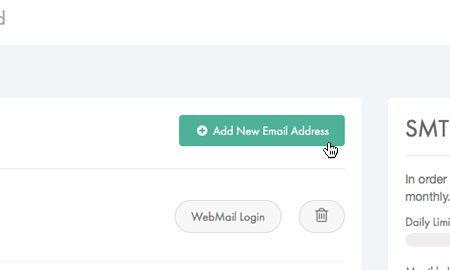
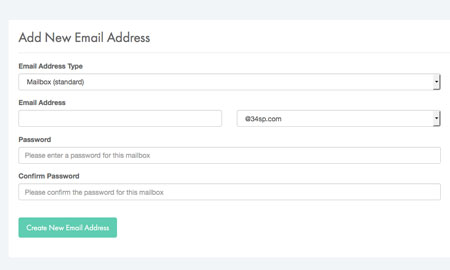
Add an email address
If you wish to add a new email address, simply click on the button labelled ‘Add New Email Address’ when viewing the ‘Email Addresses’ page.
STEP 5
Enter email address information
This will bring up a form. Simply fill in the form with the relevant information.
For this exercise we recommend using the standard wordpress@ as the email address, however you can set it up to be something unique.
Be sure to choose a secure password and keep it in mind for the second part of this guide.
When you’re done, click ‘Create New Email Address’ to save your changes.
Part 2: Setting up your SPF Record
In order for WP Mail SMTP to be able to send email from your website, you will need to add the 34SP.com mail servers to your existing SPF record.
If your nameservers are not with 34SP.com, you will need to edit the DNS record with your name server provider. Editing DNS is an advanced task, if you are unsure please contact our support team for assistance with this step.
STEP 1
Select ‘DNS’
From the navigation menu in your 34SP.com control panel, click ‘DNS’ to move to the DNS control panel page.

STEP 2
Select ‘Edit DNS Record’
You will need to click the edit button next to your SPF record. You can identify the correct record because the ‘type’ will be set to txt, and the record data will begin with "v=spf1

STEP 3
Fill in the SPF record information
You will need to edit the DNS ‘Data’ to the following:
"v=spf1 a mx a:smtp.34sp.com a:smtpout.34sp.com a:array1.spf.34sp.com include:spf.protection.outlook.com -all"
Depending on your specific mail needs there might be other IP addresses or servers needed within your SPF record, so if you are unsure please contact us for assistance.

STEP 4
Add the SPF Record
Click the ‘Add DNS Record’ to add the new SPF record to your domain’s DNS.
Please note DNS changes can take up to 24 hours to propagate.

Part 3: Configuring WP Mail SMTP
Now that we have set up an email address and SPF record, we can configure WP Mail SMTP to send messages authenticated by our 34SP.com servers.
STEP 1
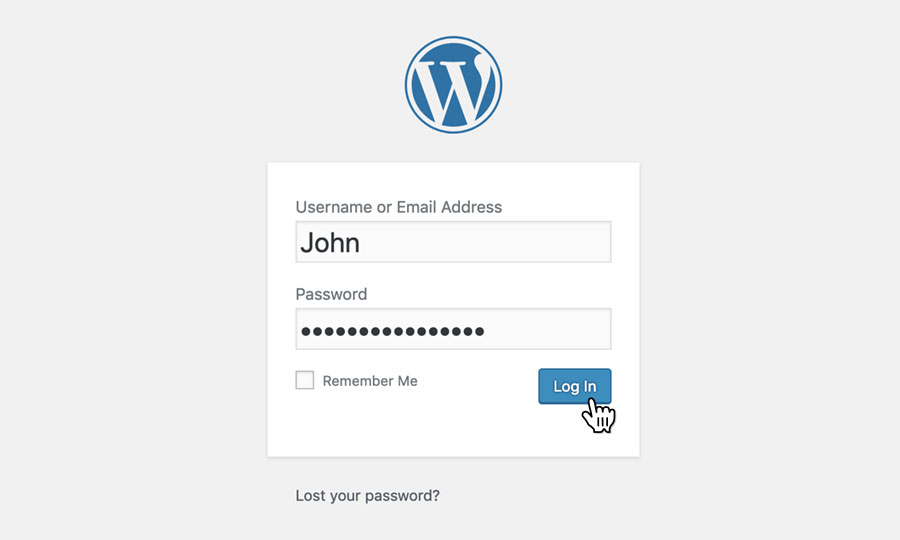
Log in to the WordPress admin dashboard
Firstly, you’ll need to log in to the WordPress admin dashboard. To access the login screen, simply go to yourdomain.com/wp-admin.
At the login screen, enter your username and password into the fields provided, then click the button labelled ‘Login’.
STEP 2
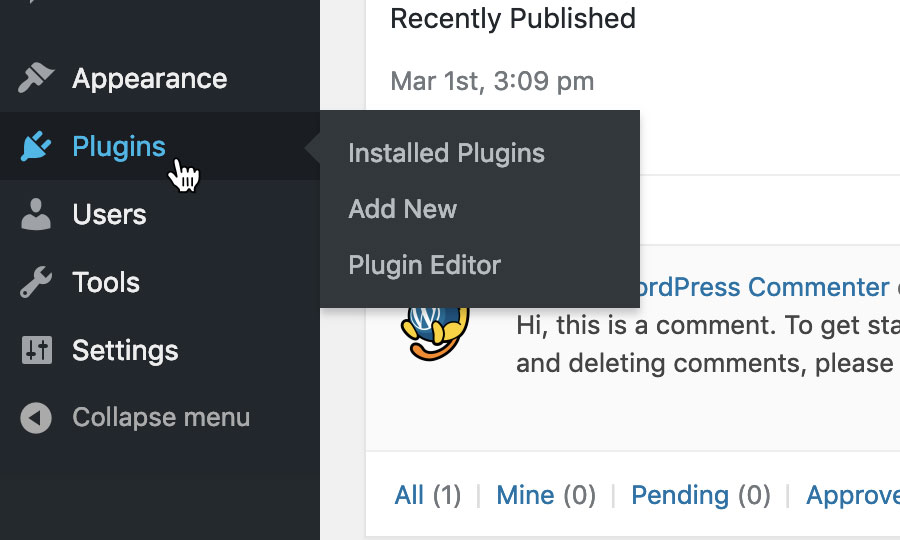
Choose ‘Plugins’
After logging in, you will be taken to the WordPress admin dashboard.
Use the navigation bar on the left-hand side of the screen, and choose ‘Plugins’.
STEP 3
Add new plugin
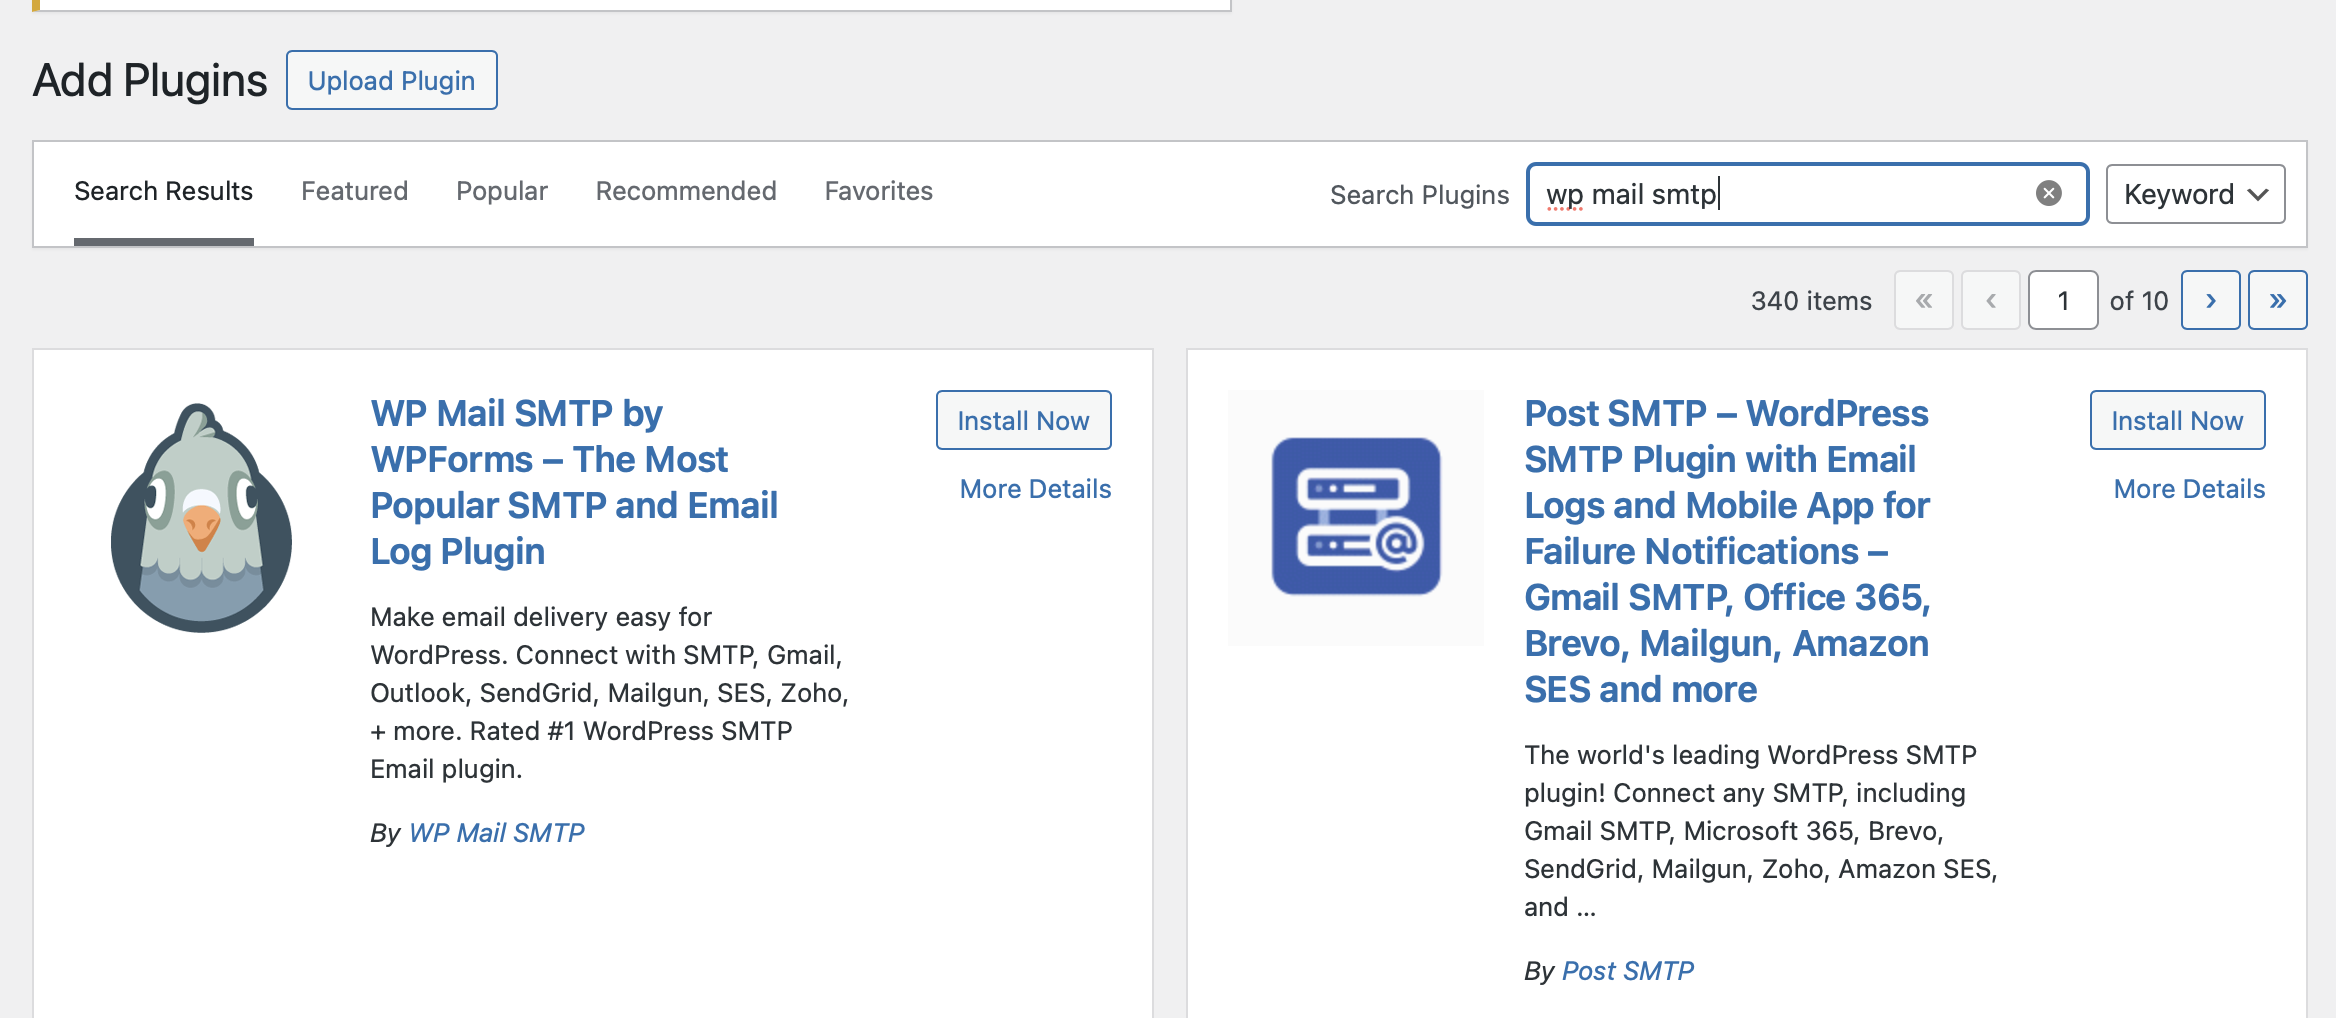
The Plugin screen lists all the plugins currently installed on your WordPress website.
To install a new plugin, click on the button labelled ‘Add New’.

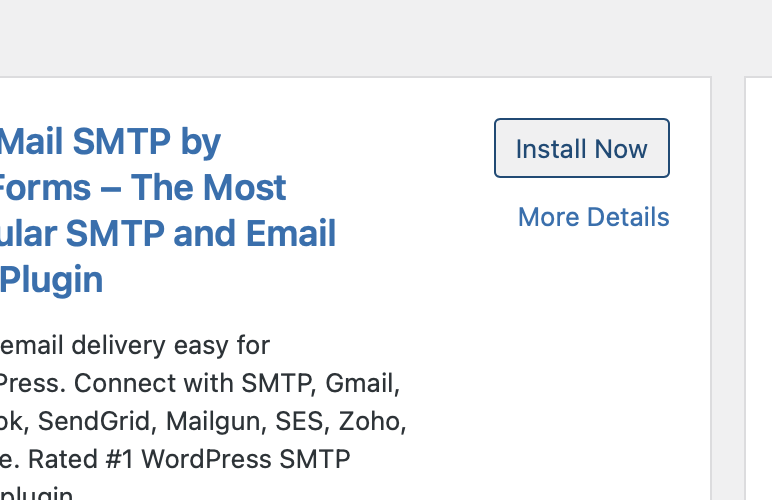
STEP 4
Find ‘WP Mail SMTP’
On the add plugin screen, you can browse popular and recommended plugins, as well as search for something more specific using the ‘Search plugins’ form.
Use the search field to find ‘WP Mail SMTP’ and select the first plugin.
STEP 5
Install the plugin
When you have found the plugin, simply click on the Install Now button to begin installing the plugin.
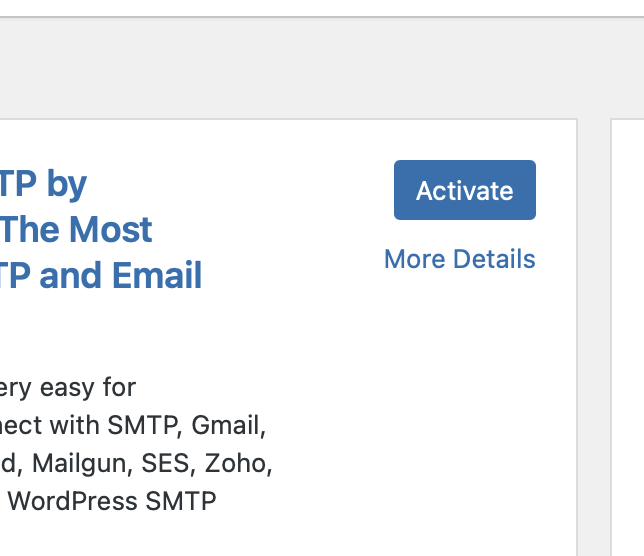
STEP 6
Activate the plugin
After the plugin is installed, the ‘Install Now’ button will turn in to a blue ‘Activate’ button. Press this button to activate WP Mail SMTP.
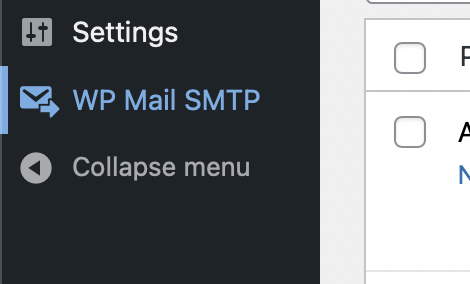
STEP 7
Select ‘WP Mail SMTP’
Now that the plugin is installed and activated, you should be able to see a ‘WP Mail SMTP’ menu in your WordPress admin menu’s side bar. Click this button to begin configuring the plugin.
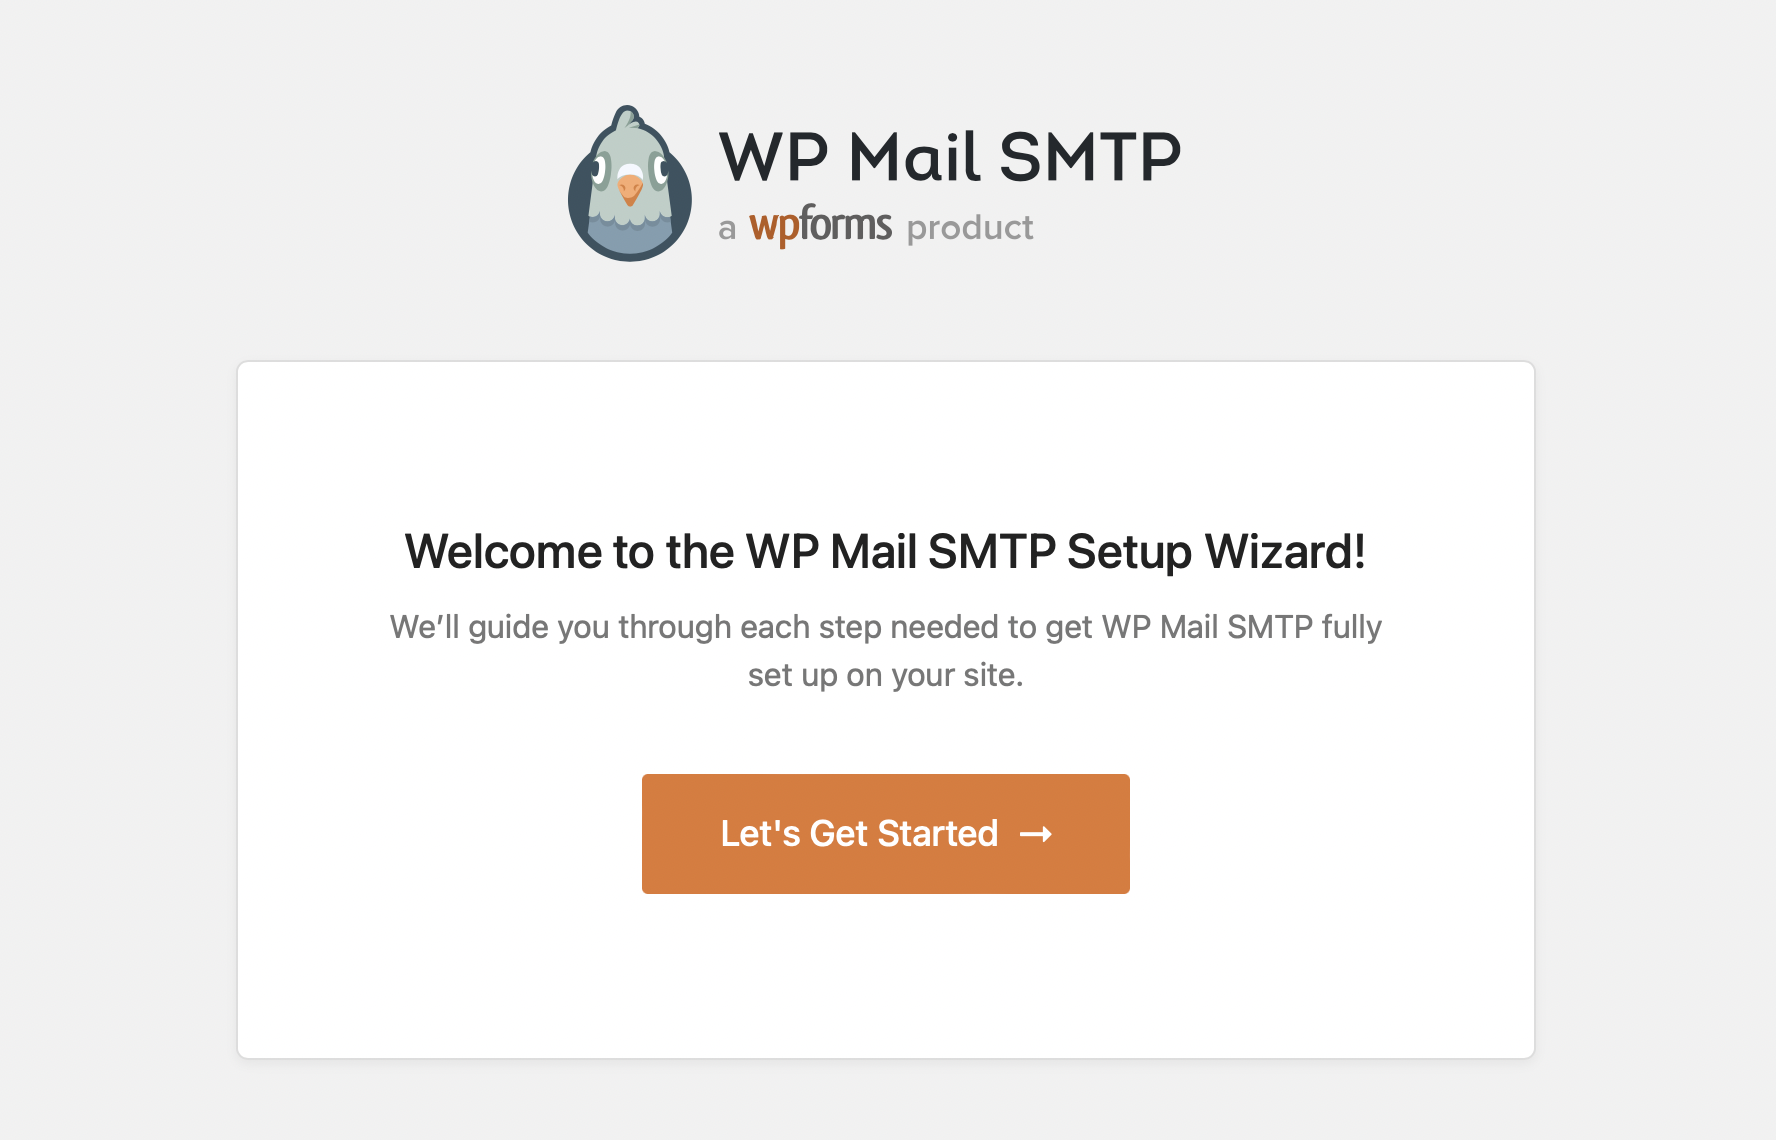
STEP 8
Run the setup wizard.
When you access WP Mail SMTP’s settings for the first time, you will be prompted to configure the plugin using the wizard.
Click ‘Let’s Get Started’ to begin.
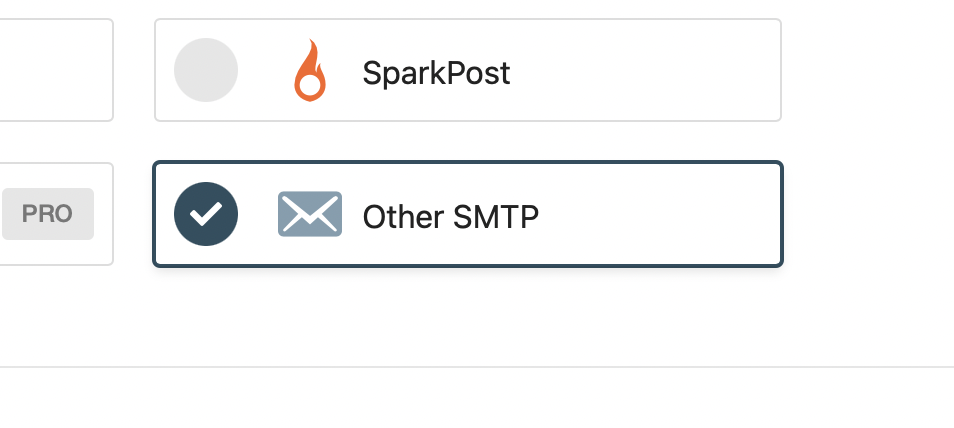
STEP 9
Select ‘Other SMTP’
From the list of options available, select ‘Other SMTP’ to begin configuring the plugin to use 34SP.com’s SMTP settings.
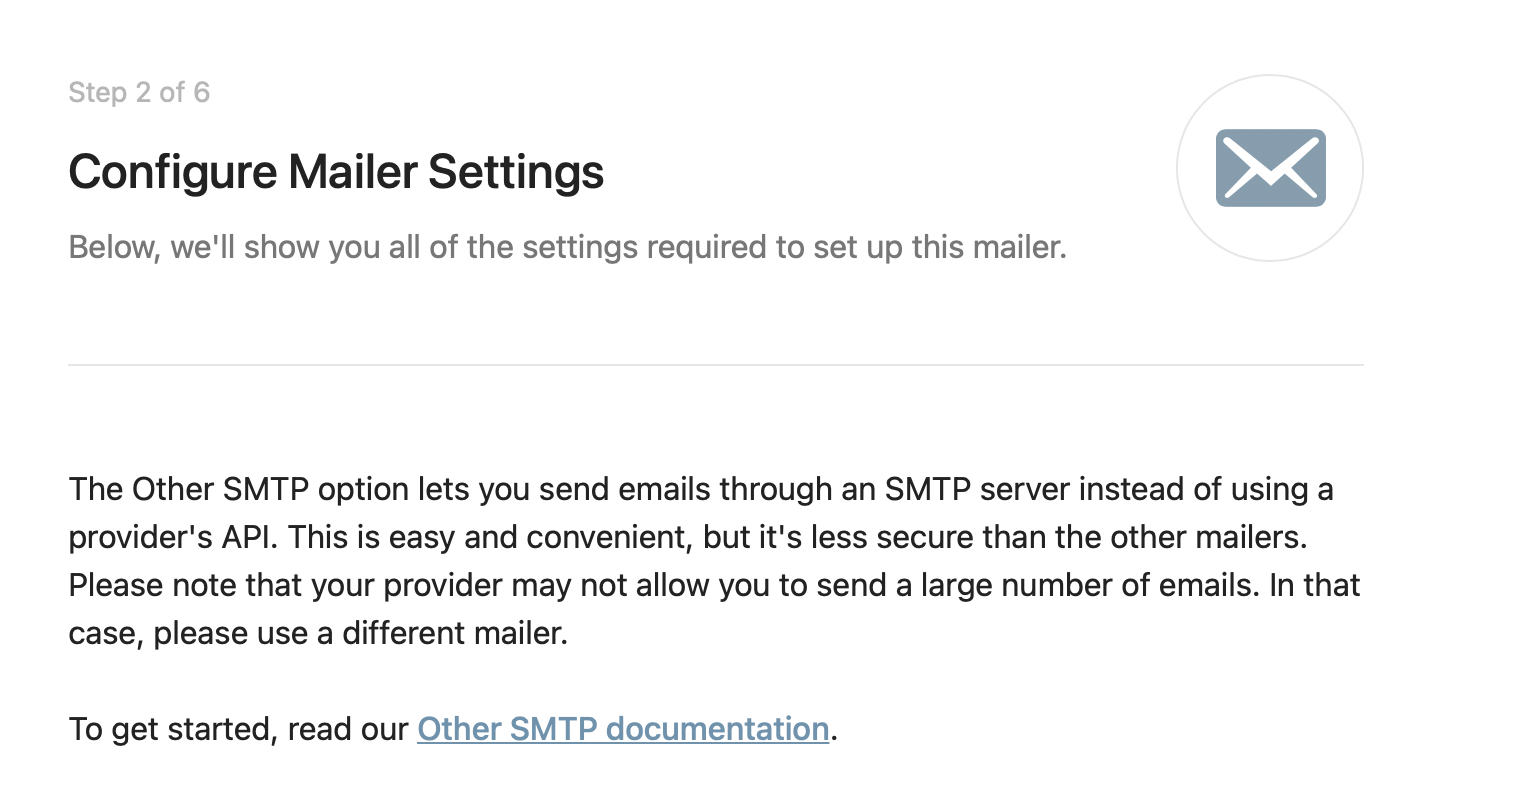
STEP 10
Configure Mailer Settings
The next page in the setup wizard will ask for some settings to configure 34SP.com’s SMTP mail. The settings are as follows:
SMTP Host: smtp.34sp.com
SMTP Username: (The email address you created in part 1)
SMTP Password: (The password for the email address you created)
Encryption: TLS
Port: 587
The settings will need to use a mailbox that is addressed to the domain you are setting the plugin up on.
STEP 11
Save and Continue
Click the orange ‘Save and Continue’ button to save your mail configuration settings.
WordPress forms will not be configured to use SMTP mail upon saving.
