Applies to:
Universal Hosting
Reseller Hosting
Difficulty:
Easy
Time Needed:
5 minutes
Introduction
This is a quick step-by-step walkthrough for managing your websites update policy via the 34SP.com Control Panel.
34SP.com can automatically manage and apply updates to your hosting account, ensuring up-to-date software is running on your server. For the majority of users, we recommend that you choose either ‘Daily’ or ‘Weekly’ updates, for improved security and performance.
If your website uses out-of-date or deprecated code, 34SP.com does not advise using automatic updates. In this instance, we recommend leaving updates set to ‘Manual’, and not applying any future updates until the code on your website has been updated.
How to manage your update policy
STEP 1
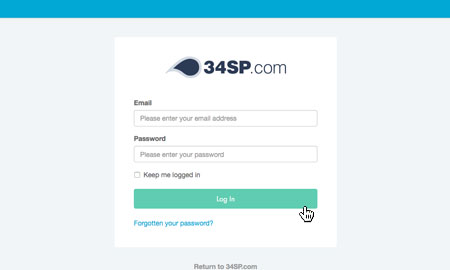
Login to your account
Firstly, you’ll need to login to your 34SP.com account at https://account.34sp.com.
STEP 2
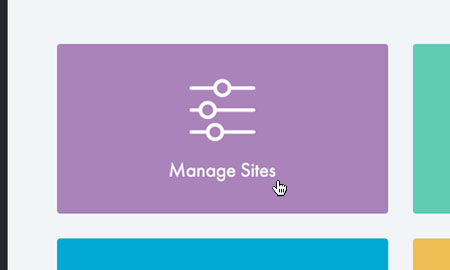
Choose ‘Manage Sites’
Once you have logged in, click on the ‘Manage Sites’ icon.
This will bring up a list of websites or domain names you have in your 34SP.com account. Simply choose the website you wish to edit by clicking on it.
STEP 3
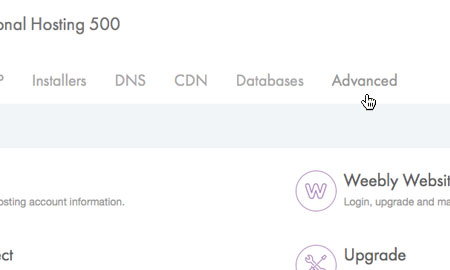
Select ‘Advanced’
After you have clicked on the website you wish to edit, you will be presented with your website overview page. Choose ‘Advanced’ from the product navigation.
STEP 4
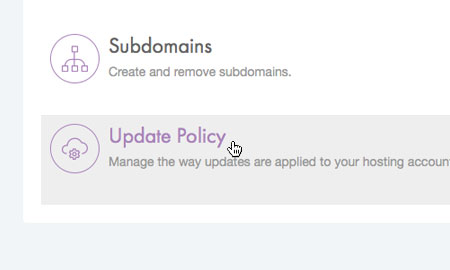
Choose ‘Update Policy’
Then click on the icon labelled ‘Update Policy’.
STEP 5
Managing your Update Policy
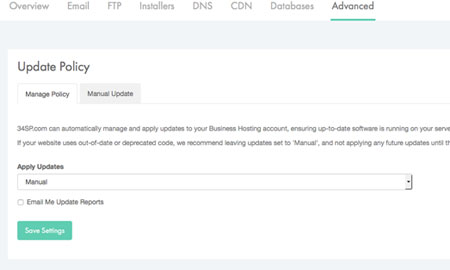
The ‘Update Policy’ page provides an overview of your current update policy.
STEP 6
Changing your Update Policy
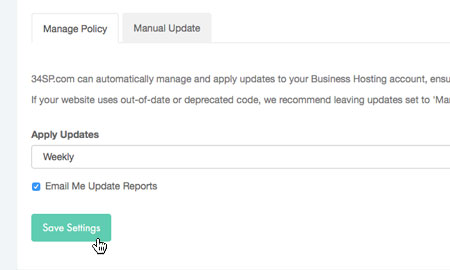
To change the Update Policy, simply choose your preferred update interval in the form provided. When you’re done, click ‘Save Settings’ to save your changes.
STEP 7
Setting Manual Update
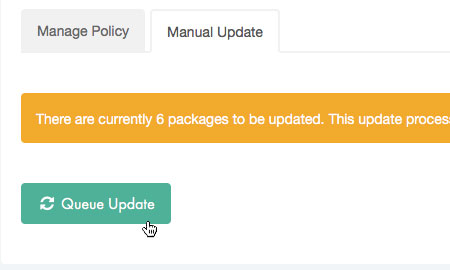
If you have chosen ‘Manual’ as your update interval, you will be required to approve each update before it is installed. To do this, simply click on the tab labelled ‘Manual Update’ and choose ‘Update Now’ to install the package updates.
