Applies to:
Professional Hosting
Universal Hosting
WordPress Hosting
Difficulty:
Easy
Time Needed:
5 minutes
Contents
Introduction
This is a quick step-by-step guide to editing, adding and removing email addresses via the 34SP.com Control Panel.
Managing email addresses
STEP 1
Login to your account
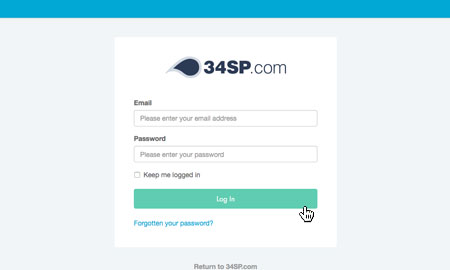
Firstly, you’ll need to login to your 34SP.com account at https://account.34sp.com.
STEP 2
Choose ‘Manage Sites’
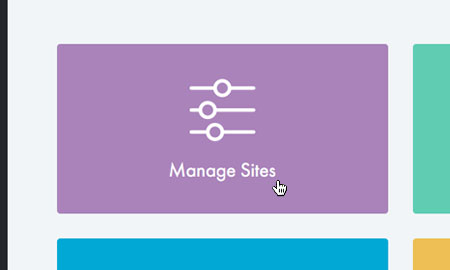
Once you have logged in, click on the ‘Manage Sites’ icon. This will bring up a list of websites or domain names you have in your 34SP.com account. Simply choose the website or domain name to wish to edit by clicking on it.
STEP 3
Choose ‘Email’
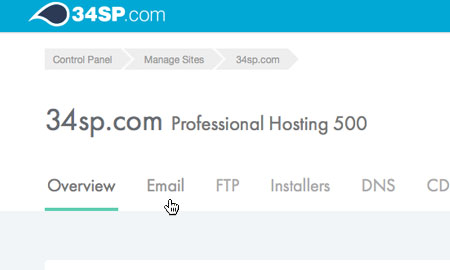
After you have clicked on the website you wish to edit, you will be presented with your website overview page. Choose ‘Email’ from the product navigation.
STEP 4
Managing email addresses
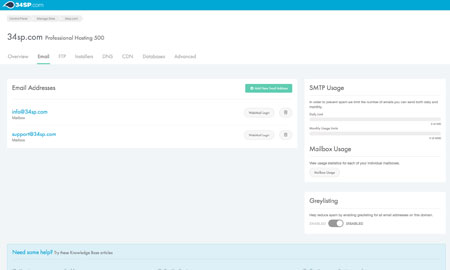
The ‘Email Addresses’ page provides an overview of your email addresses, with each individual email address listed in a table. Along with viewing each email address you can access, edit or remove individual email addresses via the table, by clicking on the relevant icon.
How to add a new email address
STEP 1
Add an email address
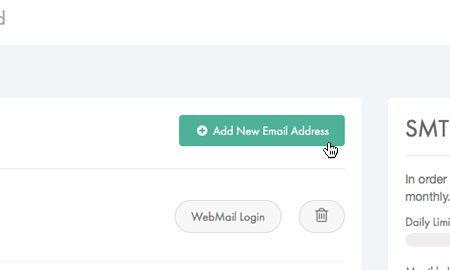
If you wish to add a new email address, simply click on the button labelled ‘Add New Email Address’ when viewing the ‘Email Addresses’ page.
STEP 2
Enter email address information
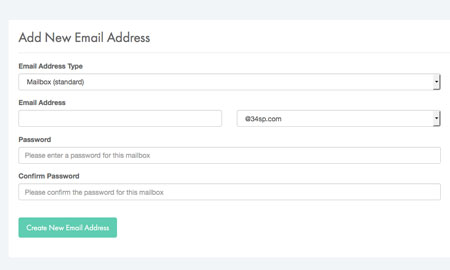
This will bring up a form. Simply fill in the form with the relevant information.
When you’re done, click ‘Create New Email Address’ to save your changes.
How to edit an existing email address
STEP 1
Edit a email address
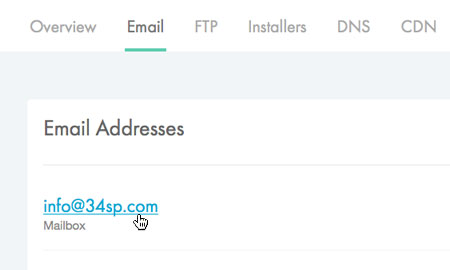
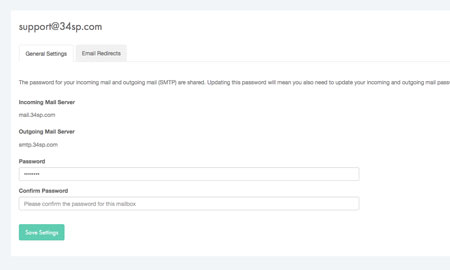
Due to security reasons, it is not possible to view a password for an email account. If you do not know you mailbox password, we recommend you reset it. If you wish to edit the password of an existing email address simply click on the name of the email address you wish to edit.
STEP 2
Enter new password
This will bring up a form. Simply fill in the form with your new password. When you’re done, click ‘Save Settings’ to save your changes.
Please note: Each mailbox shares the same password for incoming and outgoing (SMTP) mail. If you change your password, you will need to update both the incoming and outgoing mail setting in your email client.
How to access webmail
STEP 1
Accessing webmail
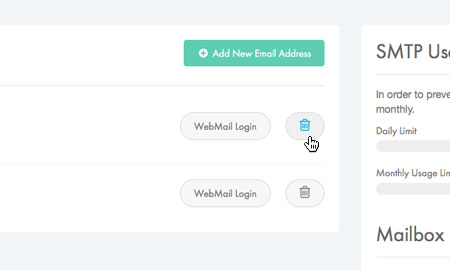
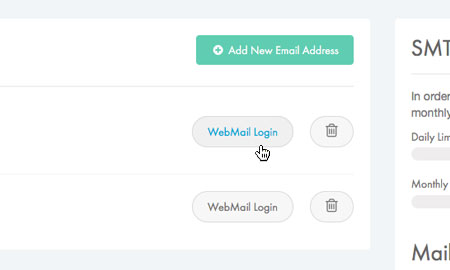
To access webmail for a particular email address simply click on the ‘Webmail Login’ button (the box with an arrow icon) for the email address you wish to access, when viewing the ‘Email Addresses’ page.
Please note: Email addresses that are set up as redirects do not have webmail.
STEP 2
Logging into webmail
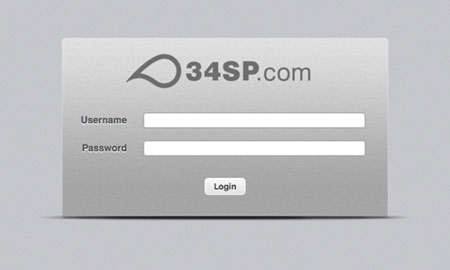
This will bring up a login form. Enter the email address you wish to access for the ‘Username’ and the mailbox password for the ‘Password’. When you have entered the relevant details, click ‘Login’ to access webmail.
How to delete an email address
STEP 1
Remove email address
If you wish to delete an existing email address simply click on the ‘Remove’ button (the ‘trash’ icon) for the email address you wish to edit, when viewing the ‘Email Addresses’ page. This will remove the email address permanently.
Please note: If you delete a mailbox, any mail inside that mailbox will also be removed.
