Introduction
This is a step-by-step walkthrough for viewing usage on your hosting account.
It is important to be aware of your storage usage on your hosting account; running out of disk space can lead to performance issues and potential down time. At 34SP.com we do try to preempt this with automated upgrades to your hosting account when you get close to the limit, however keeping your storage space within the limit provided will prevent any undesired performance issues or billing increases.
Checking storage space
STEP 1
Login to your account
Firstly, you’ll need to login to your 34SP.com account at https://account.34sp.com.
STEP 2
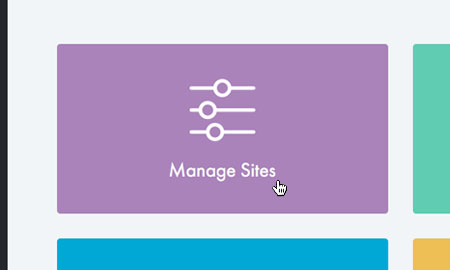
Choose ‘Manage Sites’
Once you have logged in, click on the ‘Manage Sites’ icon. This will bring up a list of websites or domain names you have in your 34SP.com account. Simply choose the website or domain name to wish to edit by clicking on it.
STEP 3
Select ‘Settings’
From the navigation menu, select the ‘Settings’ button beside the hosting you wish to inspect.

STEP 4
Select ‘Usage’
From the top navigation menu, select ‘Usage’.

STEP 5
Check your usage
Your storage breakdown is listed on this page. You can view the total disk space used per domain, as well as a list of your highest usage paths on the hosting account.
You can use this as a guide for where to potentially free up data storage. For example, if you notice a specific backup plugin directory had high usage you could free up more disk space by removing some backup files.
If you need further advice on where to clear up storage space on your hosting, please contact our support team and we will be happy to offer advice.
