This is a guide for how to set up the Symfony on Professional or Reseller Hosting. This is considered an intermediate level task, so if you require assistance setting up our support team will be happy to help.
STEP 1
SSH in to your hosting
Firstly, you’ll need to use SSH to access your site’s files. The following command will allow you to login:
ssh USERNAME@IP
Replacing ‘USERNAME’ with your SFTP username and ‘IP’ with the IP address of your server.

STEP 2
Change directory to ‘private’
Change in to your private directory using:
cd private/

STEP 3
Create a ‘cache’ directory.
Create a directory for the cache by typing the following command:
mkdir cache

STEP 4
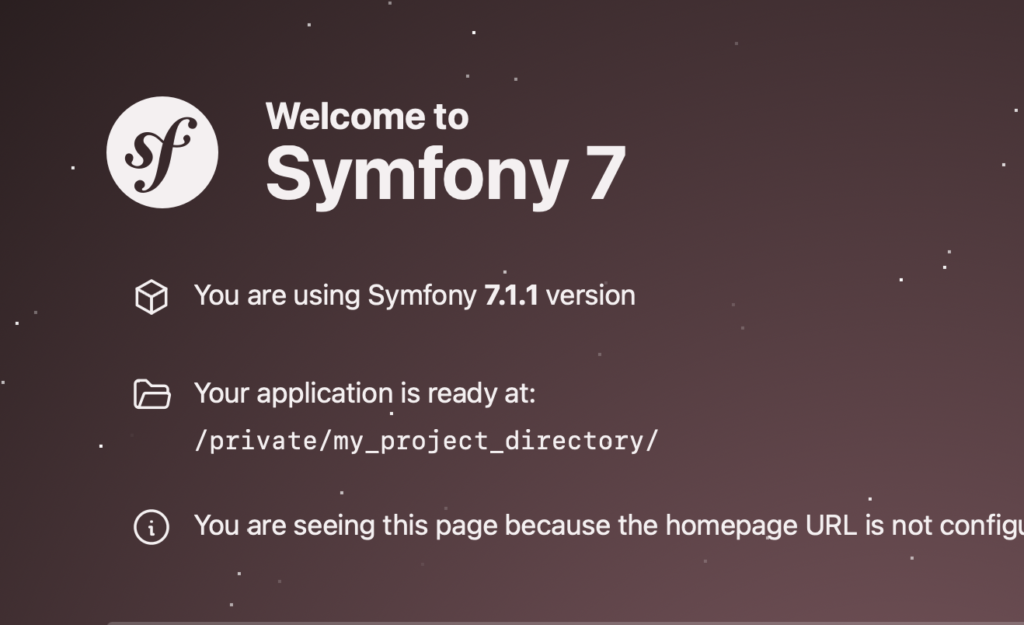
Create a project
Install Symfony creating a project as follows:
COMPOSER_CACHE_DIR=/private/cache composer create-project symfony/skeleton:"7.1.*" my_project_directory

STEP 5
Require webapp
Use the following commands:
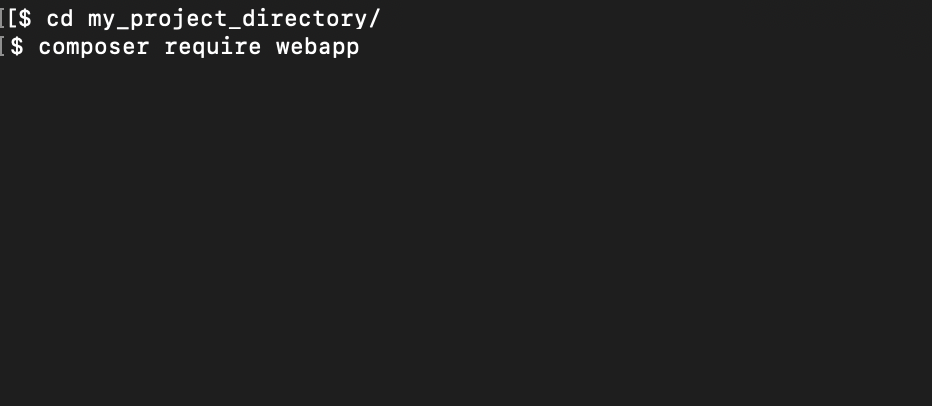
cd my_project_directory
Followed by:
composer require webapp
STEP 5
Create a symlink
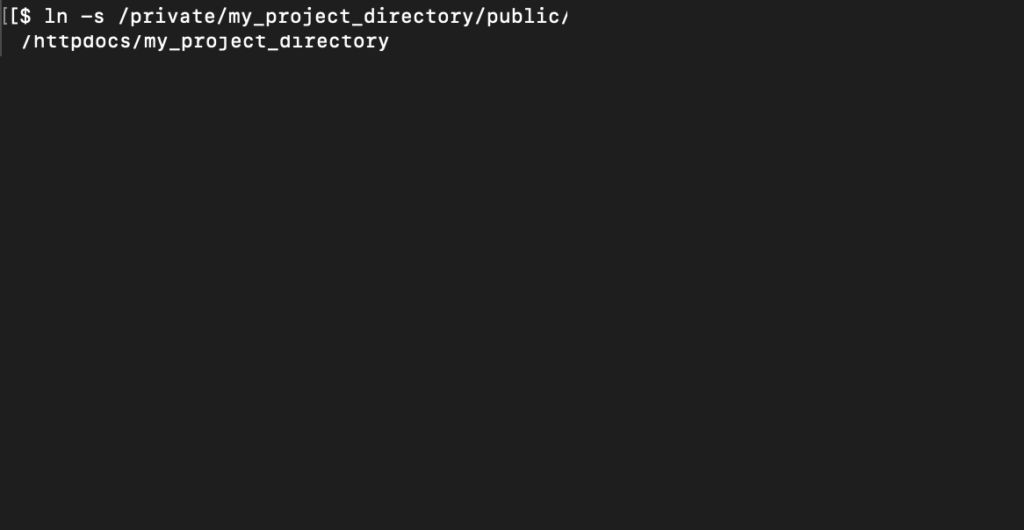
Use the following command to create a symlink:
ln -s /private/my_project_directory/public/ /httpdocs/my_project_directory
After this the application should load in a subdirectory format such as: http://domain/my_project_directory
STEP 7
Installing to the root directory
To install the application to your root directory you will need to create a .htaccess file within the http docs of your website containing the following text:
RewriteEngine On
RewriteRule ^/my_project_directory/index.php$ - [L]
RewriteCond %{REQUEST_FILENAME} !-f
RewriteCond %{REQUEST_FILENAME} !-d
RewriteRule . /my_project_directory/index.php [L]
RewriteRule ^$ /my_project_directory/index.php [L]
After this the application should load on the root of yourdomain.com