Applies to:
Reseller Hosting
Difficulty:
Easy
Time Needed:
5 minutes
Introduction
This is a quick step-by-step walkthrough for installing Fail2ban on a Reseller Hosting account, via the Plesk Onyx control panel.
Fail2ban scans log files and bans IP addresses that show the malicious signs, such as too many password failures or seeking for exploits.
Installing Fail2ban with Plesk Onyx
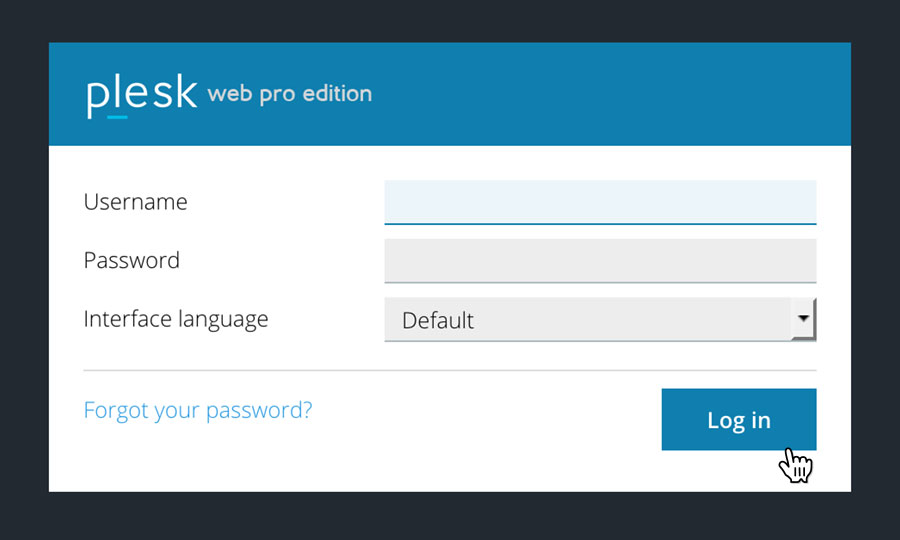
STEP 1
Login to your account
Firstly you’ll need to login to your Plesk Onyx control panel, which will be at a URL similar to https://your_server_number.xenserve.com:8443/
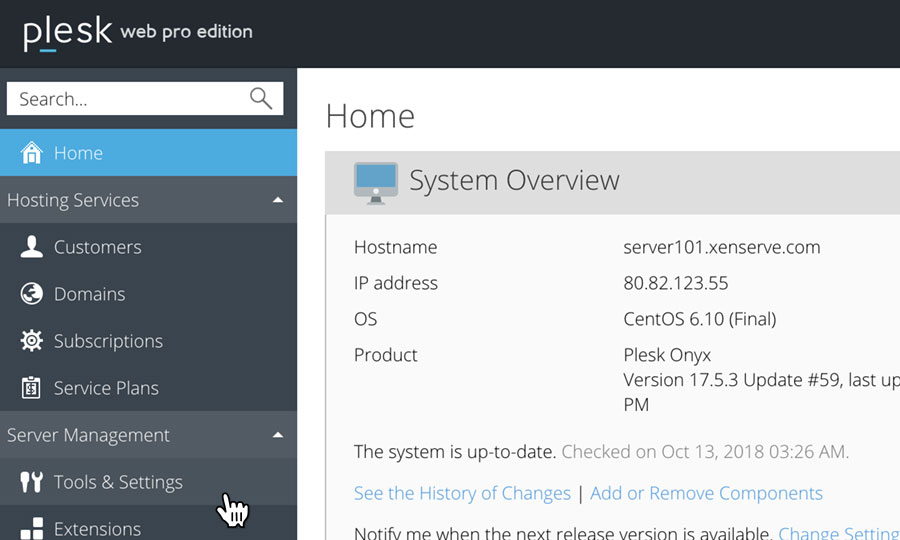
STEP 2
Choose ‘Tools & Settings’
Once you have logged in, click on the ‘Tools & Settings’ option, in the left hand menu.
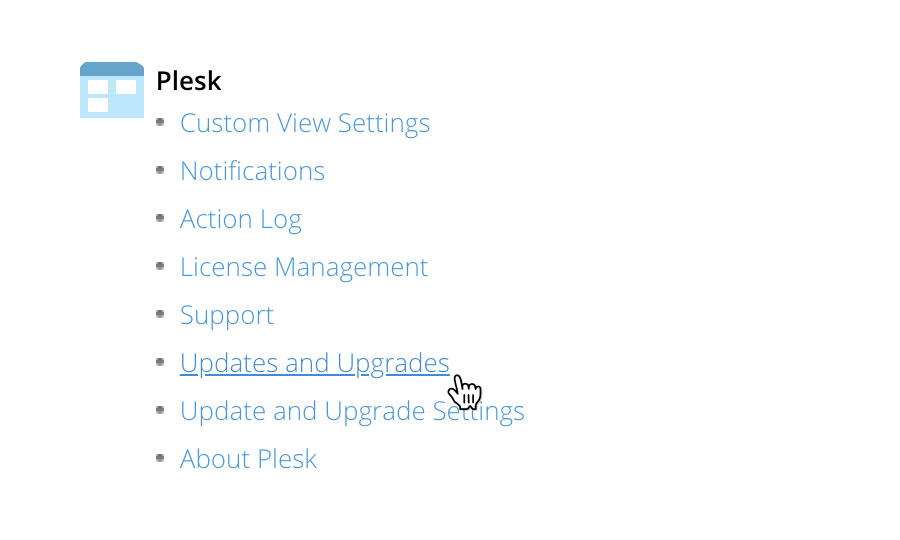
STEP 3
Choose ‘Updates and Upgrades’
This will bring up a list of categories.
Locate the heading ‘Plesk’, then click on the option ‘Updates and Upgrades’.
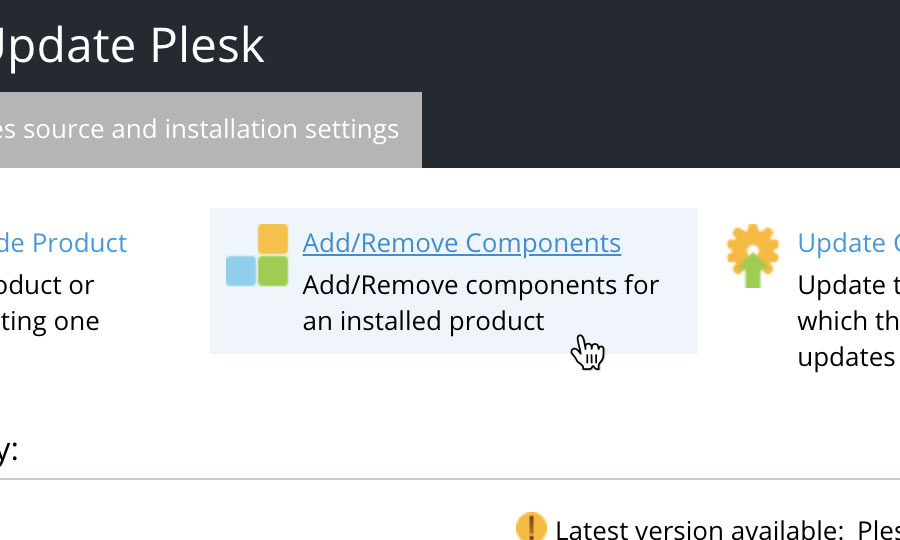
STEP 4
Choose ‘Add/Remove Components’
This will open a new tab or window. Simply click on the option labelled ‘Add/Remove Components’.
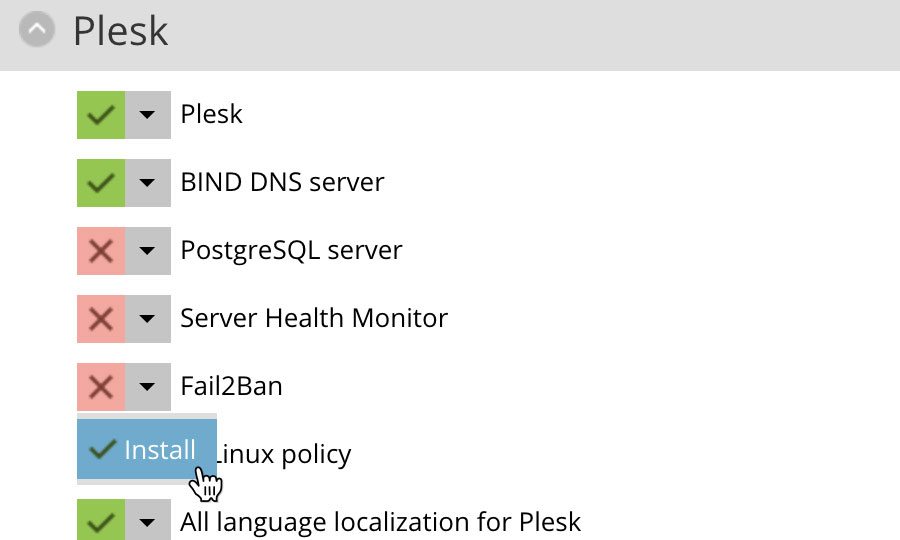
STEP 5
Install Fail2ban
From the list of available updates and upgrades, location ‘Fail2ban’, click on the down arrow button, and choose ‘Install’.
The scroll to the bottom of the list, and click on the button labelled ‘Continue’.
Fail2ban will then be installed, you can track the progress of the installation via the operations log provided on screen.