Applies to:
Reseller Hosting
Difficulty:
Easy
Time Needed:
5 minutes
Introduction
This is a quick step-by-step walkthrough for accessing file manager on a Reseller Hosting account, via the Plesk Onyx control panel.
Accessing File Manager in Plesk Onyx
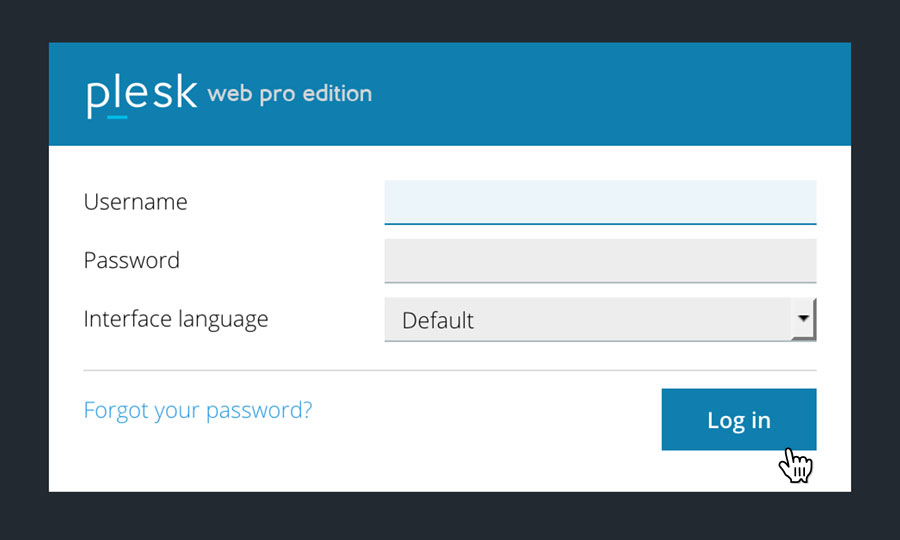
STEP 1
Login to your account
Firstly you’ll need to login to your Plesk Onyx control panel, which will be at a URL similar to https://your_server_number.xenserve.com:8443/
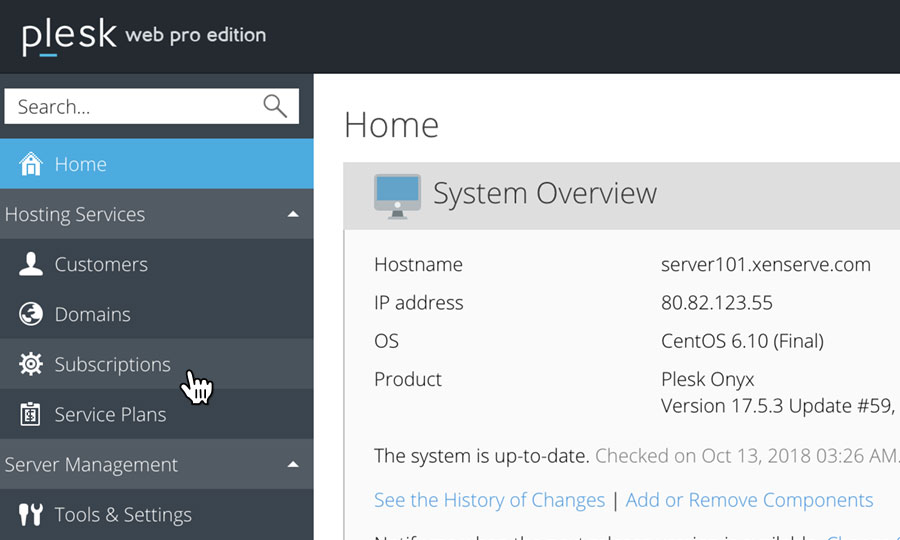
STEP 2
Choose ‘Subscriptions’
Once you have logged in, click on the ‘Subscriptions’option, in the left hand menu.
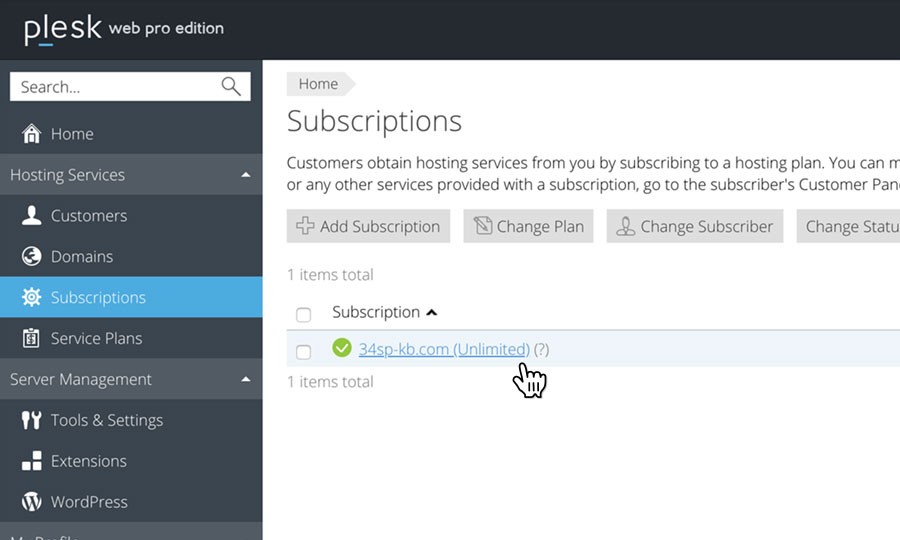
STEP 3
Choose Your Site
This will bring up a list of websites you have on your Reseller Hosting account.
Locate the domain name you wish to access, then simply click on it.
STEP 4
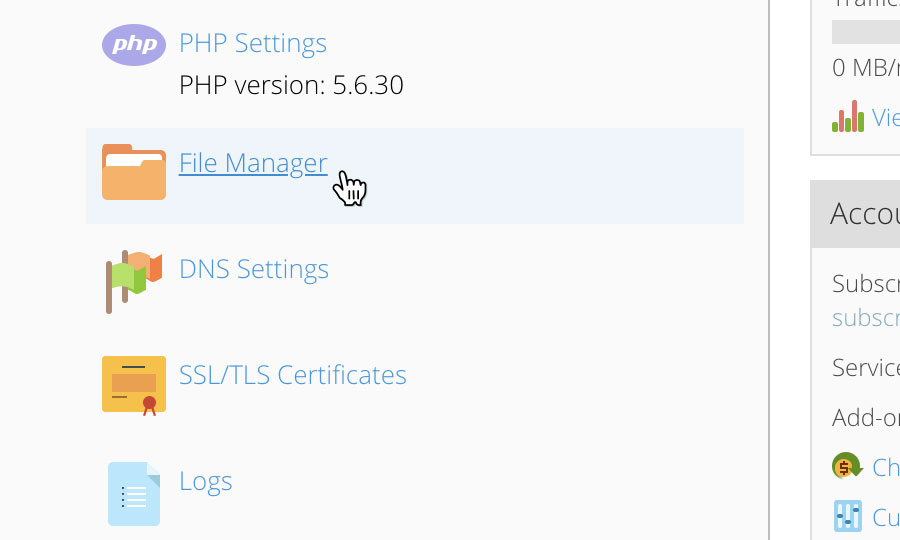
Choose ‘File Manager’
This will bring up a an overview of your selected domain. Click on the link ‘File Manager’.
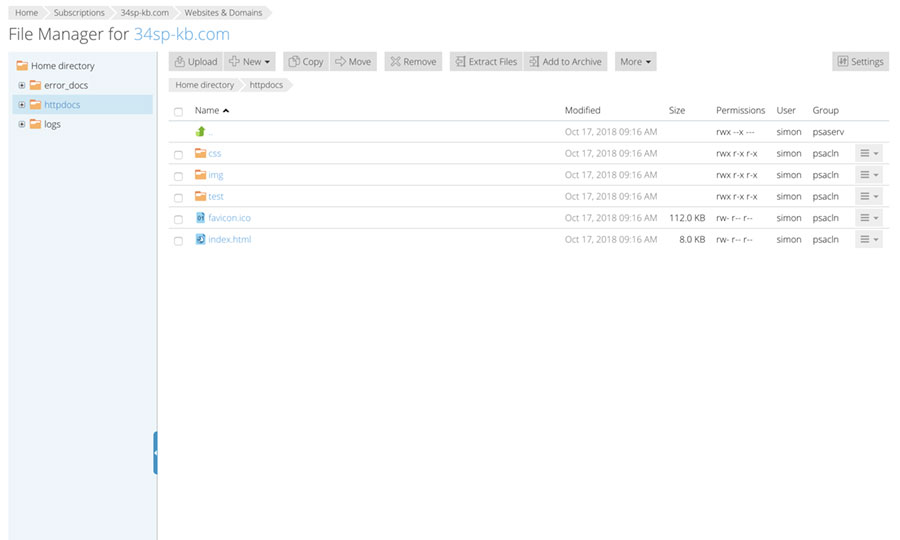
STEP 5
Manage your website files
You will now have access to the file manager for your chosen domain name. From this page you can edit, add and delete files and directories as you wish.