Applies to:
WordPress Hosting
Difficulty:
Easy
Time Needed:
10 minutes
Introduction
With WordPress Hosting, you can use version control systems including Git and SVN to manage your website files.
Please note: To use Git, you need to ensure SFTP is unlocked. For help on how to use SFTP Lock, please read ‘How to lock and unlock SFTP access‘.
Contents
How to add a Git repo
STEP 1
SSH into your site
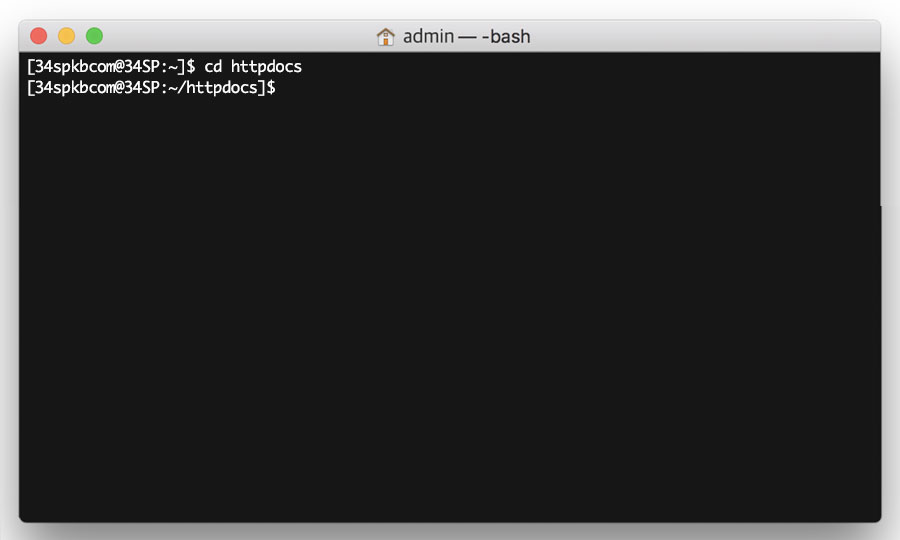
Firstly, you’ll need to SSH into your WordPress Hosting container and navigate to the /httpdocs folder, for the site you wish to add.
For a guide on how to SSH into your WordPress Hosting container, please read ‘How to login to WordPress Hosting using your SSH key’.
STEP 2
Add your Git repository
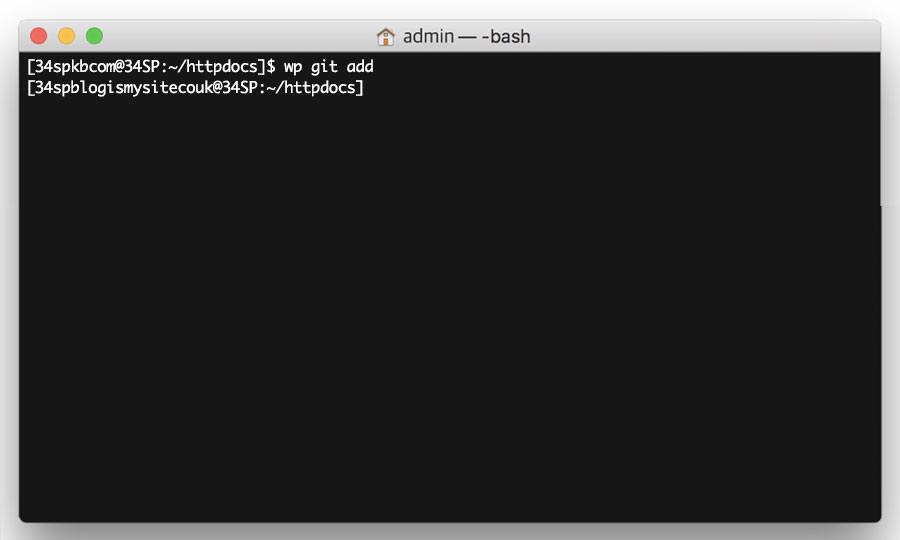
To create a new repository, type the following command:
wp git add
This will trigger the creation of a new git repo to be built in:
/var/repos/YOURSITE/
The new repo will be created with both a master and staging branch, both of which will be empty on creation.
How to set up a Git repo
STEP 1
Clone your repo
After you have created a new repo, go to your local files and navigate to where you want to create the local version of your site.
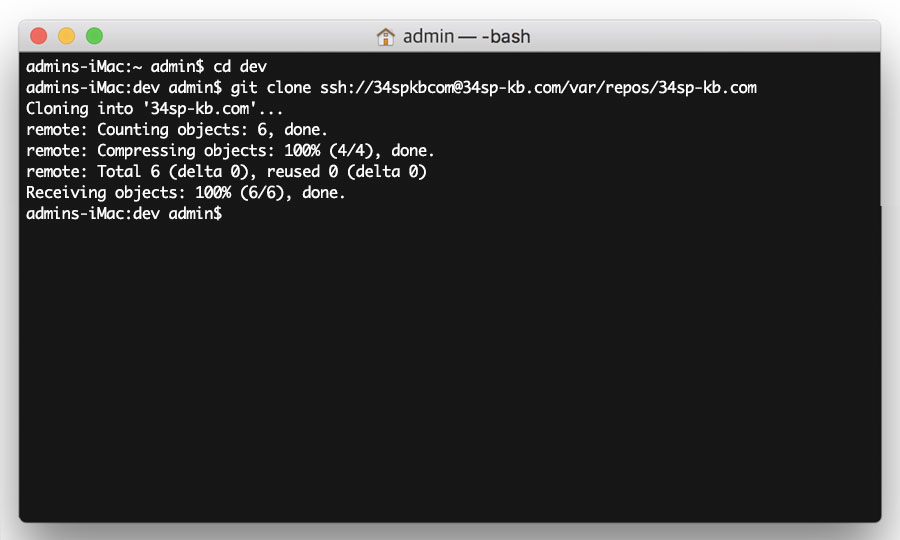
You can then clone your repo by entering the following command:
git clone ssh://USERNAME@YOURSITE/var/repos/YOURSITE
STEP 2
Set up staging
After your repo has successfully been cloned, simply view your local files by stepping into your newly created folder which will be at:
/YOURSITE
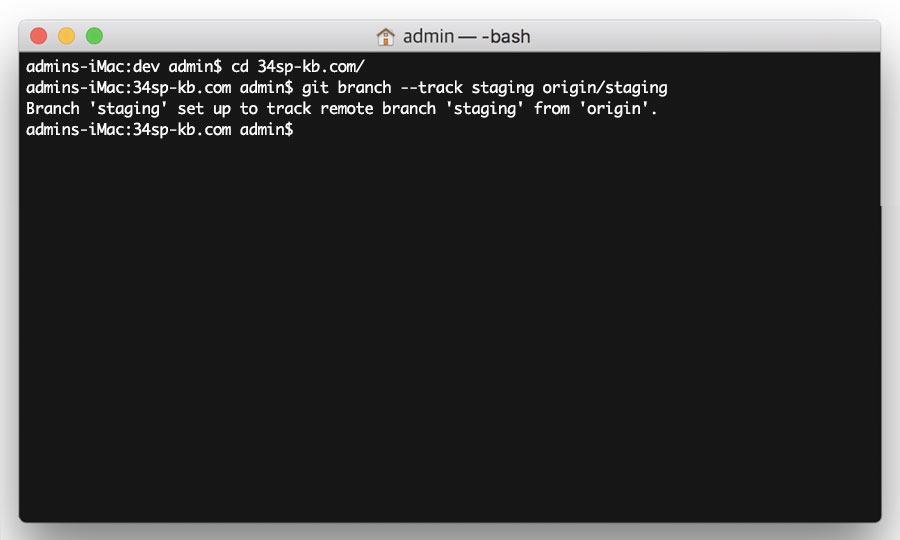
You can then set up ‘tracking’ for your staging branch. This means that when you push and pull on the staging branch, it automatically pushes and pulls to your staging site. To set up your staging branch with tracking, enter the following command:
git branch --track staging origin/staging
STEP 3
Fetch & pull
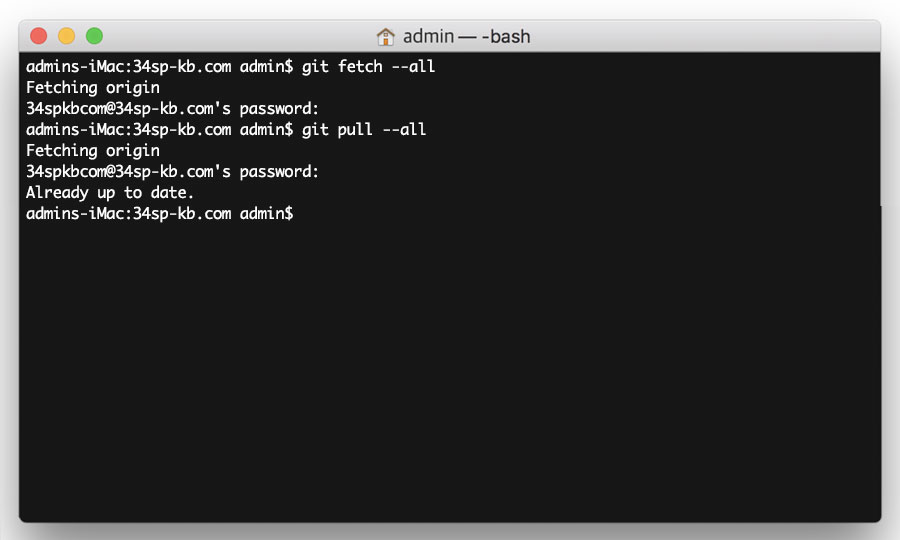
Then enter the following command:
git fetch --all
After the fetch is complete, pull with the following command:
git pull --all
After your pull is complete, you are ready and commit, push and pull any files you want.
As WordPress Hosting automatically updates your themes and plugins, we recommend only committing files you wish to update yourself (such as custom themes and plugins) to avoid conflicts.
How to push a Git repo
STEP 1
Pushing your changes to staging or master
To push your local files, simply enter the following command.
git push
If you commit changes on the master branch and push them, those changes will be pushed to your live site.
Similarly if you push commits made on the staging branch, those changes will be pushed to your staging site. For more details on staging sites, please read ‘Creating and accessing a staging area’.
Please note: When you push files, they will overwrite existing ones on your server.
