Applies to:
Professional Hosting
Universal Hosting
Reseller Hosting
Difficulty:
Easy
Time Needed:
10 minutes
Introduction
This is a quick step-by-step walkthrough for forcing your site to load via HTTPS, instead of HTTP.
We recommend all websites relying on SSL encryption take these steps to guarantee your website traffic is using an encrypted connection.
How to force HTTPS using the .htaccess file
STEP 1
Locate your .htaccess file
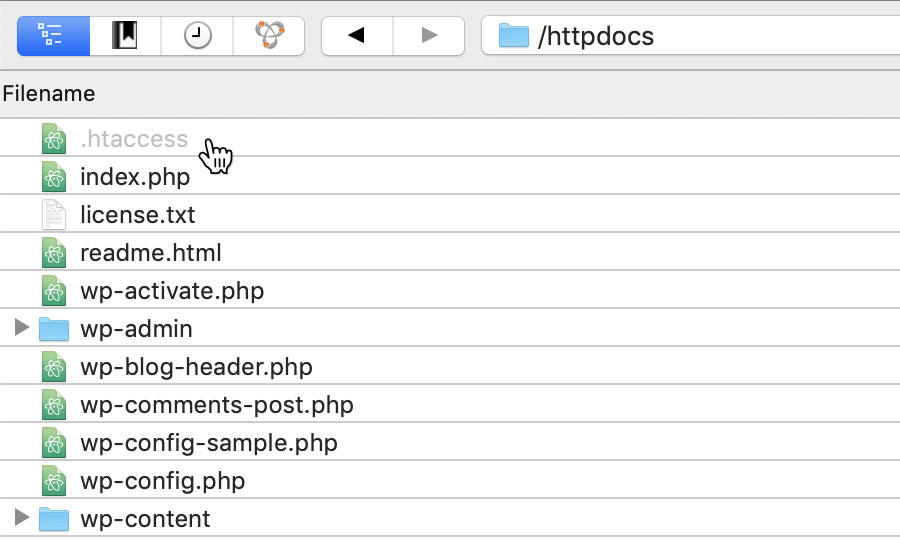
Firstly, you need to locate your .htaccess file using your preferred FTP client. This will be in your /httpdocs folder.
Be aware that .htaccess files are classed as ‘hidden’ files, so you may need to make sure hidden files are visible via your FTP client’s settings.
When you have found the .htaccess file, you’ll need to download it to your local machine and open it in your favourite code editor.
Again, because .htaccess files are hidden files, the file may not be visible after you have downloaded it. For Mac users, just open Finder and press CMD + SHIFT + ., to toggle hidden files on.

STEP 2
Force all traffic to use HTTPS
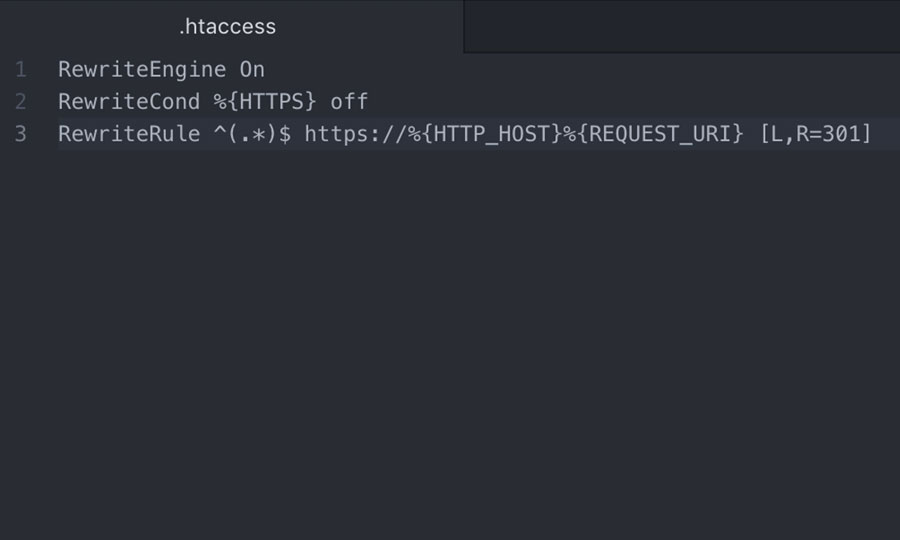
To force all traffic on your domain to use HTTPS, simply add the following. If you have existing code in your .htaccess file, you should add this above your current rewrite rules.
RewriteEngine On
RewriteCond %{HTTPS} off
RewriteRule ^(.*)$ https://%{HTTP_HOST}%{REQUEST_URI} [L,R=301]

STEP 3
Upload your updated .htaccess file
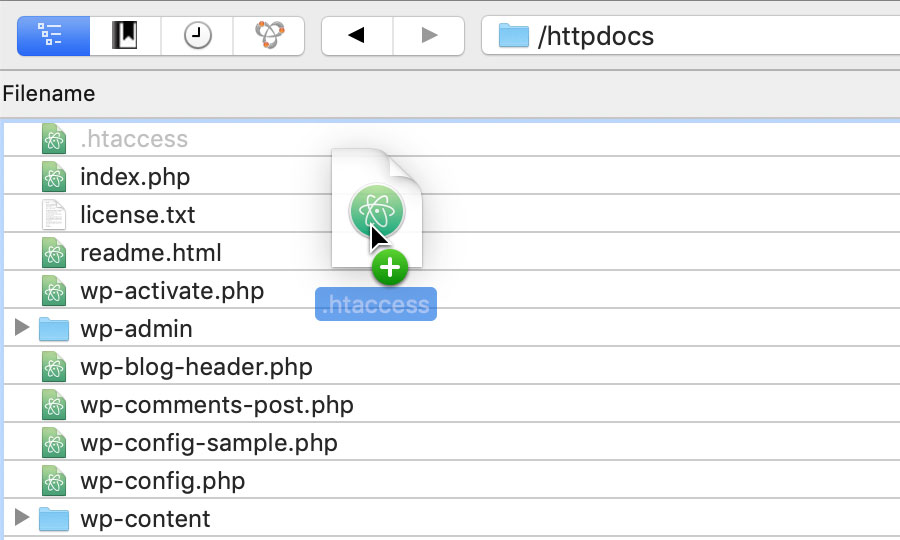
Once you have updated your .htaccess file, you need to upload it back into your /httpdocs folder.
Please note: We strongly recommend making a backup copy of your existing .htaccess file before overwriting it.
