Applies to:
Professional Hosting
Universal Hosting
Reseller Hosting
WordPress Hosting
Difficulty:
Easy
Time Needed:
5 minutes
Contents
Introduction
This is a step-by-step walkthrough for creating, editing and remove categories in WordPress.
Categories are used to organise posts into groups. Using categories, you can divide the content of your website into different sections, depending on the categories you create.
Creating a new category
STEP 1
Log in to the WordPress admin dashboard
Firstly, you’ll need to log in to the WordPress admin dashboard. To access the login screen, simply go to yourdomain.com/wp-admin.
At the login screen, enter your username and password into the fields provided, then click the button labelled ‘Login’.

STEP 2
Choose ‘Posts’
After logging in, you will be taken to the WordPress admin dashboard.
Use the navigation bar on the left-hand side of the screen, and choose ‘Posts’.

STEP 3
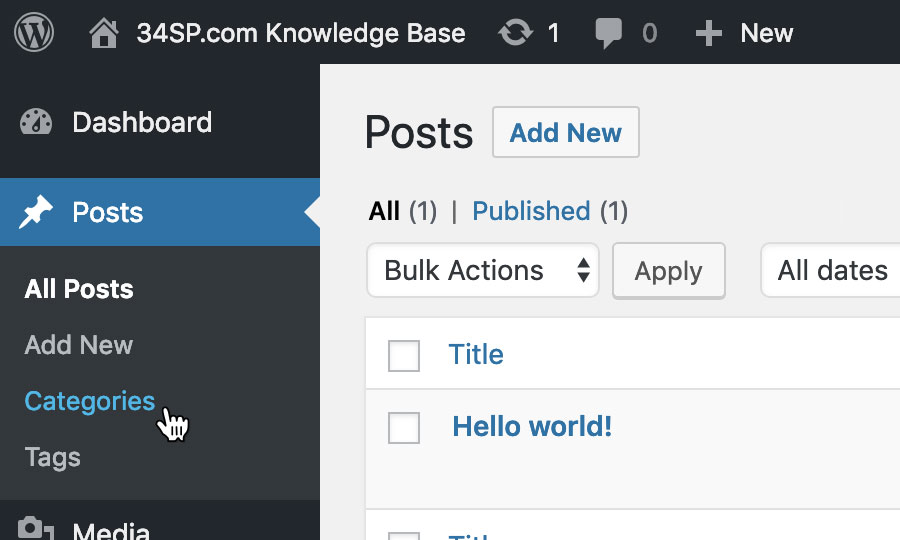
Choose ‘Categories’
Using the navigation bar on the left-hand side of the screen again, and choose ‘Categories’ from the list of options underneath ‘Posts’.
STEP 4
Add a new category
To add a new category, use the form on the left-hand side of the page.
Firstly, enter your category name into the field labelled ‘Name’.
When you create a category, you can view all the posts in that category by visiting its URL. WordPress will automatically create a URL for your category based on the category name. However, if you want to specify your own URL you can do so by entering one into the field labelled ‘Slug’. As URL’s cannot include spaces, all spaces will automatically be replaced by hyphens.
You can also create a hierarchy of categories. To create a hierarchy, click on the dropdown labelled ‘Parent Category’ and choose the category you wish to make the ‘parent’. The category you are creating will then become the ‘child’ of your ‘parent’ category.
If you wish to add a description, do so in the text box labelled ‘Description’. Descriptions are not required, and may or may not be displayed on your website depending on which WordPress theme you are using.
After entering your category information, click the blue button labelled ‘Add New Category’ to create your category.

Editing a category
STEP 1
Select your category
When viewing the categories screen, simply hover over your category list (located on the right-hand side of the screen) to view the category options, then click on the ‘Edit’ link.

STEP 2
Edit the category
You can then make changes to your category using the form provided.
Editing a category (including changing the category name) will change how the category is displayed on your website, however, any posts in the category will remain there regardless.
When you are have made the changes you wish to make, simply click ‘Update’ to save your changes.

Deleting a category
STEP 1
Removing a category
When viewing the categories screen, simply hover over your category list (located on the right-hand side of the screen) to view the category options, then click on the ‘Delete’ link.
Then click ‘OK’ to confirm you wish to delete the category.
Any posts in a category you have deleted will remain on your website, and will automatically be moved to the ‘Uncategorized’ category.
