Applies to:
Reseller Hosting
Difficulty:
Easy
Time Needed:
5 minutes
Contents
Introduction
This is a quick step-by-step guide for migrating a WordPress website to Reseller Hosting.
Backup your WordPress files
STEP 1
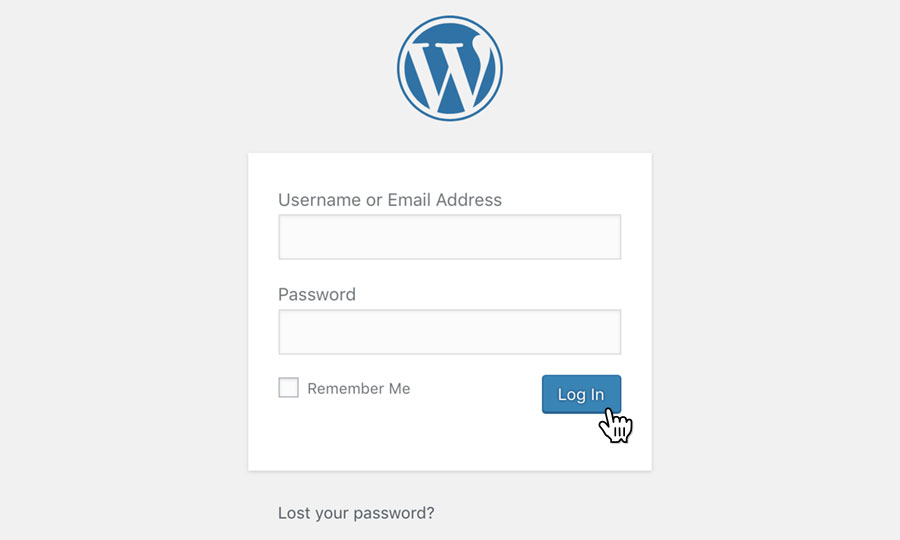
Login to your WordPress site
Firstly you’ll need to login to your WordPress Admin area, which will more than likely be at a URL similar to https://yourdomain.com/wp-admin
STEP 2
Choose ‘Plugins’, then ‘Add New’
Once you have logged in to the WordPress Admin area, navigate to the menu on the left hand side of the screen, and choose on the ‘Plugins’, then ‘Add New’ from the drop down menu.

STEP 3
Install ‘UpdraftPlus WordPress Backup Plugin’
This will bring up a list of all the plugins you have currently installed on your site.
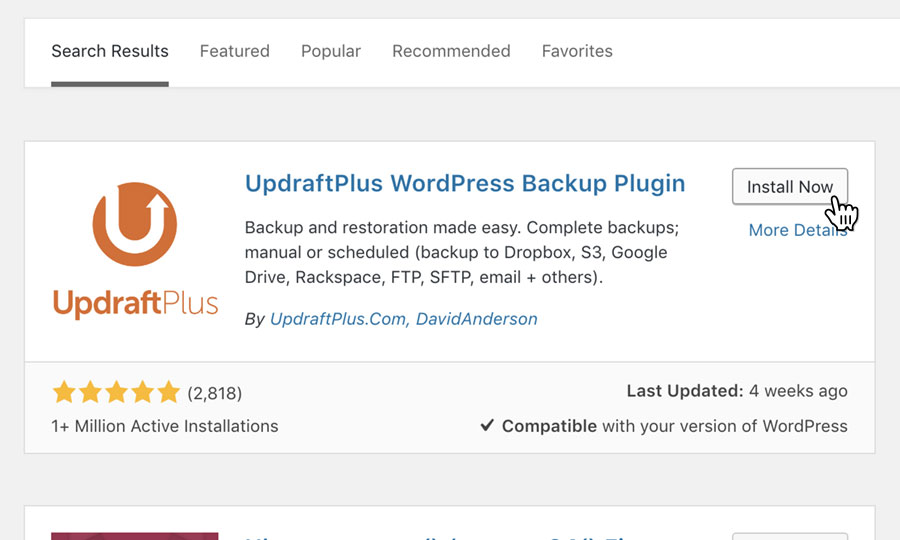
If you do not already have it installed, you will need to install a plugin called ‘UpdraftPlus WordPress Backup Plugin’. To do this, enter the plugin name into the plugin search (top right) field.
When you have found the plugin, simply click the button labelled ‘Install Now’ to install it.
STEP 4
Locate ‘UpdraftPlus WordPress Backup Plugin’
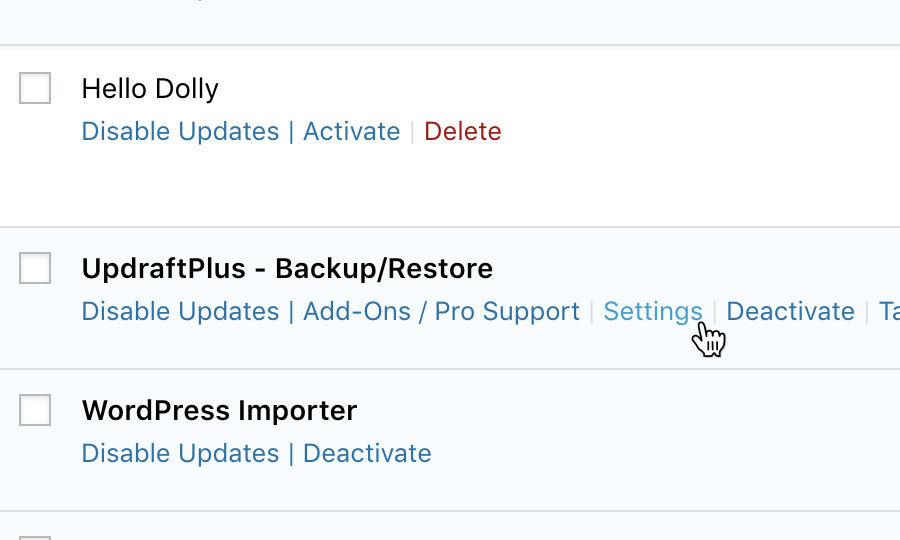
When the plugin has completed its installation, you will need to activate it. Once activated, return to the plugin page and locate the plugin ‘UpdraftPlus WordPress Backup Plugin’ from your list of plugins. Once located, click on the link reading ‘Settings’.

STEP 5
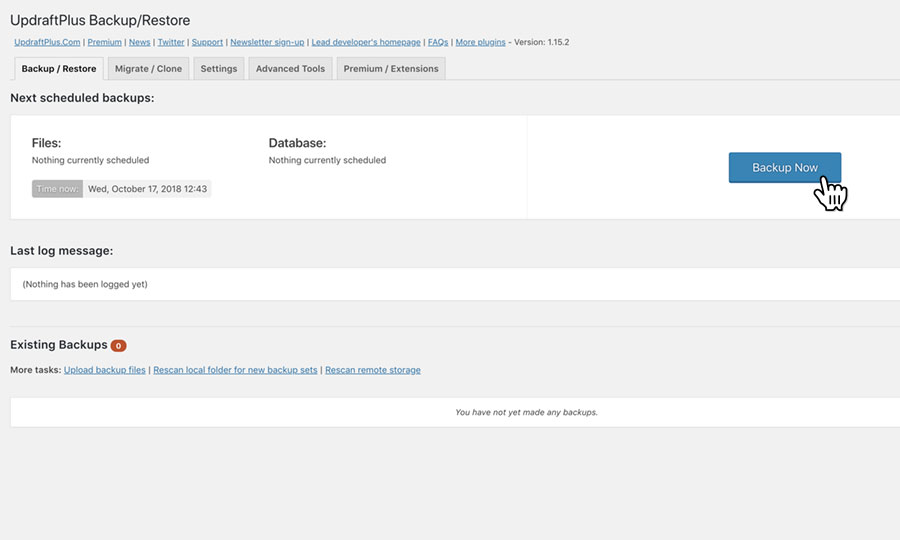
Back up your site
Click the button labelled ‘Back Up Now’ to begin backing up your site. This will open a dialog window, simply click the button ‘Back Up Now’ to proceed with your back up.
STEP 6
Download your backed up files
Once your back up has completed, click on the tab labelled ‘Existing Backups’. Click on the buttons labelled ‘Database’, ‘Plugins’, ‘Themes’, ‘Uploads’ and ‘Other’. Doing this will allow you to download them to your computer/local device.
Be sure to save these items somewhere notable, as you’ll be needing them at a later stage.

Set up the new site in your Reseller Control Panel
STEP 1
Login to your 34SP.com account
Firstly, you’ll need to login to your 34SP.com account at https://account.34sp.com.

STEP 2
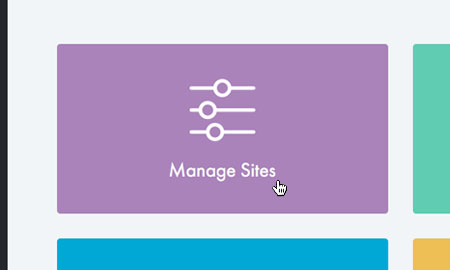
Choose ‘Manage Sites’ and select your Reseller Hosting
Once you have logged in, click on the ‘Manage Sites’ icon. This will bring up a list of websites or domain names you have in your 34SP.com account.
Select your Reseller Hosting from the list of options.
STEP 3
Choose ‘Manage’
Under the Sites menu, select ‘Manage’.

STEP 4
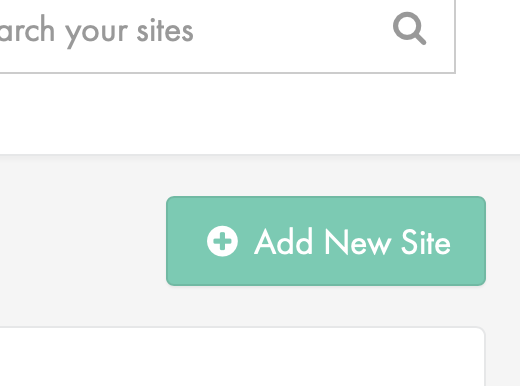
Select ‘Add New Site’
Select the green ‘Add New Site’ button to add a new website to your Reseller account.
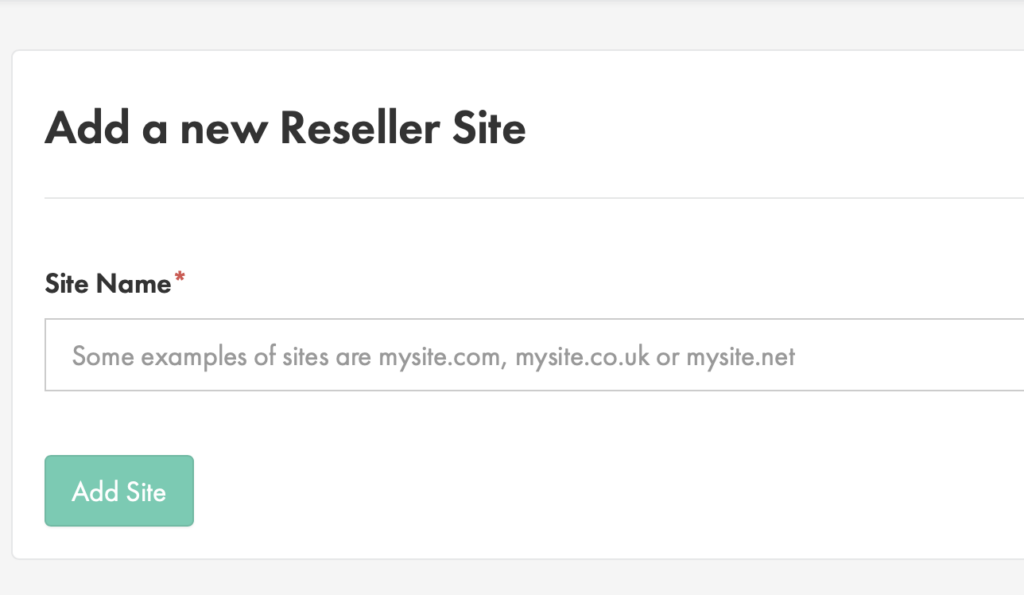
Fill in the name and click ‘Add Site’
STEP 5
Install WordPress
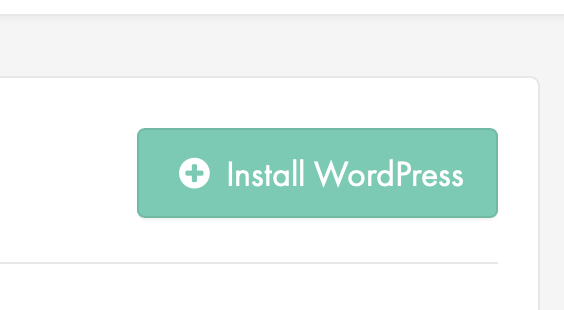
Once your website is setup in your Reseller hosting, you will be taken to the overview page.
From here you can select the ‘WordPress Tools’ button to begin installing a new WordPress installation to your website.
Click ‘Install WordPress’ and follow the steps to set up WordPress, and your admin username and password.

Access the new WordPress website
STEP 1
Access your new WordPress installation
Before you can access the Reseller website, you will need to update the hosts file on your computer. This file allows you to preview a site on a new server before it is taken.
To do this please follow our guide here.
Upload files to new server
STEP 1
Access your new WordPress installation
Before you upload your files, you’ll need to log into the your new WordPress installation. You can do this by clicking the automatic login button in the control panel or by going to http://yoursite/wp-admin and logging in manually.
Once you are logged in, you will need to install ‘UpdraftPlus WordPress Backup Plugin’ again, this time on your new WordPress installation. To do this, simply repeat steps 2-4 from Backup your WordPress files.
After ‘UpdraftPlus WordPress Backup Plugin’ has installed, return to the Plugin page, locate it in your list of plugins and click the ‘Settings’ button.
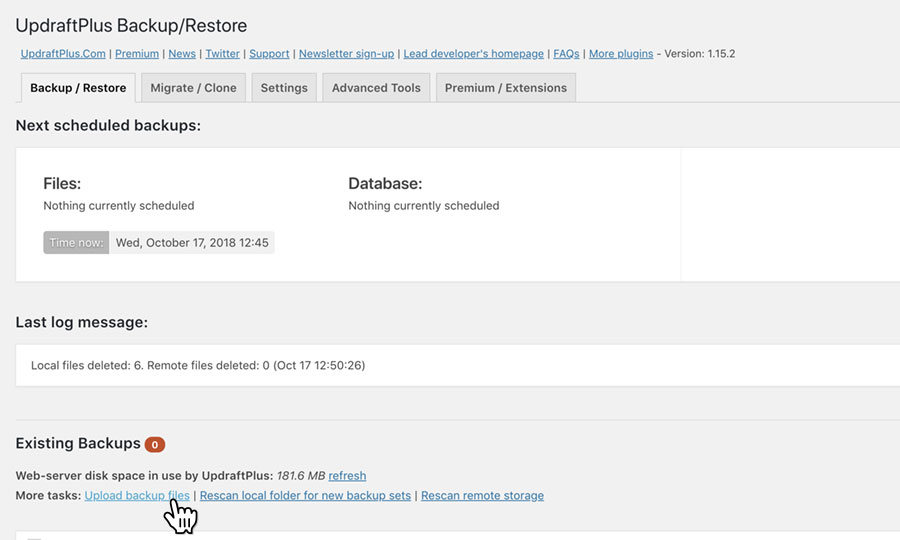
STEP 2
Upload your files
Click on the tab labelled ‘Existing Backups’, then click the link reading ‘Upload backup files’.
Select the files you downloaded from your previous backup, and add them one at a time. Once complete, you should see a row of buttons with the following labels; ‘Database’, ‘Plugins’, ‘Themes’, ‘Uploads’, ‘Other’ and ‘Restore’.
Simply click on the button labelled ‘Restore’, which will open a dialog window. Ensure that all 5 boxes are checked, then click on the button labelled ‘Restore’ to proceed, ignoring any further warnings you may be given.
Upon completion of your backup restore you may be logged out of the WordPress Admin area. Should this happen, there is no need to be alarmed. Simply login using the same login you used to access your original WordPress site.