Applies to:
Website Builder
Difficulty:
Easy
Time Needed:
10 minutes
Introduction
This is a quick step-by-step guide to getting started with Website Builder.
If you have any questions regarding Website Builder, please contact our technical support team.
Contents
Setting up your website
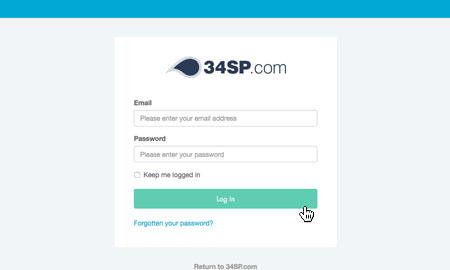
STEP 1
Login to your account
Firstly, you’ll need to login to your 34SP.com account at https://account.34sp.com.
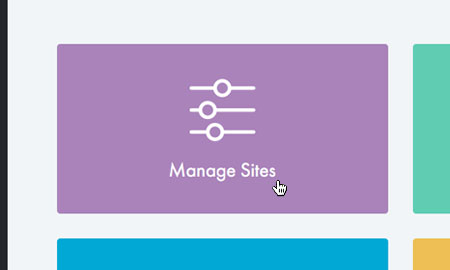
STEP 2
Choose ‘Manage Sites’
Once you have logged in, click on the ‘Manage Sites’ icon. This will bring up a list of websites or domain names you have in your 34SP.com account. Simply choose the website or domain name to wish to edit by clicking on it.
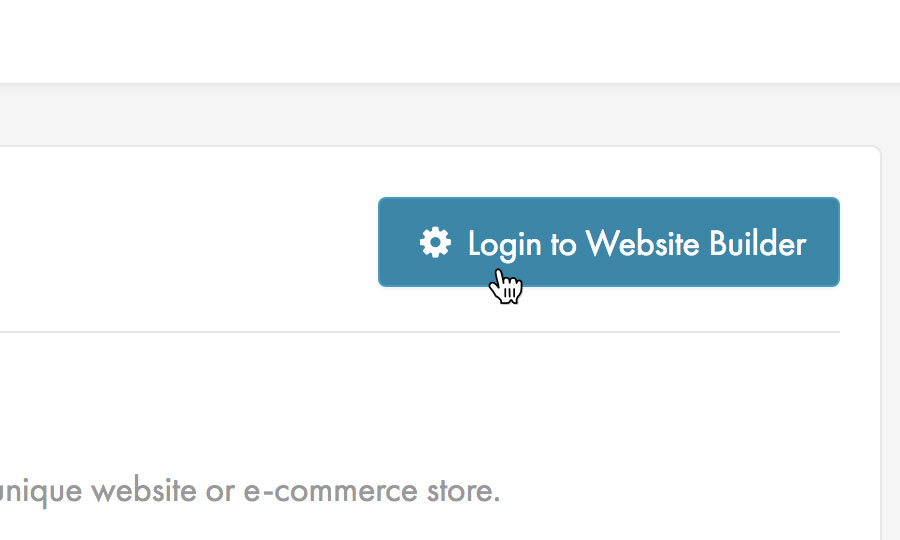
STEP 3
Login to Website Builder
After you have clicked on the website or domain name you wish to set up, simply click on the buttons labelled ‘Login to Website Builder’.
STEP 4
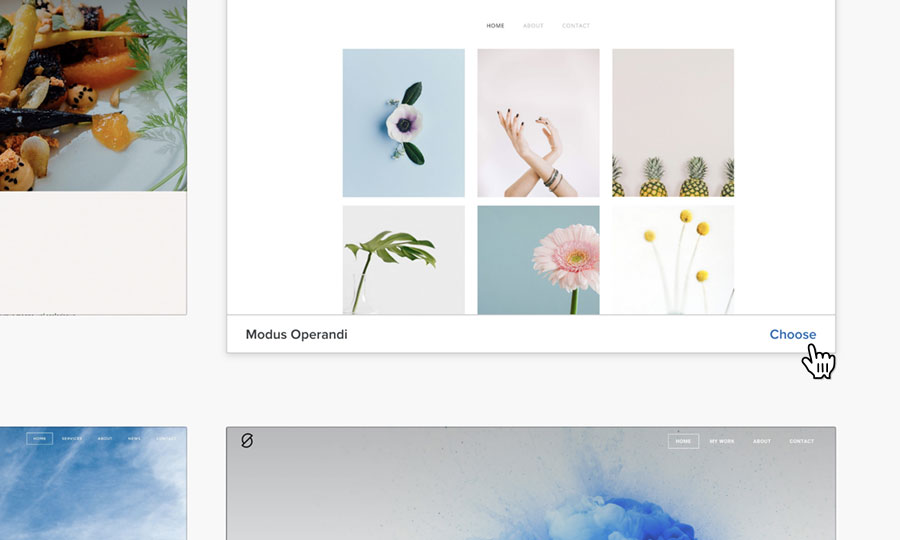
Choose a theme
The first time you enter site builder, you will be asked to choose a theme for your new website. You can change your website’s theme at any point in the future, so this isn’t a final choice.
Use the category names to browse the available themes. If you wish to preview a theme before making your choice, simply hover over the theme and click ‘Preview’. When you have found the theme you wish to use, just click on ‘Choose’.
Adding content
STEP 1
Add your website content
Once you’ve chosen your theme, you are ready to add your content. Firstly, you need to select the page you wish to edit. To do this, click on the tab labelled ‘Pages’.

STEP 2
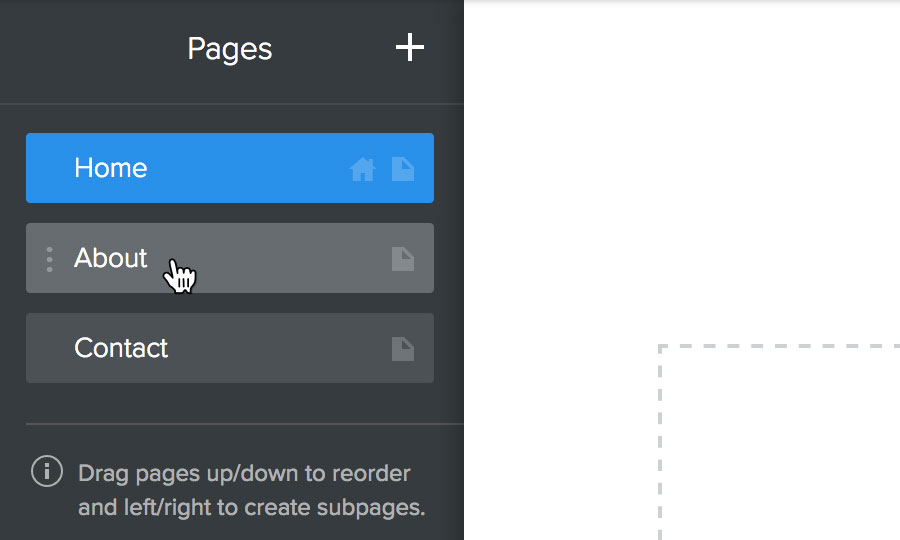
Select your page
Choose the page you wish to edit from the list of pages, and click on it.
STEP 3
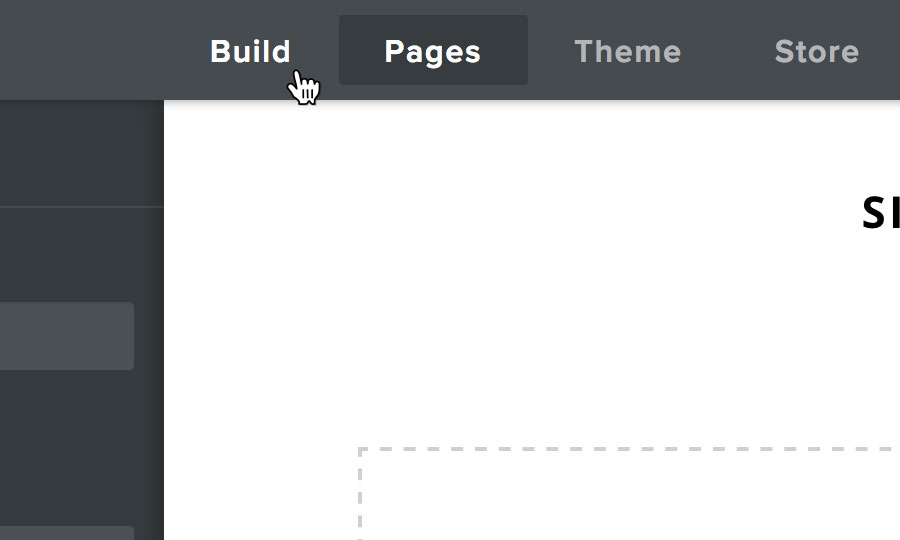
Build your page
To begin adding content to your page, click on the tab labelled ‘Build’.
STEP 4
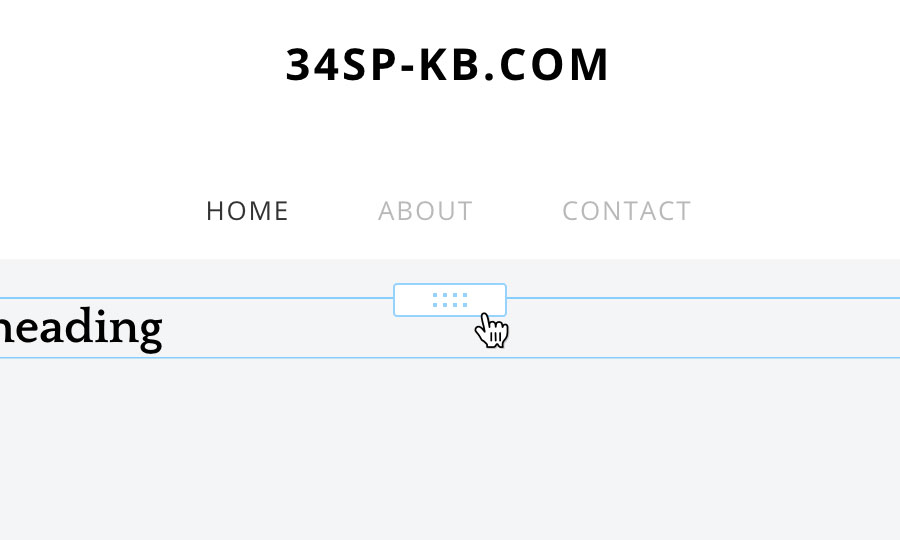
Click & drag to add your content
To add content, simply choose from the list of options on the left-hand side. Click on the element you wish to add, and drag it over to your website design and release over one of the highlighted areas. The element will then be added to your page.
To edit the element you have added, simply click on it. Depending on the element, you will either be able to edit it directly (for example text) or be presented with a settings menu to configure your element.

STEP 5
Arrange the content on the page
To alter or rearrange the content on the page, click on the element you wish to move, then click and drag the element’s handle to move the element to a different location.
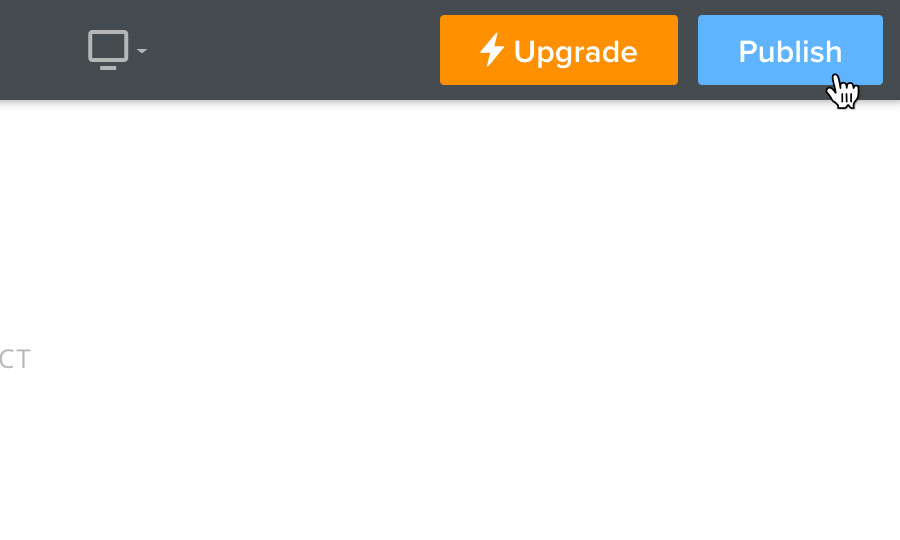
Making your website live
STEP 1
Publishing your site
Every time you make a change to your site, it is automatically saved. To publish your changes to your live website, simply click the ‘Publish’ button, located in the top right-hand corner.