Applies to:
Professional Hosting
Professional Hosting
Universal Hosting
Reseller Hosting
WordPress Hosting
Difficulty:
Easy
Time Needed:
5 minutes
Contents
Introduction
This is a quick step-by-step walkthrough for creating, restoring and deleting snapshots via the 34SP.com Control Panel.
Snapshots is a feature created so that you can manage and restore backups of your site with minimal fuss. Snapshots do not replace our internal backup system, which will continue to take automated backups of your site.
STEP 1
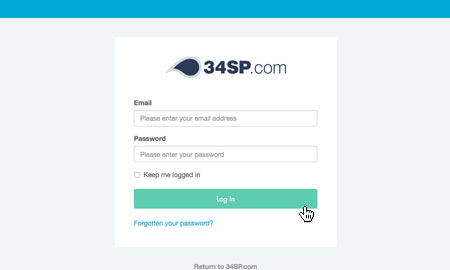
Login to your account
Firstly, you’ll need to login to your 34SP.com account at https://account.34sp.com.
STEP 2
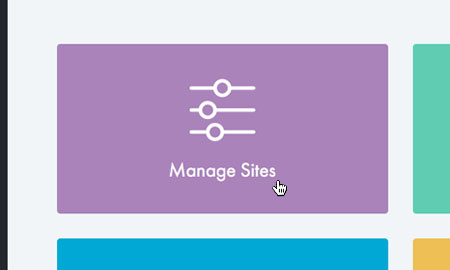
Choose ‘Manage Sites’
Once you have logged in, click on the ‘Manage Sites’ icon. This will bring up a list of websites or domain names you have in your 34SP.com account. Simply choose the website or domain name to wish to edit by clicking on it.
STEP 3
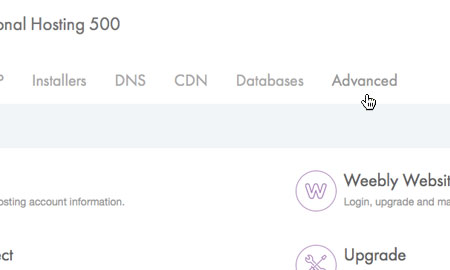
Select ‘Advanced’
After you have clicked on the website you wish to edit, you will be presented with your website overview page. Choose ‘Advanced’ from the product navigation.
STEP 4
Choose ‘Snapshots’
Then click on the icon labelled ‘Snapshots’.

STEP 5
Create a snapshot
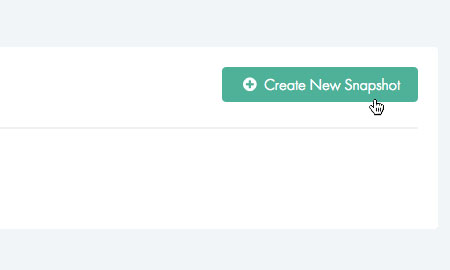
This will bring up a page a page listing all your snapshots. If you have not previously created any snapshots, you can do so by simply clicking on the button labelled ‘Create New Snapshot’.
Creating a new snapshot may take some time, depending on the size of your site contents.
For Professional Hosting & Business Hosting accounts, each snapshot contains a copy of your site files (httpdocs, cgi-bin, private, php.ini) including any sub domains, and copies of any databases.
For WordPress Hosting accounts, the snapshot contains both your files excluding those in the /wp/ folder and a copy of your database. It will also include your staging site if one is present.
You can store up to 5 snapshots at any one time, if you reach the 5 snapshot limit then you will need to delete a snapshot.
STEP 6
Download a snapshot
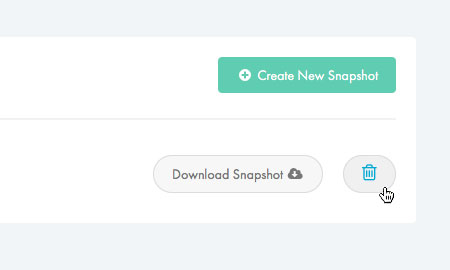
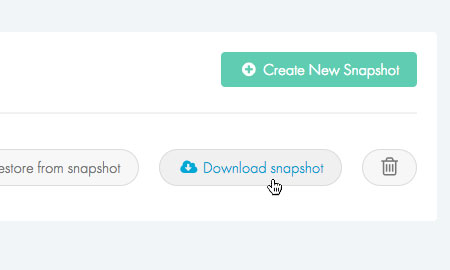
After you have created a snapshot, you can download it by simply clicking on the button labelled ‘Download snapshot’.
We recommend downloading copies of any snapshots you have made, so that you have a local copy of your website files.
How to restore a snapshot
STEP 1
Restore a snapshot
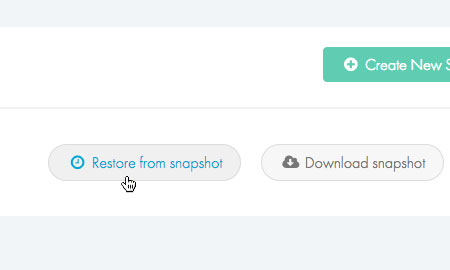
If you wish to either partially or fully restore a snapshot, simply locate the snapshot you which to restore and click the ‘Restore from snapshot’ button.
STEP 2
Configure snapshot restore
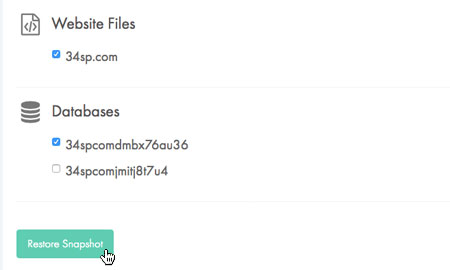
You then need to choose which elements of the snapshot you wish to restore. Click the checkboxes next to the elements you wish to restore, and then click the button labelled ‘Restore Snapshot’.
Please note: Restoring a snapshot will overwrite your live website files and/or database.
STEP 3
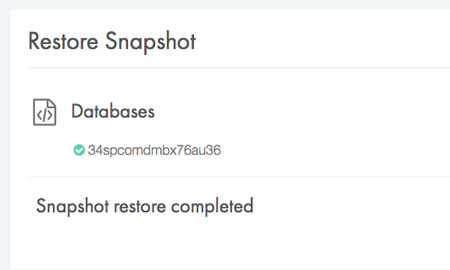
Complete snapshot restore
Your snapshot will then being the process of being restored. Once the restore process has completed, your site file and/or databases will have been restored to your live site.
How to delete a snapshot
STEP 1
Delete a snapshot
To permanently delete a snapshot, simply locate the snapshot you wish to remove and click on the ‘Remove’ button (the ‘trash’ icon).