Applies to:
Reseller Hosting
Difficulty:
Easy
Time Needed:
5 minutes
Contents
Introduction
This is a quick step-by-step guide to viewing, adding and removing domain aliases on a Reseller Hosting account, via the Plesk Onyx control panel.
Managing aliases in Plesk Onyx
STEP 1
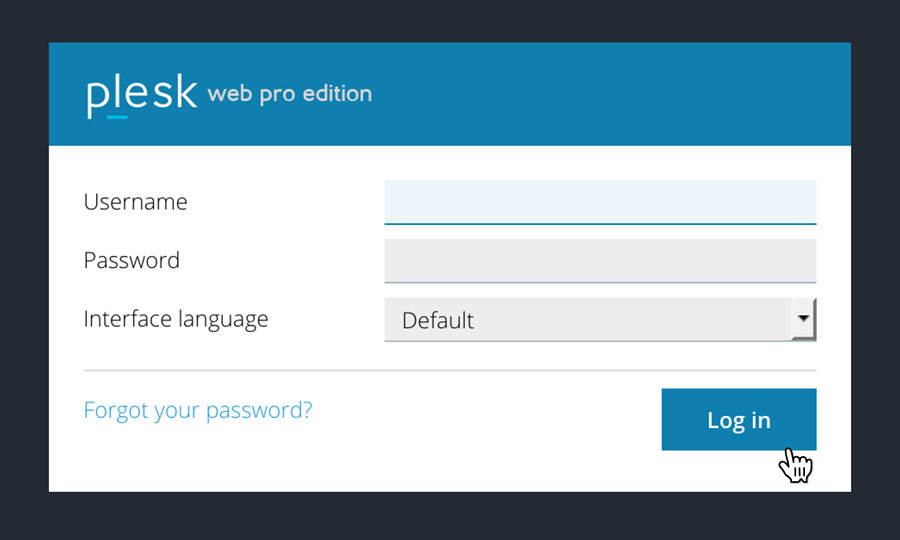
Login to your account
Firstly you’ll need to login to your Plesk Onyx control panel, which will be at a URL similar to https://your_server_number.xenserve.com:8443/
STEP 2
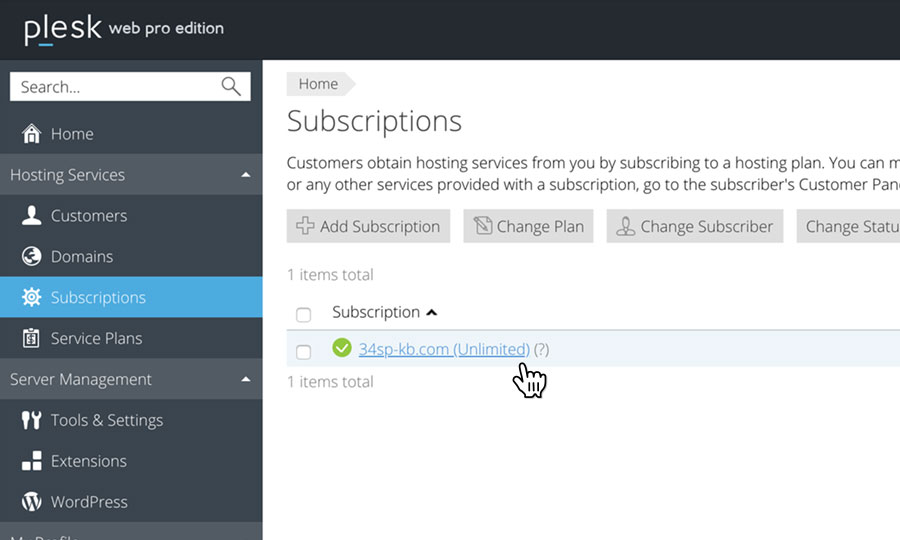
Choose ‘Subscriptions’
Once you have logged in, click on the ‘Subscriptions’ option, in the left hand menu.

STEP 3
Choose Your Site
This will bring up a list of websites you have on your Reseller Hosting account.
Locate the domain name you wish to access, then simply click on it.
How to add a new alias in Plesk Onyx
STEP 1
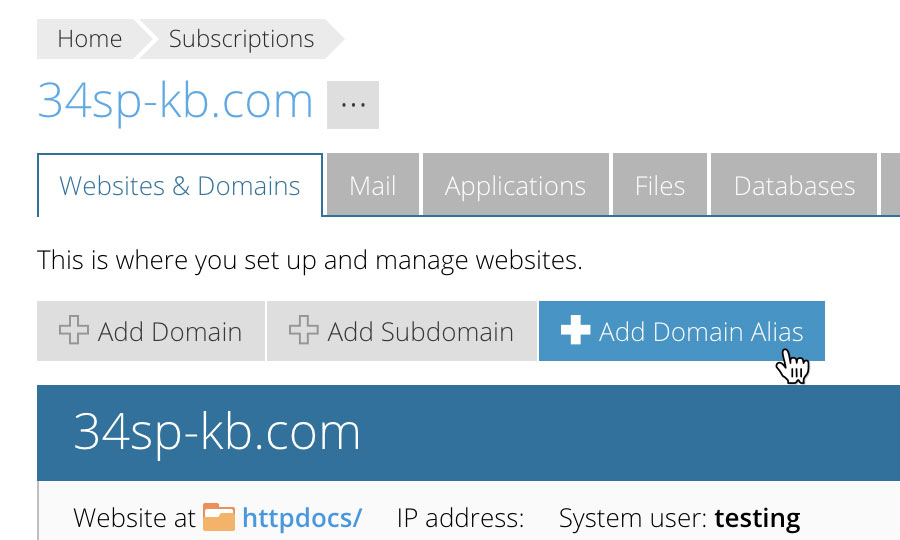
Add new domain alias
If you wish to add a new alias, just click on the button labelled ‘Add Domain Alias’.
STEP 2
Enter domain name alias
This will bring up a form. Fill in the form with your domain name alias. When you’re done, click ‘OK’ to save your changes.
You’ll then be returned to the ‘Domains’ page, were your new alias will be listed.

How to delete an alias in Plesk Onyx
STEP 1
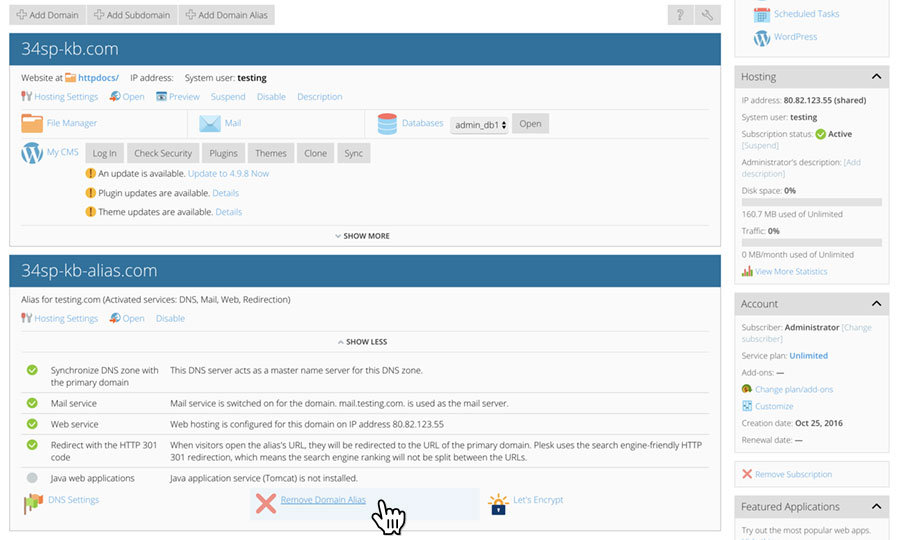
Locate your alias
If you wish to delete an existing alias simply locate the alias (underneath your domain options), then click on the option labelled ‘Remove Domain Alias’.