Applies to:
Reseller Hosting
Difficulty:
Easy
Time Needed:
5 minutes
Contents
Introduction
This is a quick step-by-step walkthrough for accessing and managing Plesk Onyx via the 34SP.com Control Panel.
For Reseller Hosting accounts, Plesk is a web hosting control panel that lets you manage your web hosting account. Plesk control panel let you upload and manage files, create user accounts for FTP, create and manage email accounts, create subdomains, create and manage databases such as MySQL and PostgreSQL, backup and restore site files, view web log files and manage DNS and other resources.
Managing Plesk Onyx
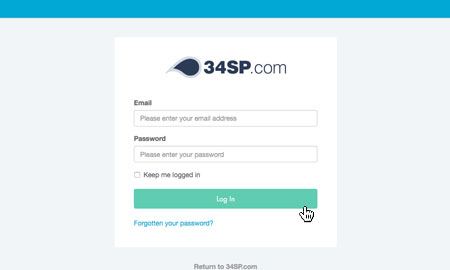
STEP 1
Login to your account
Firstly, you’ll need to login to your 34SP.com account at https://account.34sp.com.
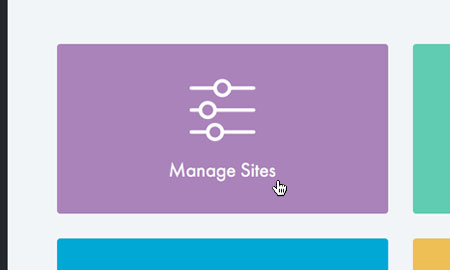
STEP 2
Choose ‘Manage Sites’
Once you have logged in, click on the ‘Manage Sites’ icon.
This will bring up a list of websites or domain names you have in your 34SP.com account. Simply choose your reseller account.
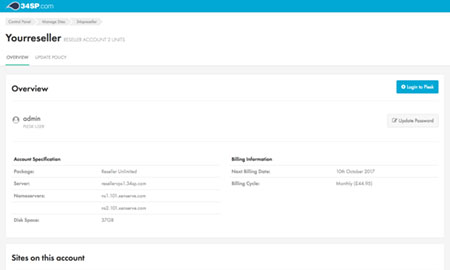
STEP 3
Choose ‘Login to Plesk’
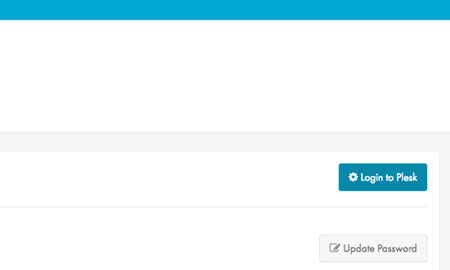
After you have clicked on your Reseller Hosting account, you will be presented with an overview of your Reseller Hosting account.
Accessing Plesk Onyx
STEP 1
Accessing Plesk
To access Plesk, simply click on the ‘Login to Plesk’ button (located top right).
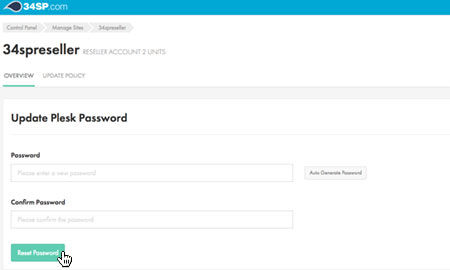
Resetting your Plesk Onyx password
STEP 1
Reset your password
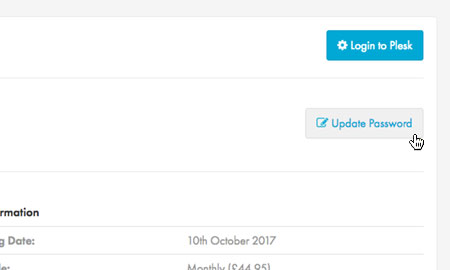
If you wish to edit the password for your Plesk control panel, simply click on button labelled ‘Update Password’.
STEP 2
Enter new password
This will bring up a form. Simply fill in the form with your new password. When you’re done, click ‘Reset Password’ to save your changes.