This is a guide for migrating your legacy Reseller Hosting account to the new 34SP.com Reseller Hosting platform.
Contents
How to migrate your legacy Reseller Hosting account
STEP 1
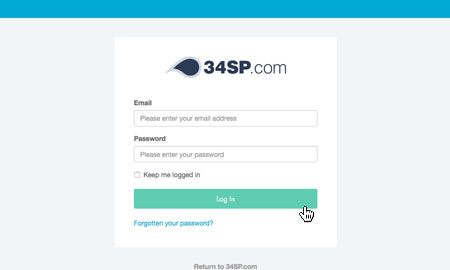
Login to your account
Firstly, you’ll need to login to your 34SP.com account at https://account.34sp.com.
STEP 2
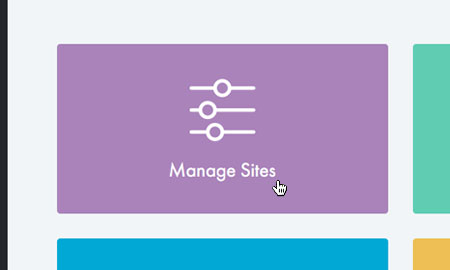
Choose ‘Manage Sites’
Once you have logged in, click on the ‘Manage Sites’ icon.
STEP 3
Click on your legacy Reseller Hosting account
From the list of available hosting accounts, click on the name of the legacy Reseller Hosting that you wish to migrate.

STEP 4
Click ‘Migration’
From the top navigation menu, select ‘Migration’.
The next page will contain information regarding your legacy Reseller Hosting, a list of sites and their options for migrating to the new platform.
STEP 5
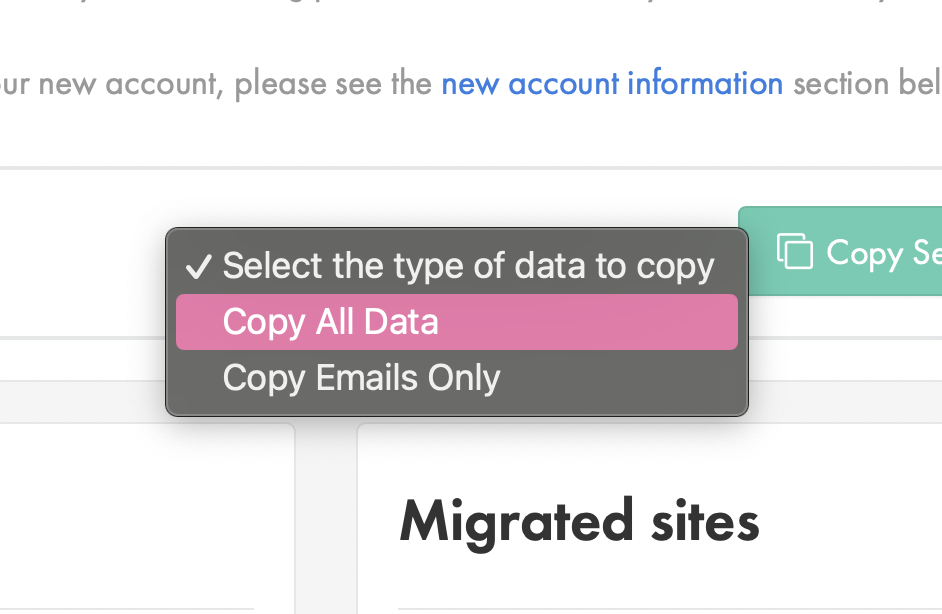
Select ‘Copy All Data’
To migrate a full website, you should select ‘Copy All Data’ from the drop down menu. If you wish to re-sync emails after taking a site live you can also copy emails only.
STEP 6
Select the website(s) you wish to migrate
From the left hand menu labelled ‘Old Account’, select the website(s) you wish to migrate to the new platform.

STEP 7
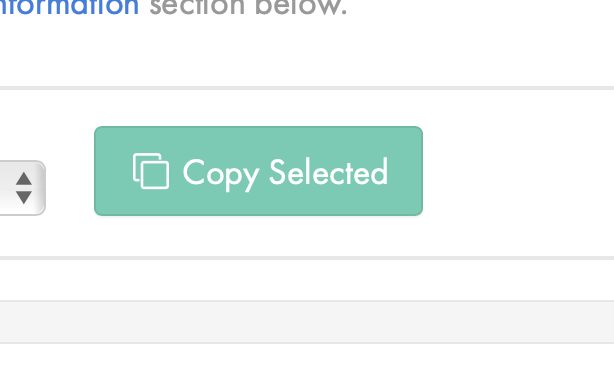
Click ‘Copy Selected’
When you are happy with the list of selected sites that you wish to migrate, click the green ‘Copy Selected’ button to begin the migration.
STEP 8
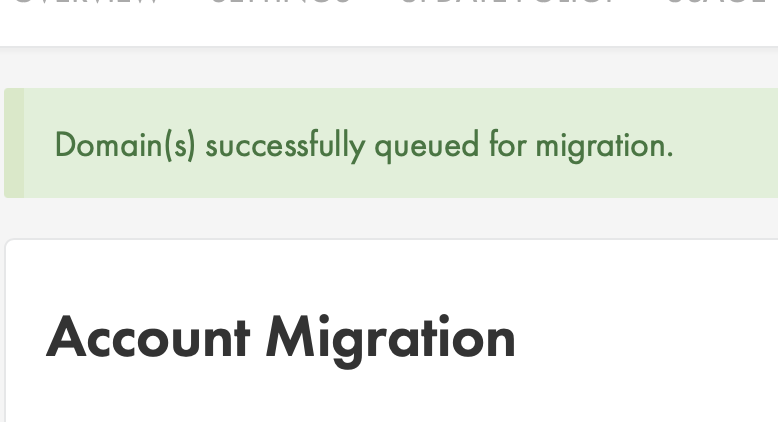
Wait for the data to copy
You will see a notification on the screen saying that your domains have been queued for migration.
Data migration can take a while depending on the size of your websites. Keep checking back until you see that all sites have been copied successfully.
STEP 9
Preview your website(s)
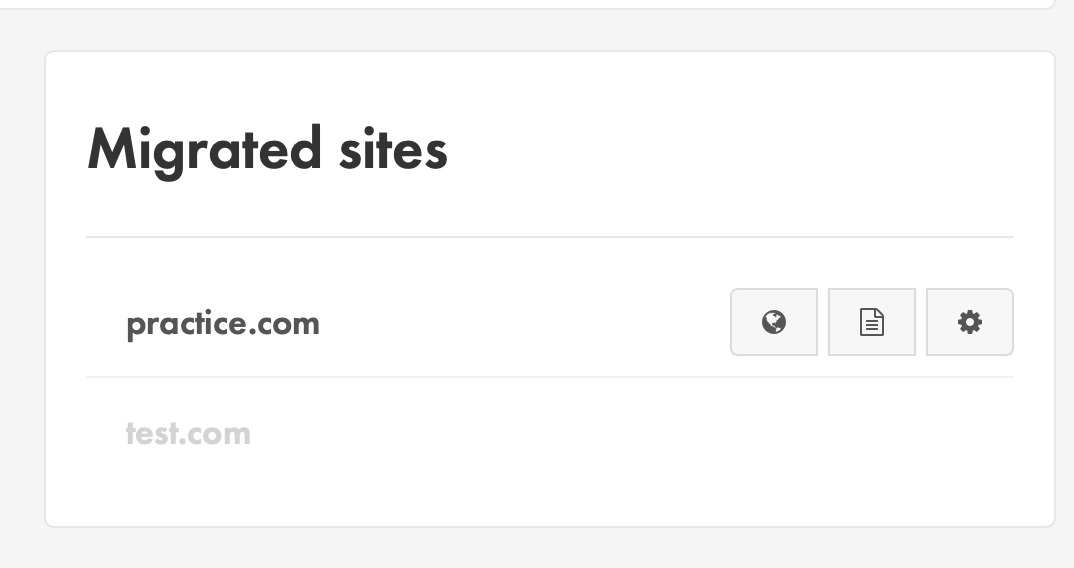
When your migration is completed, you will see a list of migrated websites. None of these websites will be live yet.
To check if the site copied to the new platform successfully, you can use the world icon to view a preview of the website on the new platform.
If the website looks as you would expect on the preview link, then the migration was successful.
If the site is not displaying correctly, you can use the logs icon to view errors and resolve them before re-attempting the migration. Alternatively contact our support team for assistance.
STEP 10
Make the website(s) live
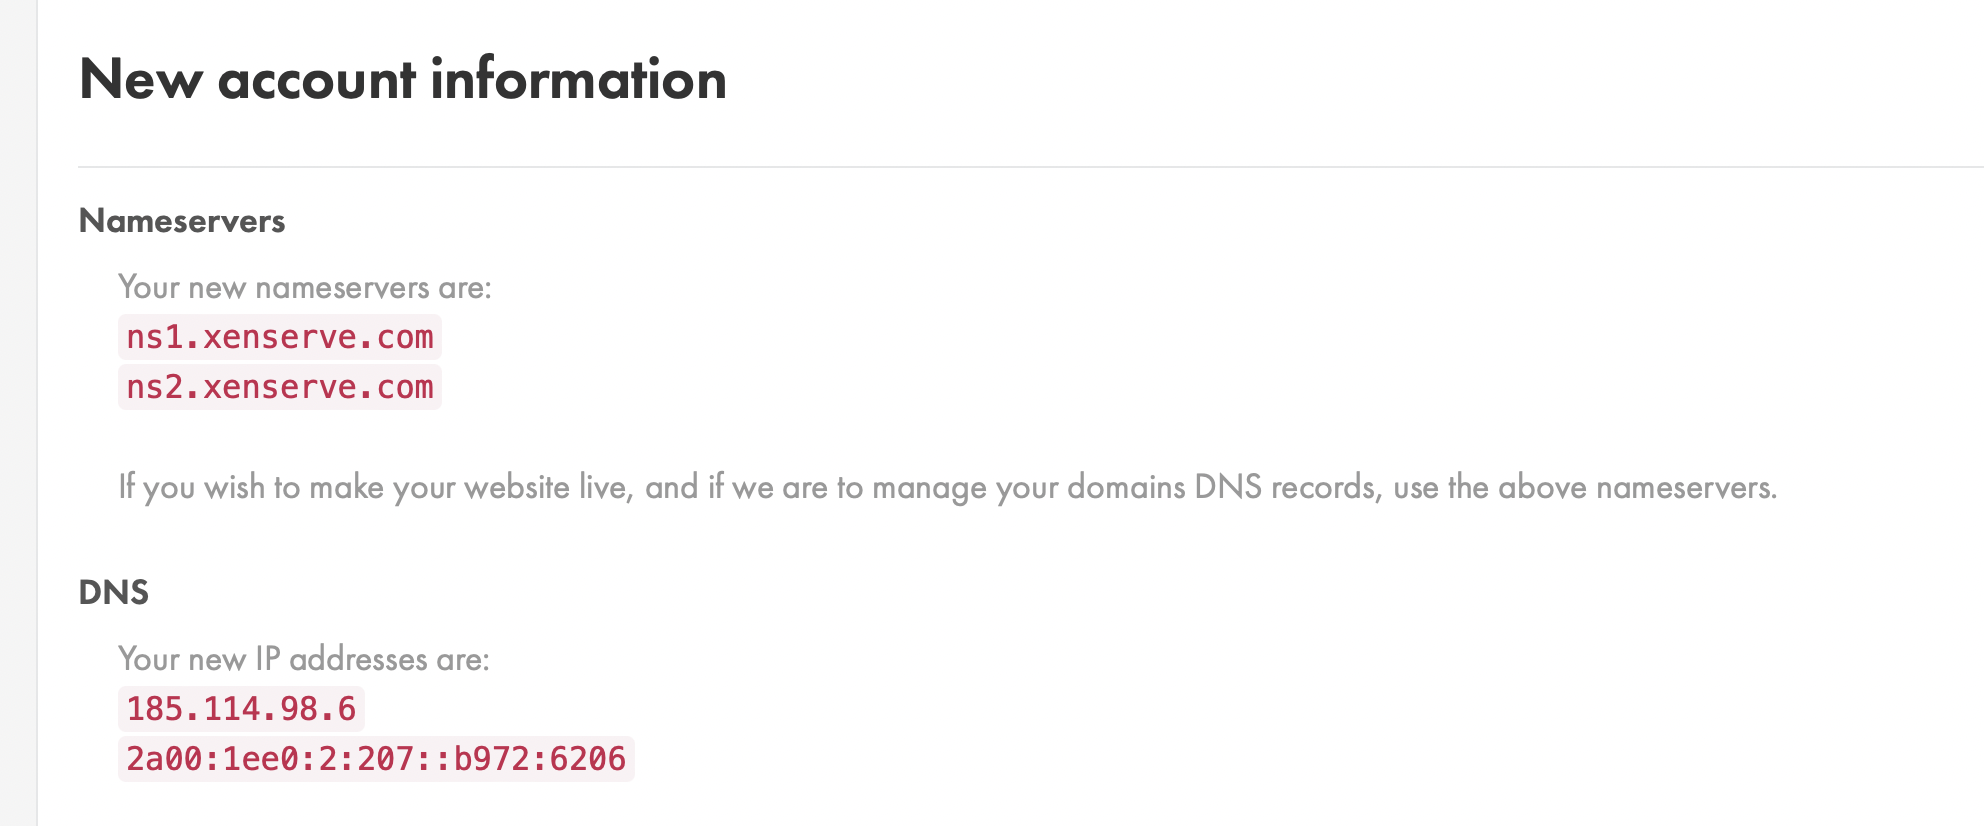
On the Migrations page you will see ‘New account information’. This will give you the new Nameservers and DNS settings for your new Reseller Hosting.
You can take all services online with the new platform by updating the nameservers, however depending on your particular setup you might need to update individual DNS records. If you are unsure on what changes you need to make, please contact our support team for further assistance with this step.
When you have migrated all your websites, you can close the legacy Reseller Hosting account from the ‘Billing’ menu in your 34SP.com control panel.
Migrating Emails
If you are moving emails as part of your Reseller Migration you will need to update the settings in your email program to:
Incoming settings:
Incoming mail server: mail.xenserve.com
Username: [Your full email address]
Password: [Your email password]
Encryption method: SSL/TLS
Authentication method: Normal password
Port: 993
Outgoing settings:
Outgoing mail server: smtp.xenserve.com
Username: [Your full email address]
Password: [Your email password]
Encryption method: SSL/TLS
Authentication method: Normal password
Port: 465
If you are unsure where to find these settings, our mail setup guides will show you show to do this depending on the program you use:
Removal of Sendmail and PHP mail()
The new Reseller Hosting platform no longer uses the sendmail and PHP mail() functions to deliver messages. These are legacy functions and are no longer considered valid methods for sending emails, for more information please see our blog post.
To resolve issues with contact forms using sendmail, you will need to update them to use SMTP instead.
How to update your contact forms to use SMTP.
If using WordPress, things couldn’t be easier. There are myriad WordPress plugins that will handle this, but we have found https://wordpress.org/plugins/wp-mail-smtp to be one of the easiest to configure as you just need to enter a server name, email address, and password. We don’t even need to be the provider handling your email as long as the log in credentials you set are correct.
Options for most other CMS (Content Management Systems) do exist – if you’re having trouble locating the relevant setting, please consult your CMS documentation. If you are still having trouble, do feel free to contact us on support@34sp.com and we will do our best to help.
With custom written code, things do get a bit more complicated, but can be achieved using the freely available PHPMailer code found at https://github.com/PHPMailer/PHPMailer – it just needs several variables to be updated to use valid mailbox details. Again, if you’re unsure of what any of these should be, please contact us on support@34sp.com