Applies to:
Reseller Hosting
Difficulty:
Easy
Time Needed:
5 minutes
Contents
Introduction
This is a quick step-by-step guide to viewing, editing, adding and removing databases & database users on a Reseller Hosting account, via the 34SP.com control panel.
How to manage your databases
STEP 1
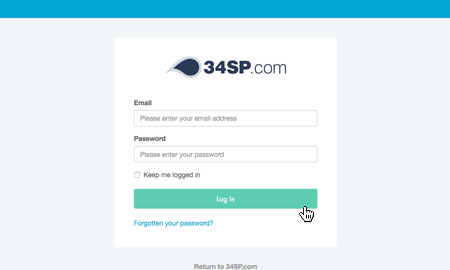
Login to your account
Firstly, you’ll need to login to your 34SP.com account at https://account.34sp.com.
STEP 2
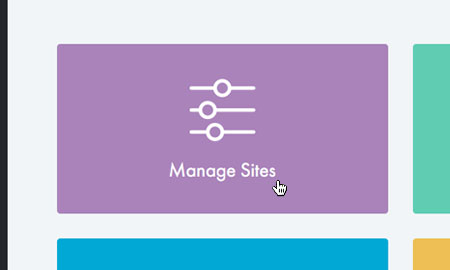
Choose ‘Manage Websites’
Once you have logged in, click on the ‘Manage Sites’ icon.
STEP 3
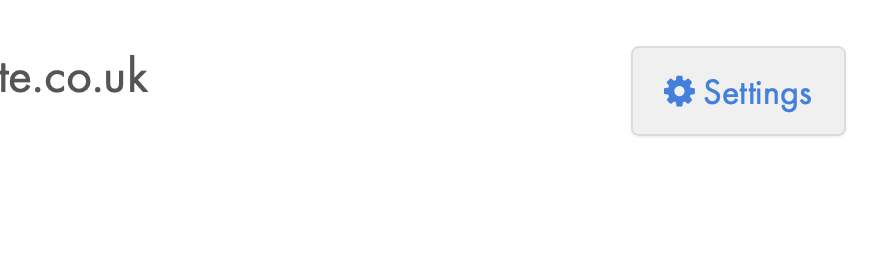
Choose ‘Settings’
Locate your reseller account on the page and click ‘Settings‘.

STEP 4
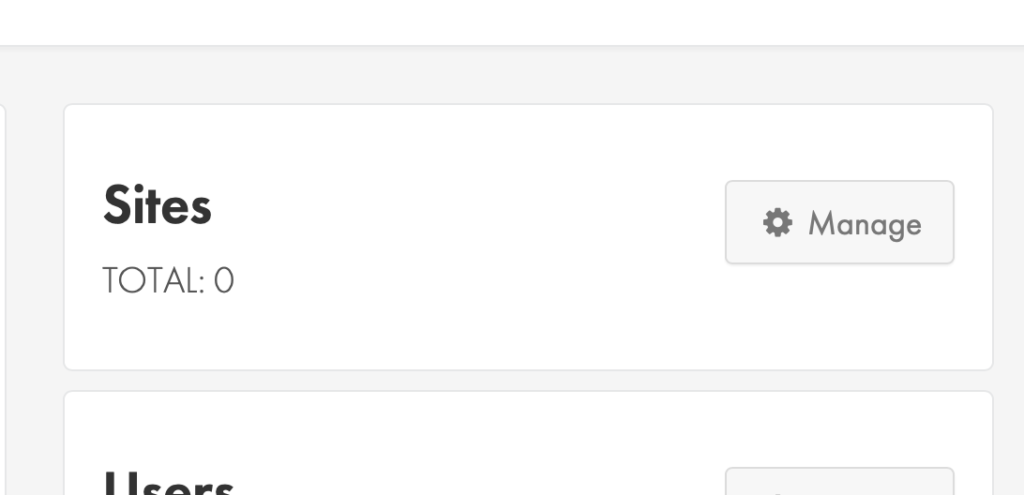
Choose ‘Manage’
From your reseller overview page, select the ‘Manage‘ button under the ‘Sites‘ menu.
STEP 5
Choose ‘Settings’
From the list of your websites click the ‘Settings‘ button next to the domain you wish to manage.
How to add a new database
STEP 1
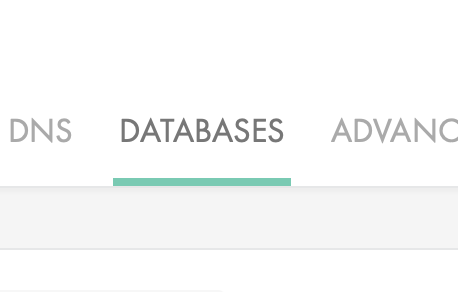
Choose ‘Databases’
From the top menu click ‘Databases‘.
STEP 2
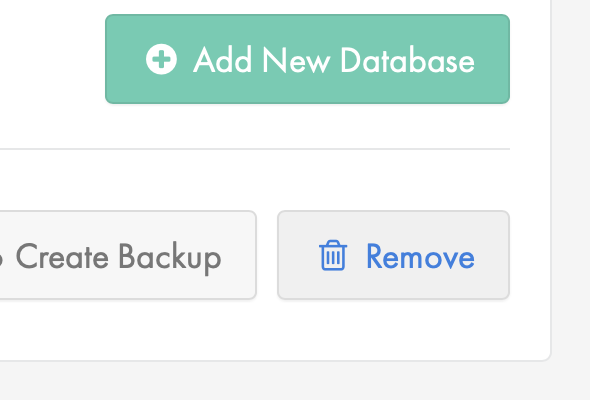
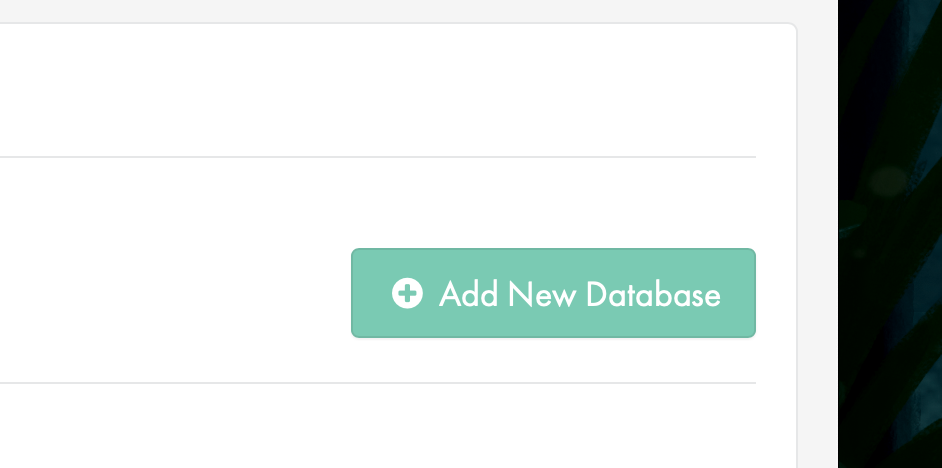
Choose ‘Add New Database’
Click the ‘Add New Database‘ button to get started.
STEP 3
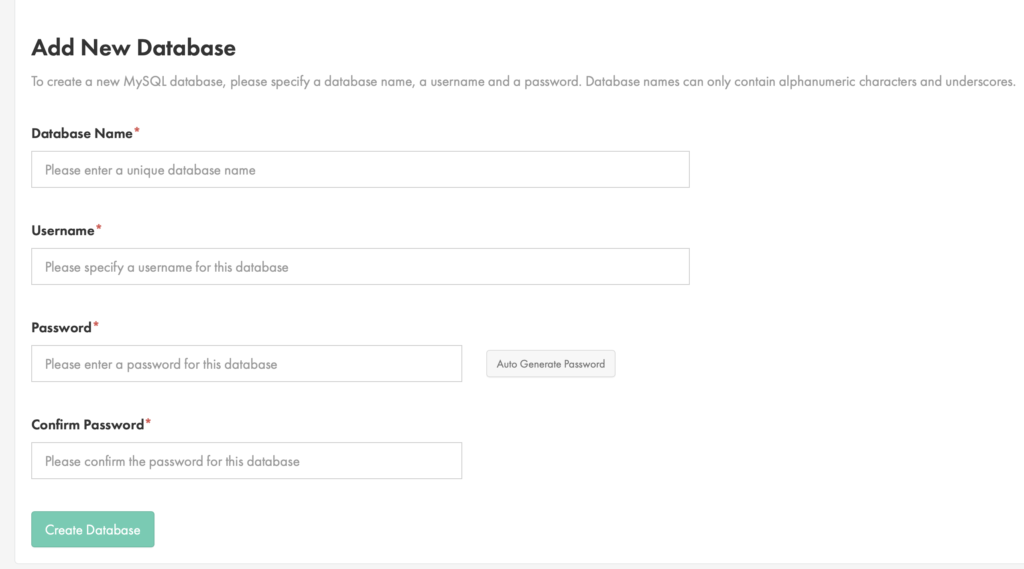
Create your database details
Create a database name, username and password, then click ‘Create Database‘ to finish.
How to edit your database user’s password
STEP 1
Choose ‘Databases’
From the top menu click ‘Databases‘.
STEP 2
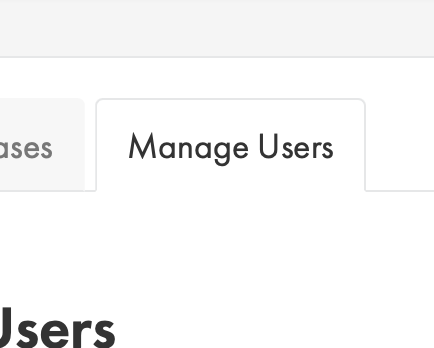
Choose ‘Manage Users’
Click the ‘Manage Users‘ button.
STEP 3
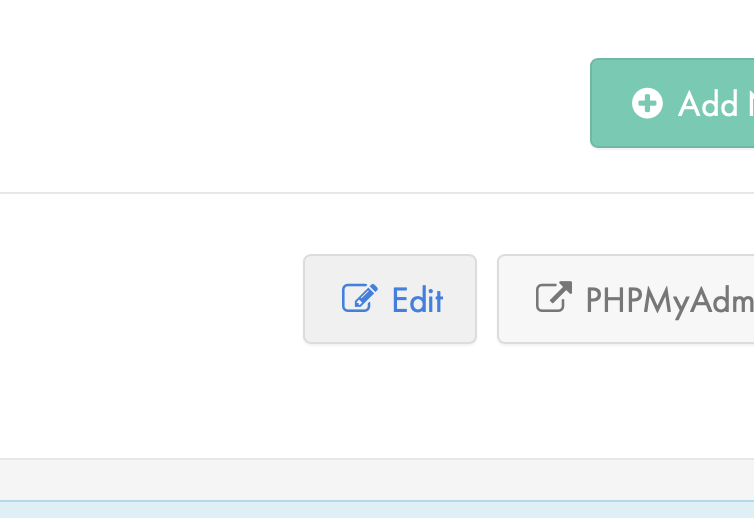
Choose ‘Edit’
Click the ‘Edit‘ button next to the user you wish to make changes to.
STEP 4
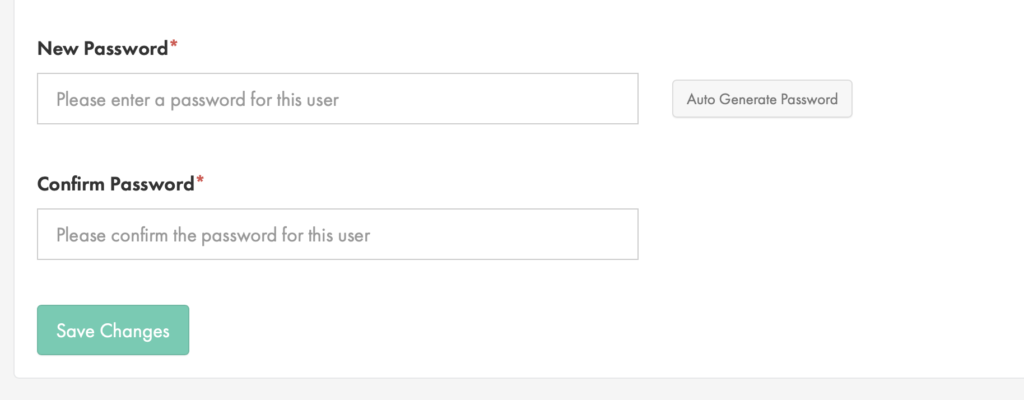
Set a new password
Use the form fields to create a new password for your database user.
How to delete a database
STEP 1
Choose ‘Databases’
From the top menu click ‘Databases‘.
STEP 2
Choose ‘Remove’
Click the ‘Remove‘ button next to the database you wish to remove.