Applies to:
VPS Hosting
Difficulty:
Easy
Time Needed:
5 minutes
Introduction
This is a quick step-by-step walkthrough for adding unique IP addresses to your Virtual Private Server (VPS) via the 34SP.com Control Panel.
Please note: Additional IP addresses are charged at £0.50 per month.
VPS IP addresses
STEP 1
Login to your account
Firstly, you’ll need to login to your 34SP.com account at https://account.34sp.com.

STEP 2
Choose ‘Manage Servers’
Once you have logged in, click on the ‘Manage Servers’ icon.
This will bring up a list of servers you have in your 34SP.com account. Simply choose the VPS you wish to manage.
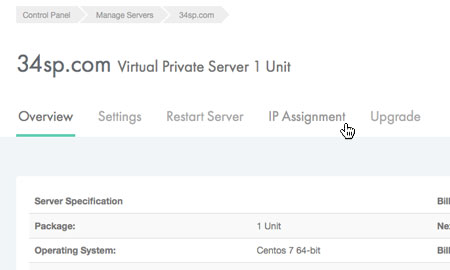
STEP 4
Manage IP addresses
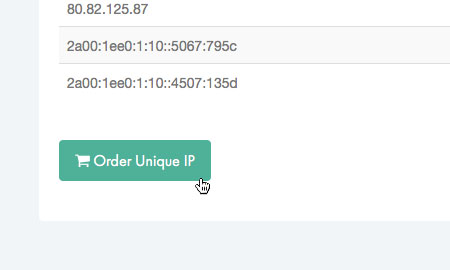
The ‘IP Assignment’ page provides an overview of the IP addresses assigned to your VPS, with each individual IP address listed in a table.
Please note: You are automatically assigned 2 IP addresses when you purchase a server.

STEP 5
Ordering an IP address
To order additional IP addresses, click on the button labelled ‘Order Unique IP’.
The unique IP will then by added to your shopping basket. At this point you can either add more products to your shopping basket or click on the ‘Proceed to Checkout’ button and begin the payment process.
Please note: Once an additional IP address has been purchased you will be e-mailed with instructions for applying it to your server.