Applies to:
Account Management
Professional Hosting
Difficulty:
Intermediate
Time Needed:
15 minutes
Contents
Introduction
This is a quick step-by-step guide to installing WordPress on your Professional or Universal Hosting account.
Database Setup
STEP 1
Login to your account
Firstly, you’ll need to login to your 34SP.com account at https://account.34sp.com.

STEP 2
Choose ‘Manage Sites’
Once you have logged in, click on the ‘Manage Sites’ icon. This will bring up a list of websites or domain names you have in your 34SP.com account. Simply choose the website or domain name to wish to edit by clicking on it.

STEP 3
Choose ‘Databases’
After you have clicked on the website or domain name you wish to edit, you will be presented with a page of icons. Please click on the tab labelled ‘Databases’.

STEP 4
Create a new database
Click the ‘Add New Database’ button on this page and you will be taken to a new page asking you to specify a database name, a username and a password.

STEP 5
Create new database details
Next you need to create a database name, username and password. You can make up any values for these, be sure to make the password a safe and secure one. Make note of your database details as you will need them later.

Uploading WordPress core files
STEP 1
Download WordPress
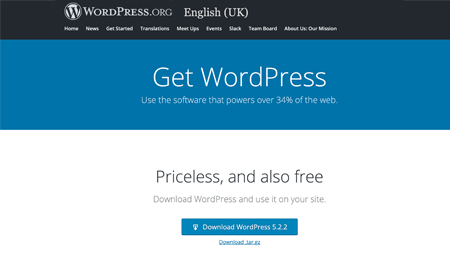
Download the latest WordPress core files from https://wordpress.org/download/ to your computer.

STEP 2
Unzip the file
Unzip the file downloaded to your computer to reveal the WordPress core files. These are now ready to be uploaded to your website.

STEP 3
Connect to your FTP client
Connect to your site using SFTP. Information on how to do this can be found here.

STEP 4
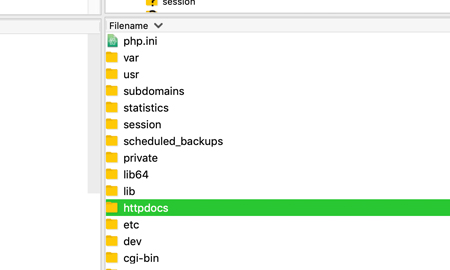
Navigate to your httpdocs folder
When you are connected to your FTP client you should see a list of folders. Double click on ‘httpdocs’ to enter this folder. This is the root directory for your website.

STEP 5
Upload the WordPress core files
Drag and drop the contents of the WordPress folder on your computer in to FileZilla so that they sit inside httpdocs. Wait for them to finish uploading. When they are all uploaded you can close your FTP client.

Running the WordPress installer
STEP 1
Visit your website
If you visit your website in a browser after uploading your files you should see the WordPress installation page. This will help you connect your database to your new WordPress installation. Select your language and click ‘Continue’ to begin.

STEP 2
Input your database details
The next page on the installer will ask for your database credentials. Type in the database name, username and password you created earlier in this tutorial. Click the submit button.

STEP 3
Input your website details
The final page of the setup will ask you for some settings custom to your website. You can choose a site name and admin email address. when you are happy with your choices click submit.

STEP 4
Login to WordPress
After inputting your details in to the installer you should reach a success page which will display your login information. Click the ‘Log in’ button to access the dashboard of your new WordPress website.
