Applies to:
WordPress Hosting
Difficulty:
Easy
Time Needed:
5 minutes
Introduction
Hosting fonts locally in WordPress, as well as reducing calls to external websites, helps to improve performance. In this tutorial we will cover how to check for externally hosted fonts on your WordPress website, and how to switch them to be served locally.
Step 1.
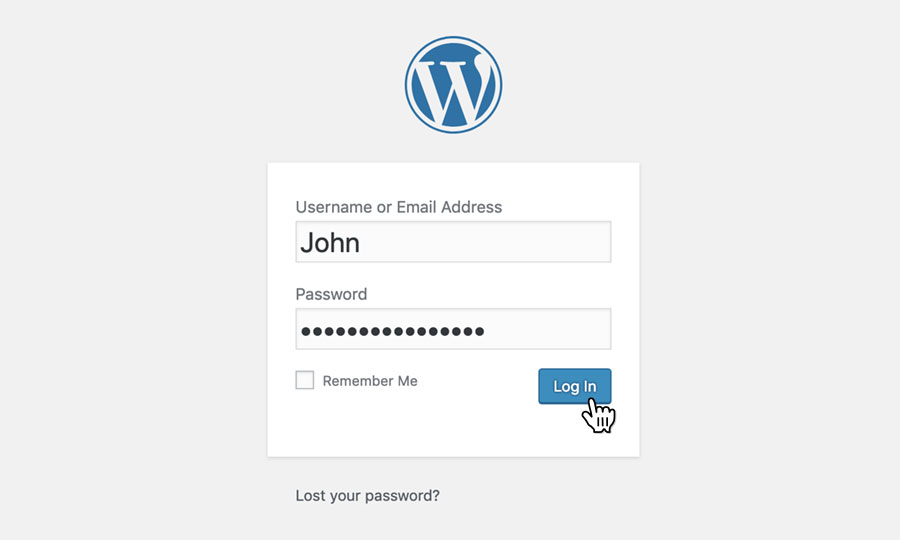
Login to WordPress
Login to your WordPress website’s admin dashboard using your administrator username and password.

Step 2.
Go to ‘Plugins’ > ‘Add New’
From the WordPress admin area select ‘Plugins’ from the side menu, and then select ‘Add New’ from the list of options.

Step 1.
Install the ‘Local Google Fonts’ plugin.
Login to WordPress and install ‘Local Google Fonts’ by EverPress from the plugin menu.
Activate the plugin.

Step 2.
Go to ‘Settings’ > ‘Google Fonts’
Navigate to ‘Settings’ > ‘Google Fonts’ within the WordPress admin area.

Step 3.
Check for Google Fonts.
This page will display any fonts that are being called remotely from Google. If none are listed then no action is required.

Step 4.
Select ‘Host locally’
Beneath each listed font is a button to switch to local hosting. Click the button and the plugin will download the font, store it on your website and begin serving it from there.

Step 5.
Check all fonts are being served locally.
Next to each listed font is a ‘Status’ heading. This will tell you whether the font is being called from Google, or served locally. Ensure all fonts are being served from your server: if so, this means the task is complete.
