Applies to:
Professional Hosting
WordPress Hosting
Reseller Hosting
Universal Hosting
Difficulty:
Easy
Time Needed:
5 minutes
Introduction
This is a quick step-by-step guide to using SFTP with 34SP.com hosting accounts. SFTP can be used to transfer files from your local machine to your server (or vice-versa), and is commonly used as a way of uploading your website’s file.
If you do not have an SFTP client installed on your computer we recommend FileZilla, which is a free application available on both Windows and Mac.
Contents
How to install FileZilla
STEP 1
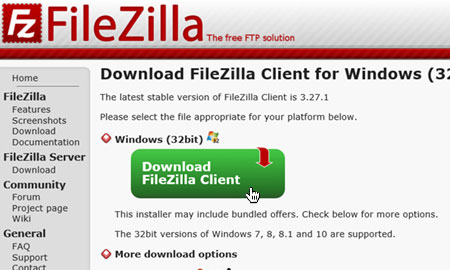
Download FileZilla
Before getting started with SFTP, you’ll need to install an SFTP client on your computer.
If you do not have an SFTP client on your computer, we recommend downloading FileZilla.
If you already have an SFTP client installed on your machine, please skip to the section ‘How to connect to your server’.
STEP 2
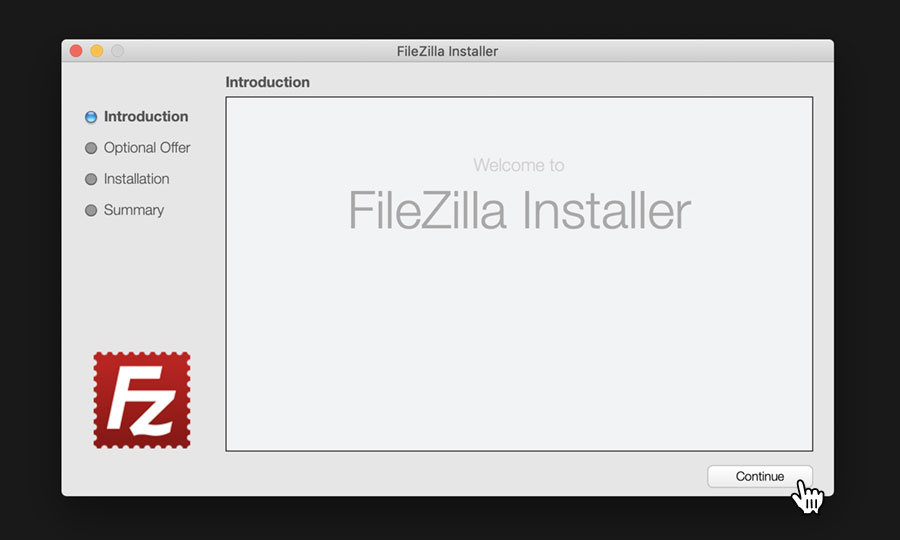
Install FileZilla
When the file has downloaded, locate and run it to launch the install wizard.
Follow the onscreen instructions, making sure to select the ‘No, I don’t want a free upgrade’ option when offered free upgrades or additional services/products.
When the installation is complete, make sure the checkbox labelled ‘Start FileZilla now’ is checked, and then click the button labelled ‘Finish’.
How to connect to your server
STEP 1
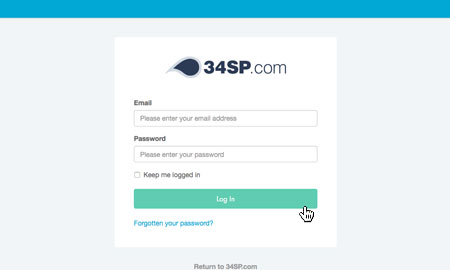
Login to your account
Firstly, you’ll need to login to your 34SP.com account at https://account.34sp.com.
STEP 2
Choose ‘Manage Sites’
Once you have logged in, click on the ‘Manage Sites’ icon.
This will bring up a list of websites or domain names you have in your 34SP.com account. Simply choose the website you wish to edit by clicking on it.

STEP 3
Choose ‘SFTP/SSH’
After you have clicked on the website you wish to edit, you will be presented with your website overview page. Choose ‘SFTP/SSH’ from the product navigation.
STEP 4
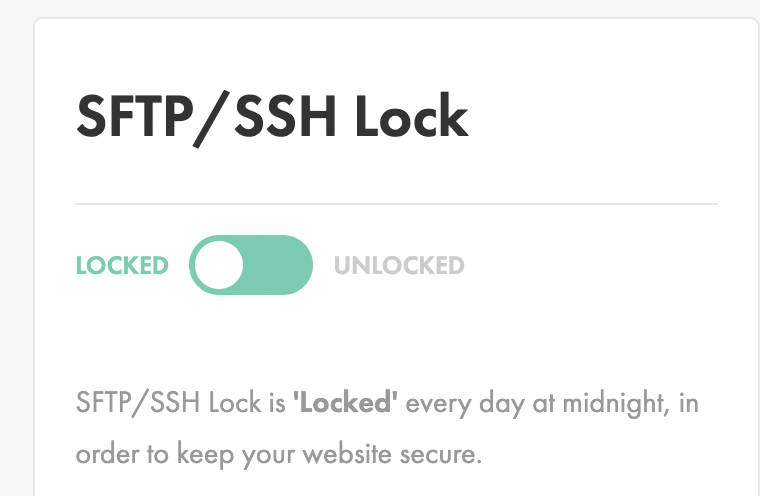
Unlock SFTP
In order to keep your website files safe, 34SP.com locks SFTP access to your server at midnight every night. It is therefore essential you unlock your SFTP access before you begin to transfer your files.
STEP 5
Download your config file
On the FTP page, click on the button labelled ‘Configure FTP client’. Then, underneath the heading that reads ‘Filezilla’, click on the button labelled ‘Download config file’ to download a configuration file for Filezilla.

STEP 6
Import your config file
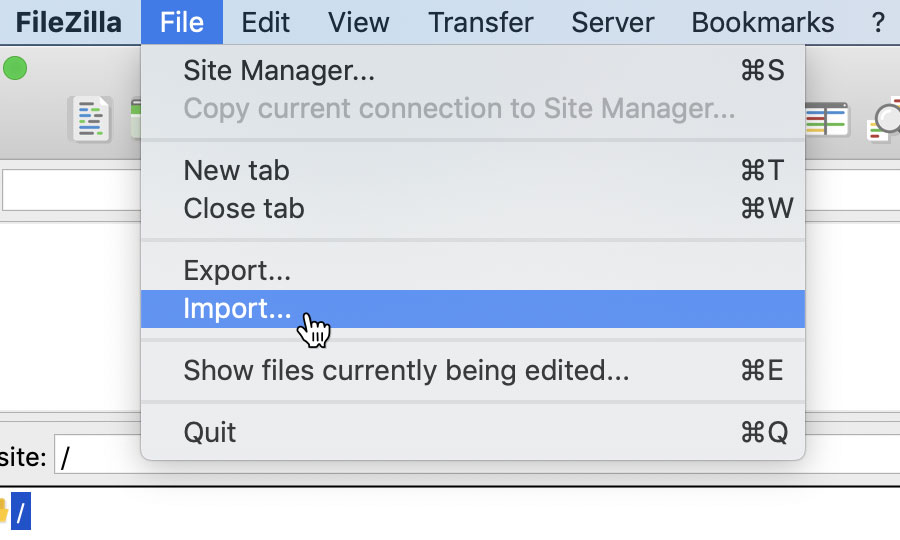
After you have downloaded your config file, switch back to Filezilla and choose ‘File’ from the main menu, then from the drop down menu choose ‘Import’.
STEP 7
Import your config file
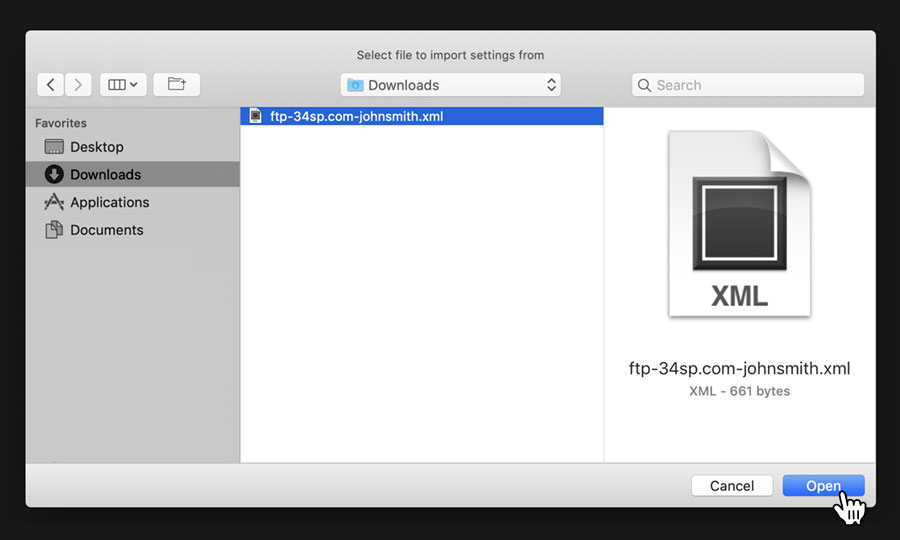
Then simply locate your downloaded config file using the file browser, and click the button labelled ‘Open’. Filezilla will then ask you if you wish to import the file, simply click the button labelled ‘OK’ to proceed.
STEP 8
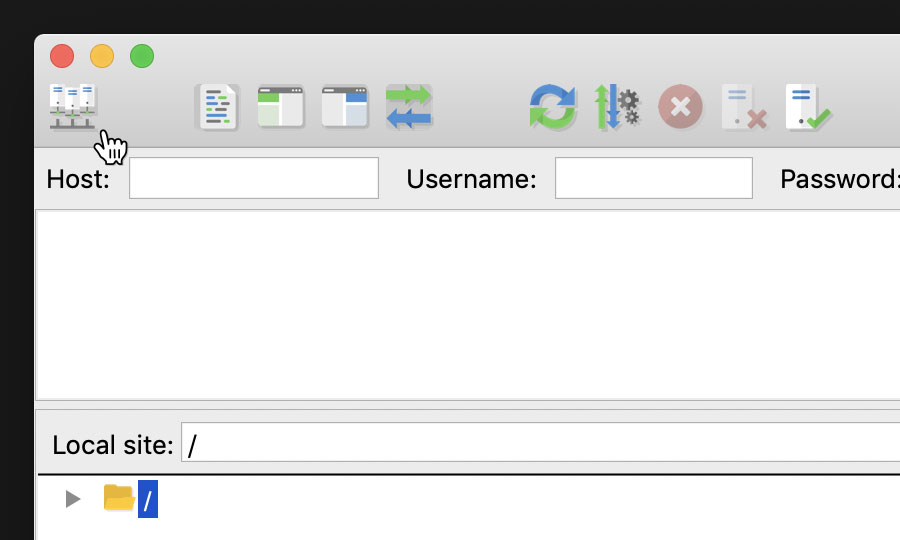
Open ‘Site Manager’
Then click on the ‘Open the Site Manager’ icon, located at the top left corner of the application.
STEP 9
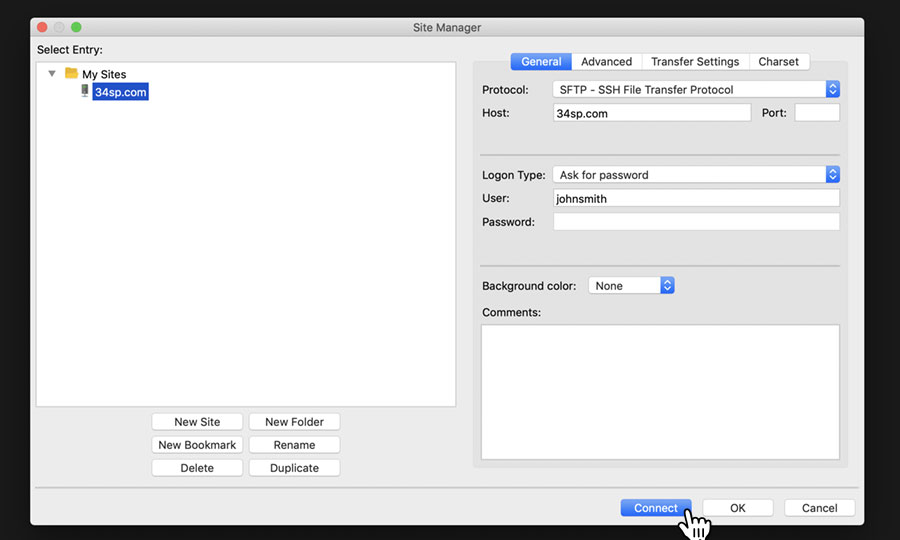
Connect to your server
This will open the ‘Site Manager’ dialog window. Simply click on your website, then click on the button labelled ‘Connect’. The first time you do this, you’ll be prompted for your SFTP password. After you have entered your password, Filezilla will connect to your server.
How to transfer your files
STEP 1
Transfer your files
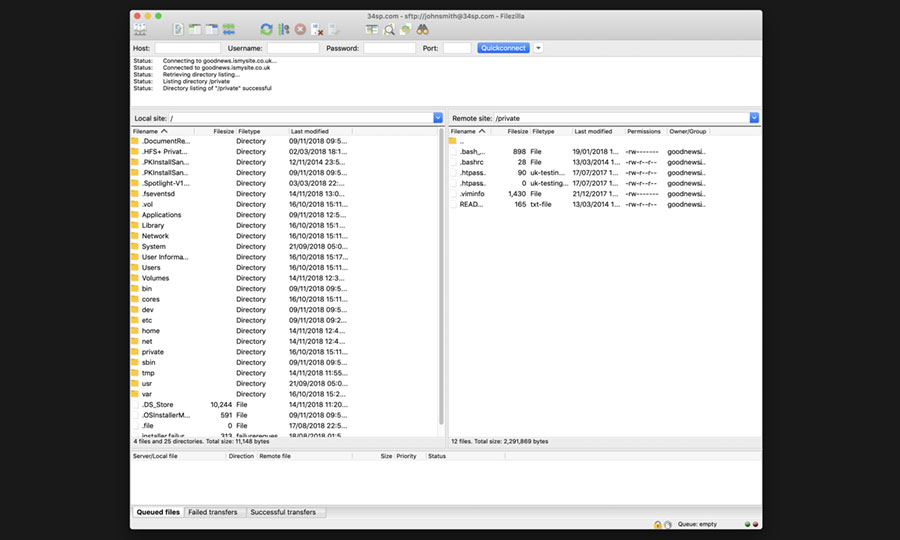
After connecting to your server, FileZilla will split into 2 panes. The left hand pane is a file browser for the computer you are currently using. The pane on the right is a file browser for your server.
To move files from your computer to your server, simply locate the files using the file browser provided, then click-and-drag them over the right hand pane. The selected files will then be transferred to your server. This process works both ways, meaning you can click-and-drag files from your server (the right hand pane) and copy them across to your computer too.