Applies to:
WordPress Hosting
Difficulty:
Easy
Time Needed:
5 minutes
Introduction
This is a quick step-by-step walkthrough for changing your PHP version on your WordPress Hosting account, via the 34SP.com control panel.
Installing a new PHP version
STEP 1
Login to your account
Firstly, you’ll need to login to your 34SP.com account at https://account.34sp.com.
STEP 2
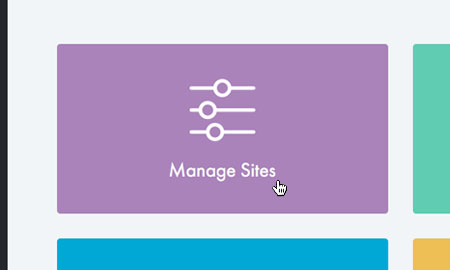
Choose ‘Manage Sites’
Once you have logged in, click on the ‘Manage Sites’ icon. This will bring up a list of websites or domain names you have in your 34SP.com account. Simply choose the website or domain name to wish to edit by clicking on it.
STEP 3
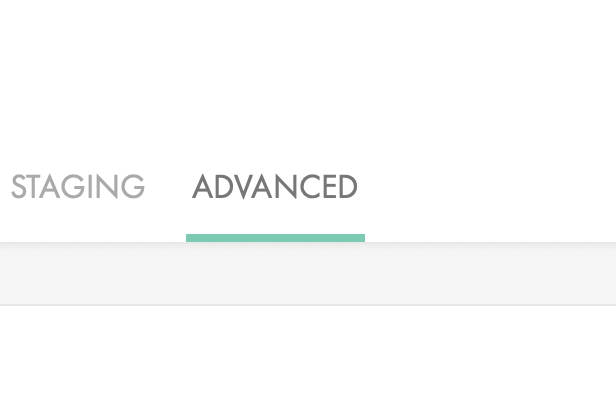
Select ‘Advanced’
From the navigation menu, select the ‘Advanced’ option.
STEP 4
Select ‘PHP version’
From the available options, select ‘PHP Version’.

STEP 5
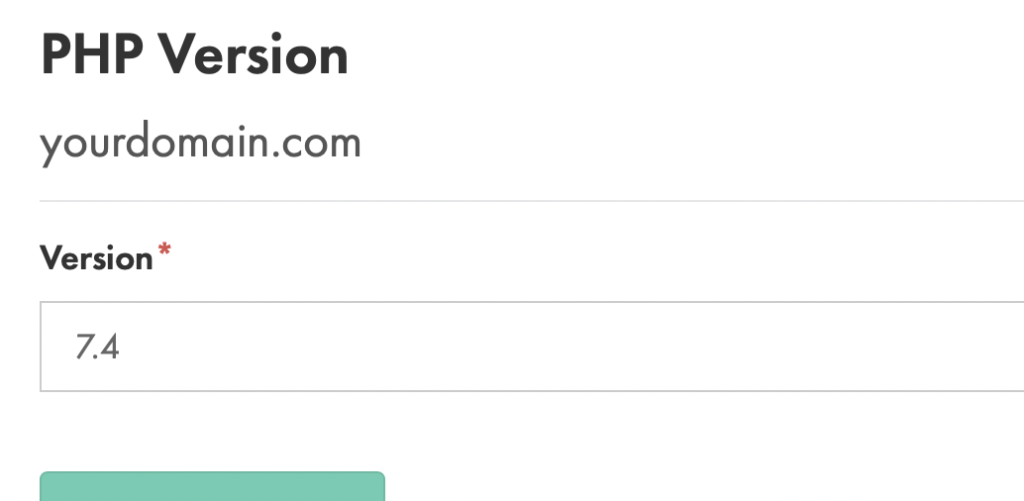
Select your PHP version
From the ‘Version’ drop down menu select the PHP version you want to use on your website.
STEP 6
Select ‘Update PHP Version’
Below the drop down menu, click the ‘Update PHP Version’ button to save your changes.
If you require a PHP version greater than 8.0 and it’s not already listed, you can request this by contacting our support team.
