Applies to:
Reseller Hosting
Difficulty:
Easy
Time Needed:
5 minutes
Contents
Introduction
This is a quick step-by-step walkthrough for adding a user to your Reseller Hosting.
Reseller Hosting allows your to have multiple clients under your main Reseller Hosting account and creating a user for them allows the client to have access to their site alone and not the wider Reseller account network of sites.
Create a user
STEP 1
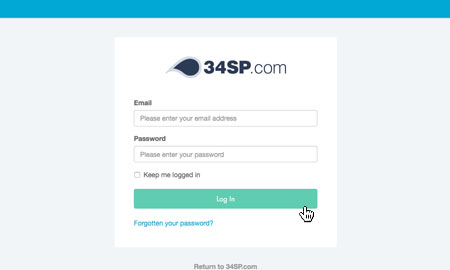
Login to your account
Firstly, you’ll need to login to your 34SP.com account at https://account.34sp.com.
STEP 2
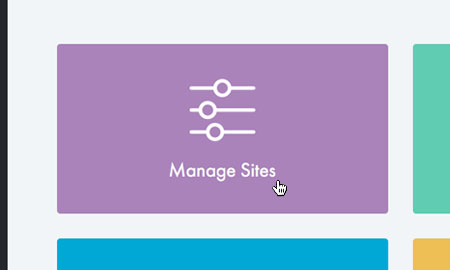
Choose ‘Manage Sites’
Once you have logged in, click on the ‘Manage Sites’ icon. This will bring up a list of websites or domain names you have in your 34SP.com account. Simply choose the website or domain name to wish to edit by clicking on it.
STEP 3
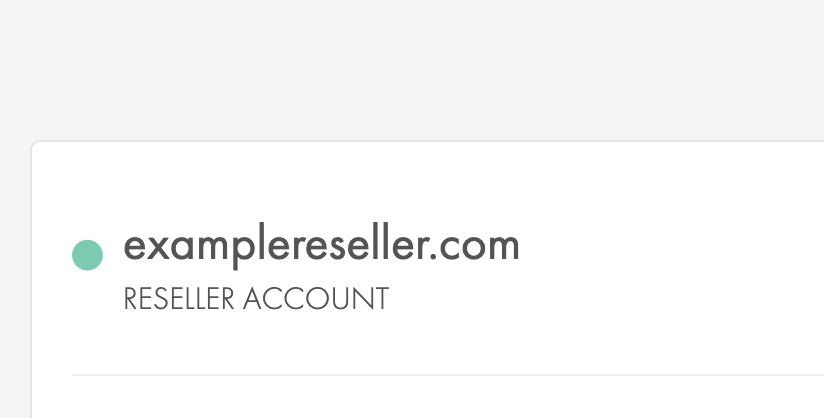
Choose your reseller account
When you are viewing your list of websites, select your Reseller Hosting account container from the list of available services.
STEP 4
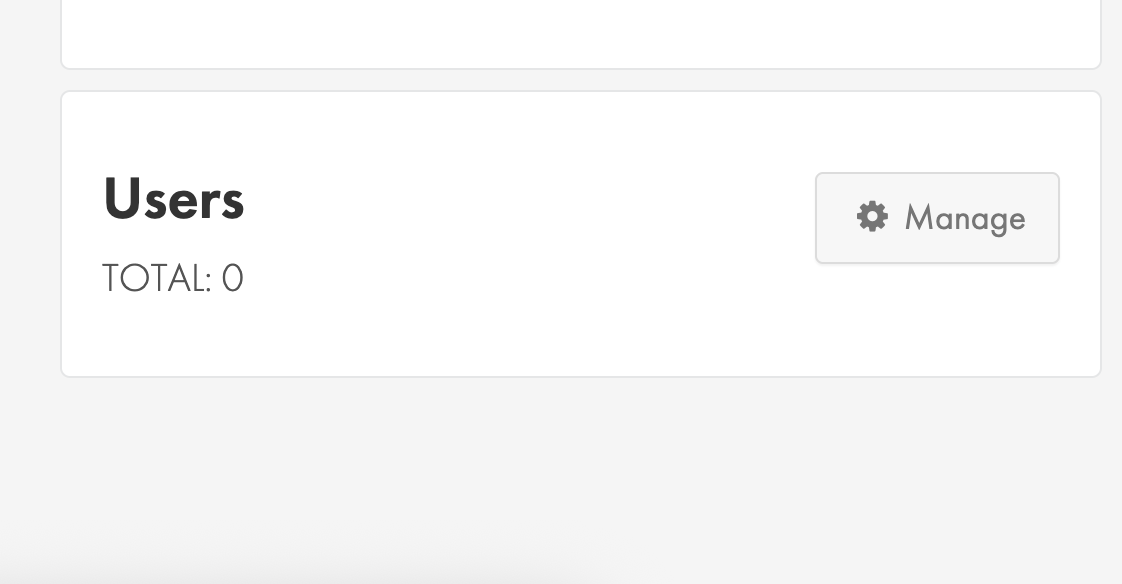
Choose ‘Manage’
From the users menu on your Reseller Hosting view, select the ‘Manage’ button.
STEP 5
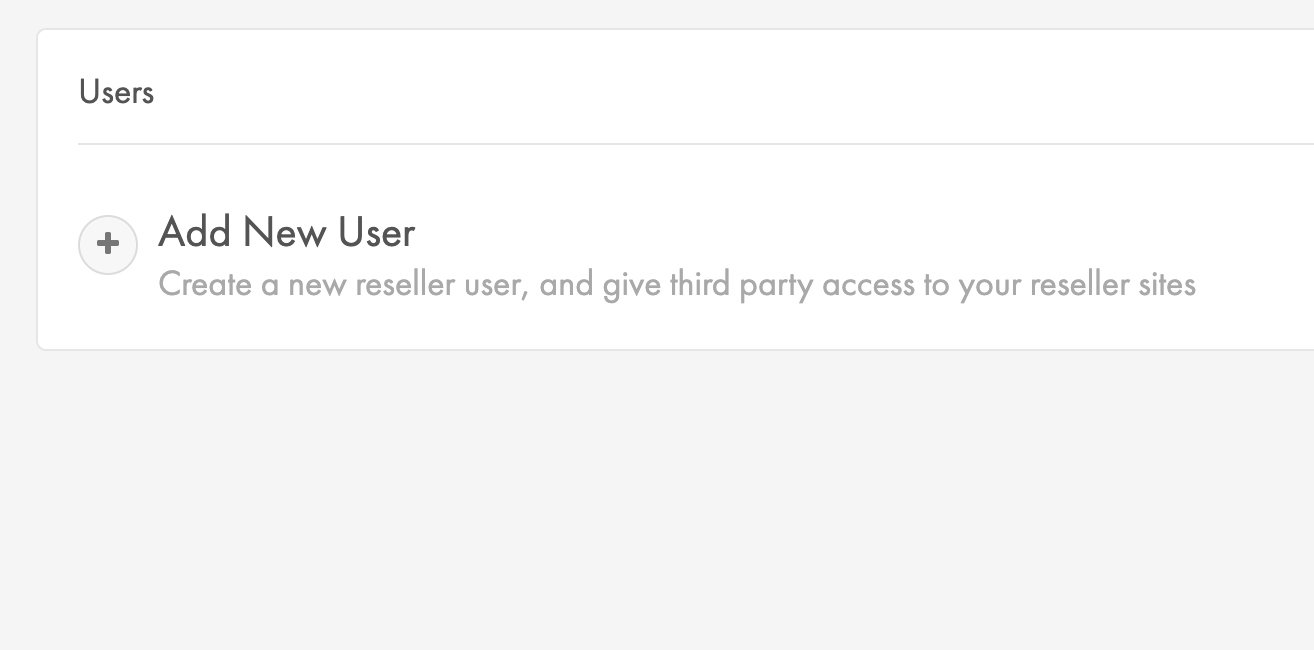
Choose ‘Add New User’
From the users page, select the ‘Add New User’ button.
STEP 5
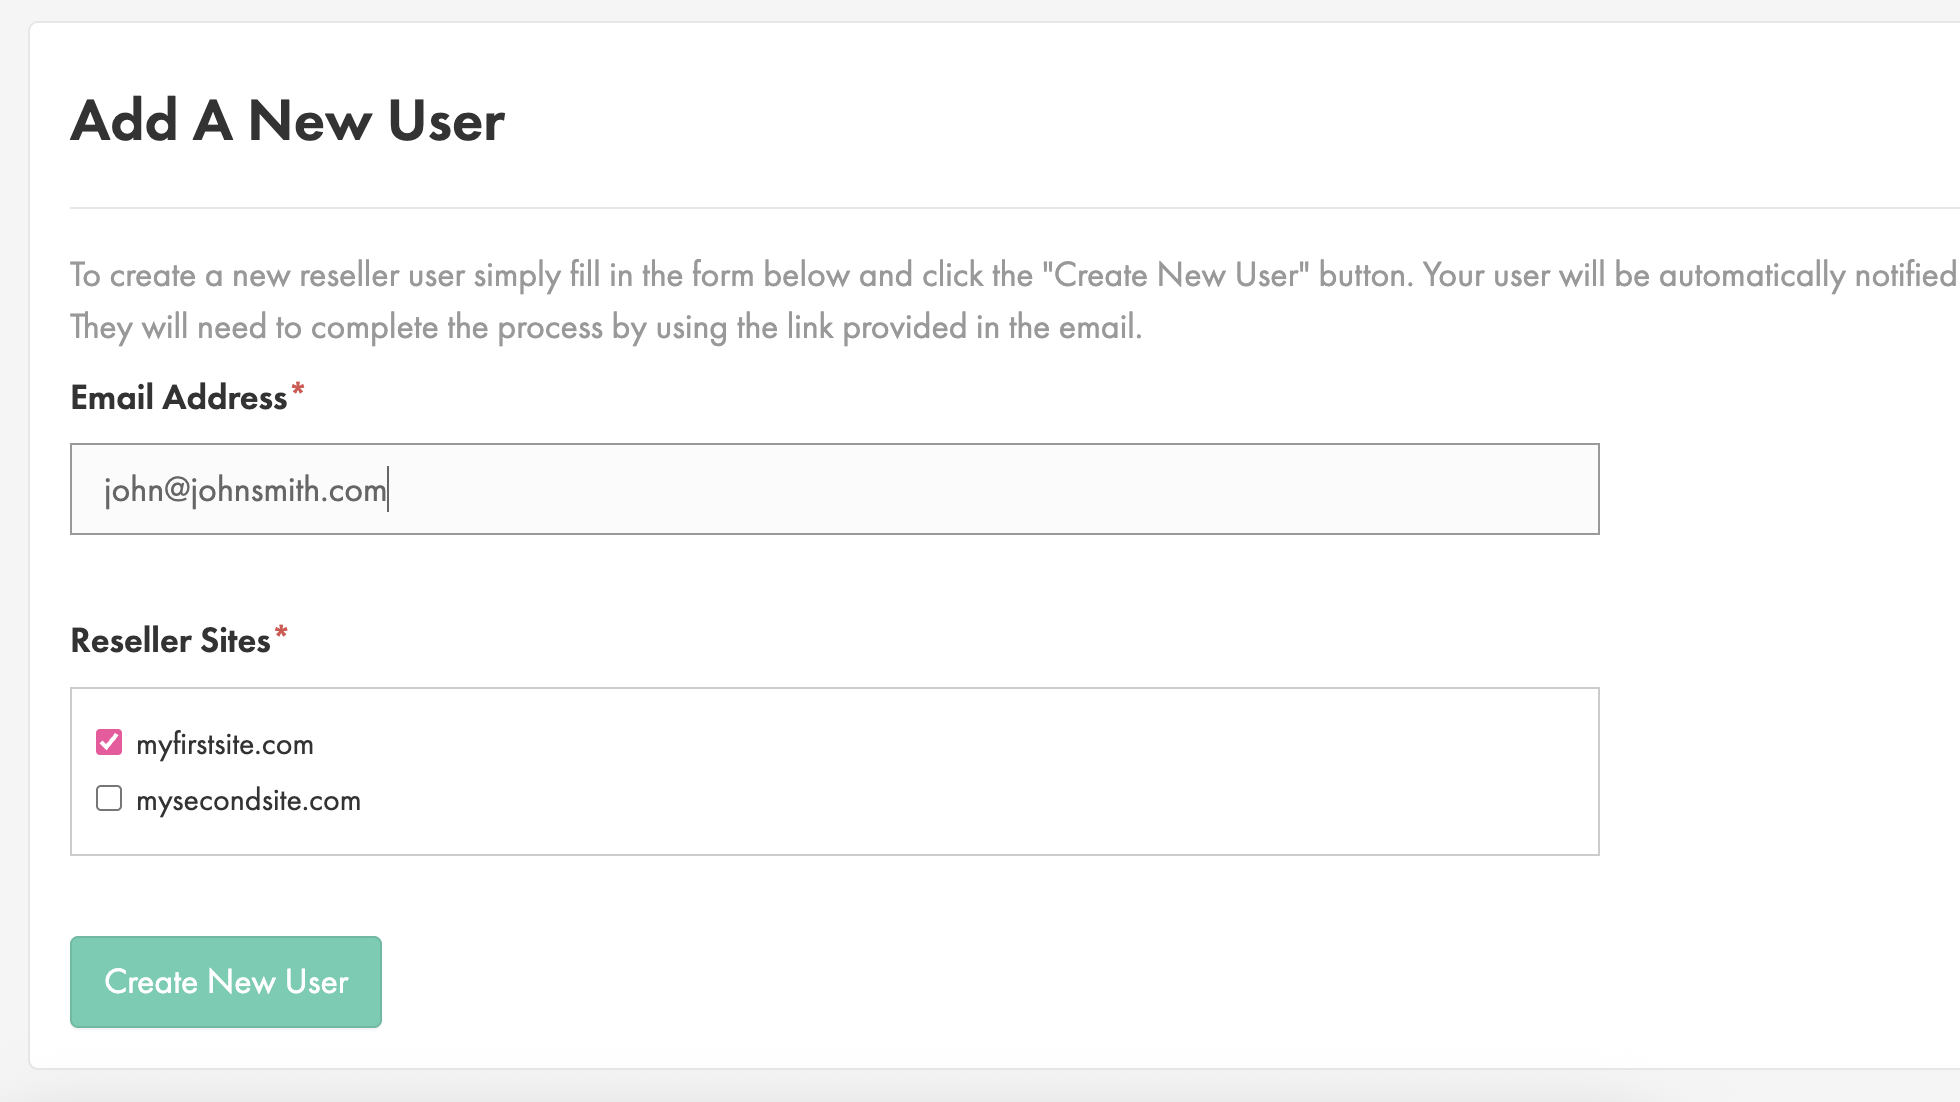
Create your user
You will need to provider the email address for your user and then assign the website(s) you want them to have access to. Any sites not selected will be inaccessible to the new user.
STEP 6
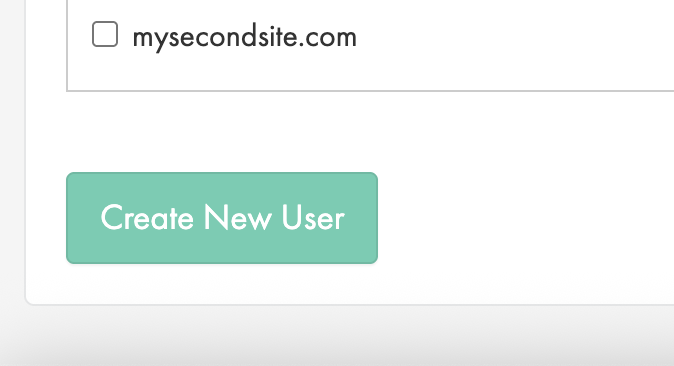
Choose ‘Create New User’
When you have filled in the required information on the form, select the ‘Create New User’ button to save the new user.
STEP 7
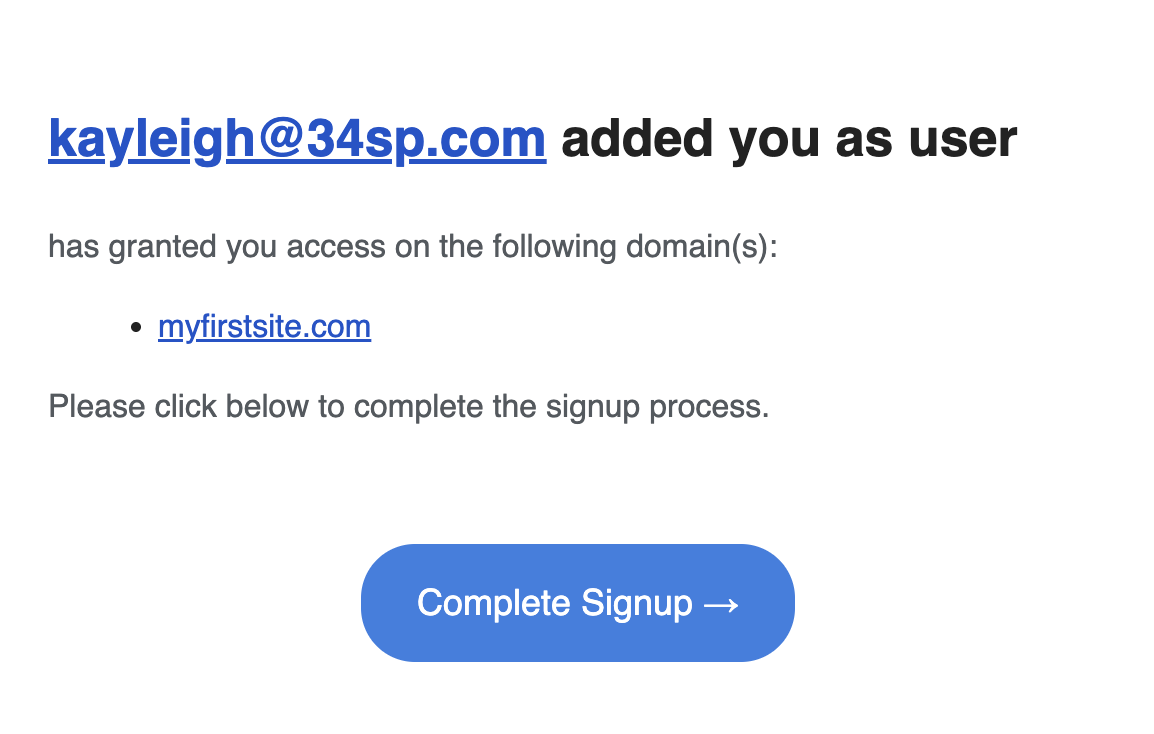
Choose ‘Create a password’
Your user will receive an email asking them to click on our link to complete their sign up and set a password for their account.
Logging in as a user
Users created under your reseller hosting can directly login to their own control panel to manage their assigned website(s) without having access to your main 34SP.com administrator account.
STEP 1
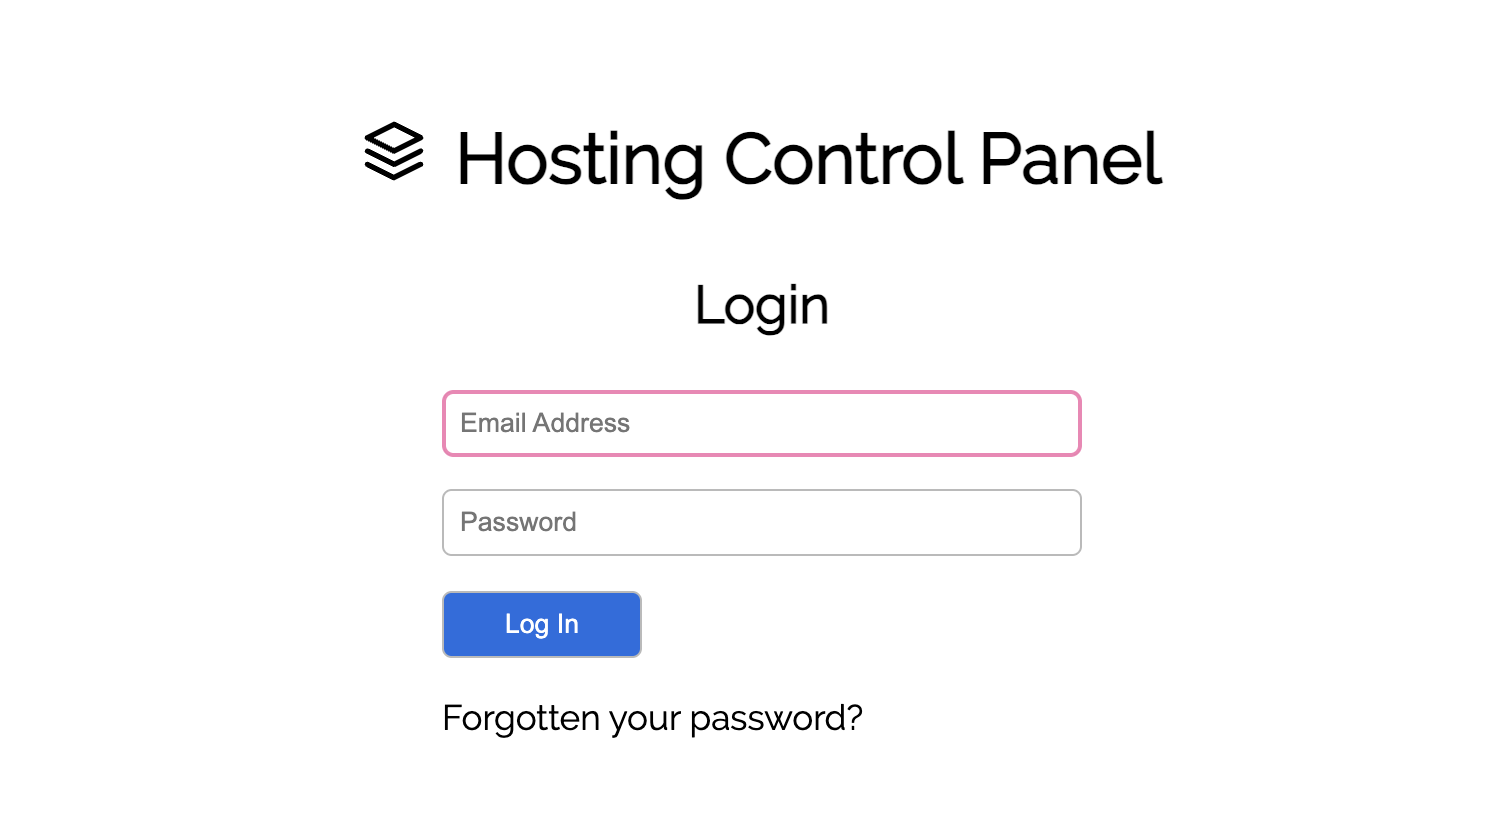
Go to the Xenserve login screen.
Reseller account users need to go to the following page to login:
https://account.xenserve.com/login
Type in the email address of your user and their password.
STEP 2
Manage your assigned websites.
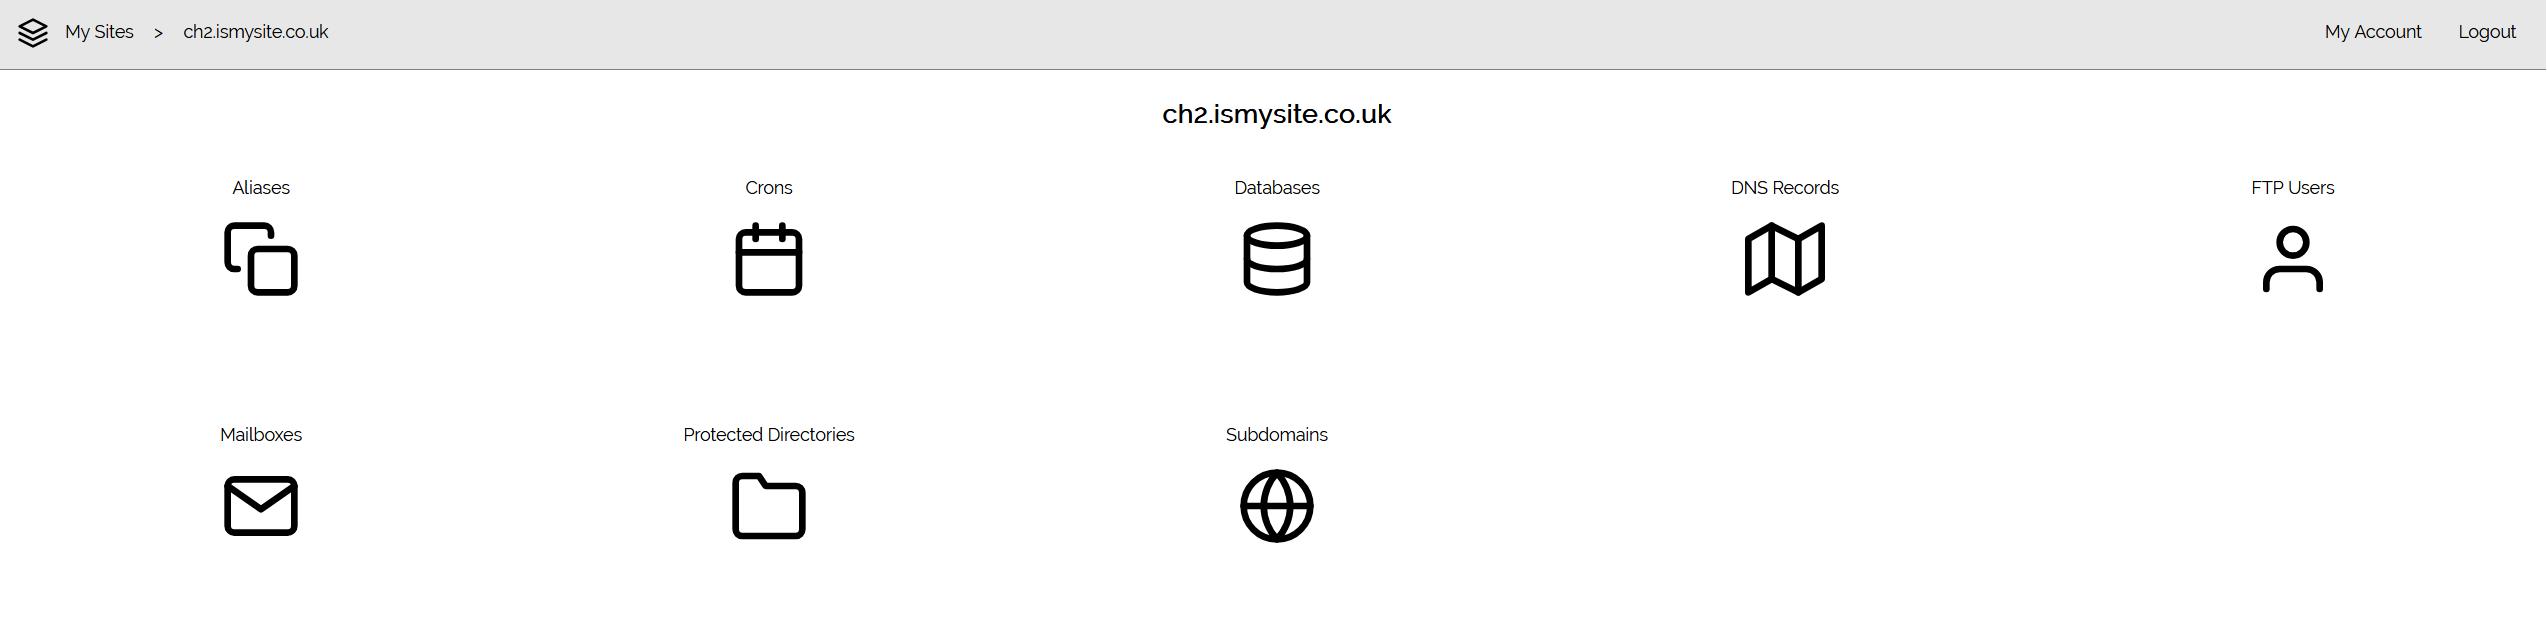
Upon logging in your user will have access to the Xenserve control panel for their assigned website(s) only.
They will not have access to add or remove other sites and they will not be able to see other hosting types and domains held by your administrator account.