Applies to:
Reseller Hosting
Difficulty:
Easy
Time Needed:
5 minutes
Contents
Introduction
This is a quick step-by-step walkthrough for enabling DKIM (DomainKeys Identified Mail) on a Reseller Hosting account, via the Plesk Onyx control panel.
DomainKeys Identified Mail (DKIM) is a protocol that allows an organisation to take responsibility for sending e-mail, that can be verified by mailbox providers using cryptographic authentication. Setting up DKIM means you can help prevent spoofing by adding a digital signature to outgoing message. Whilst that may sound complicated, it is very simple to setup.
Enabling DKIM on your server with Plesk Onyx
STEP 1
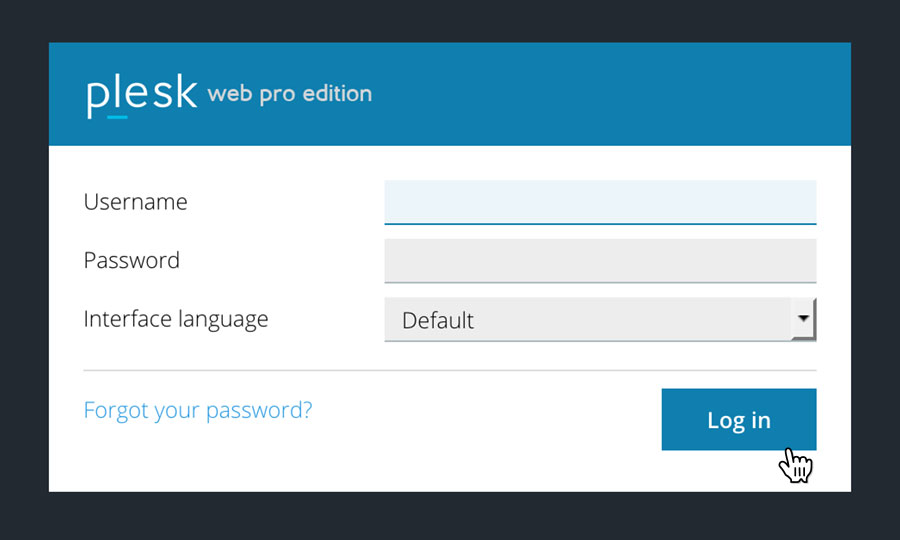
Login to your account
Firstly you’ll need to login to your Plesk Onyx control panel, which will be at a URL similar to https://your_server_number.xenserve.com:8443/
STEP 2
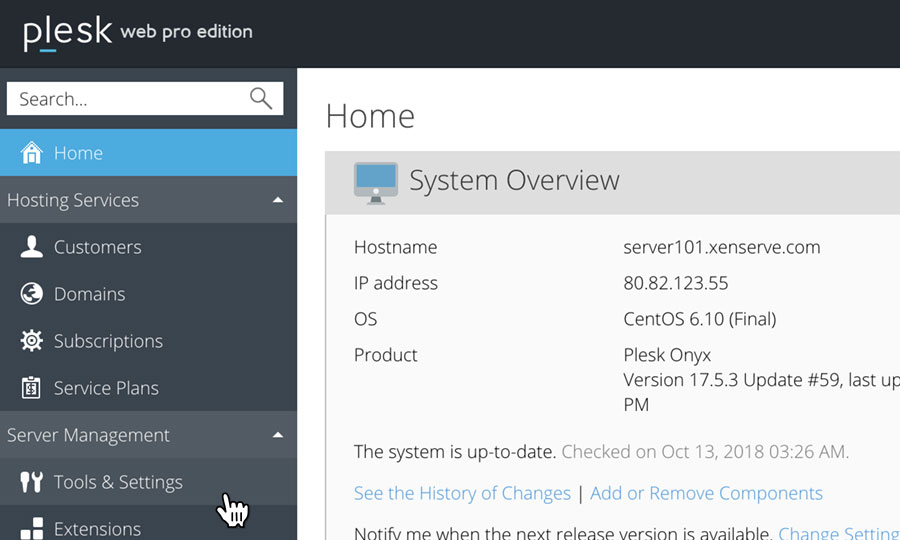
Choose ‘Tools & Settings’
Once you have logged in, click on the ‘Tools & Settings’ option, in the left hand menu.
STEP 3
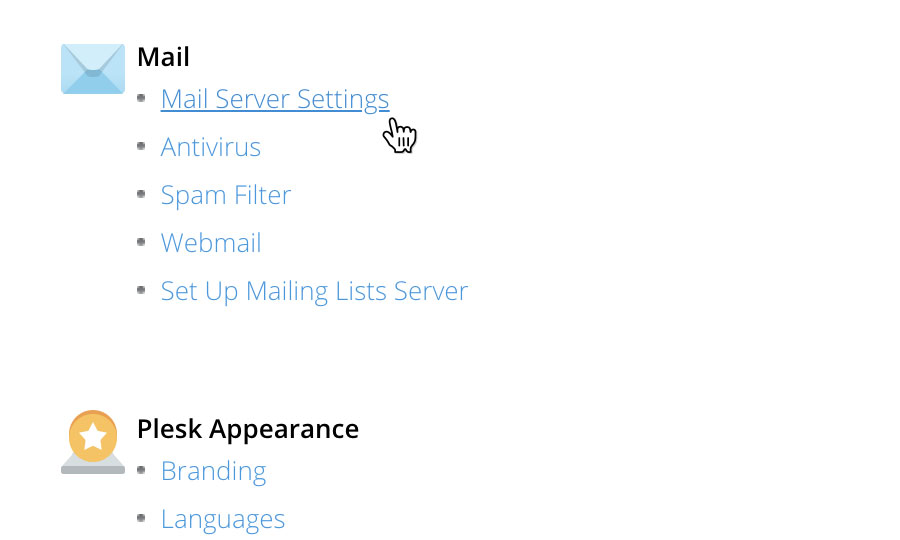
Choose ‘Mail Server Settings’
This will bring up a list of categories.
Locate the heading ‘Mail’, then click on the option ‘Mail Server Settings’.
STEP 4
Enable DKIM spam protection
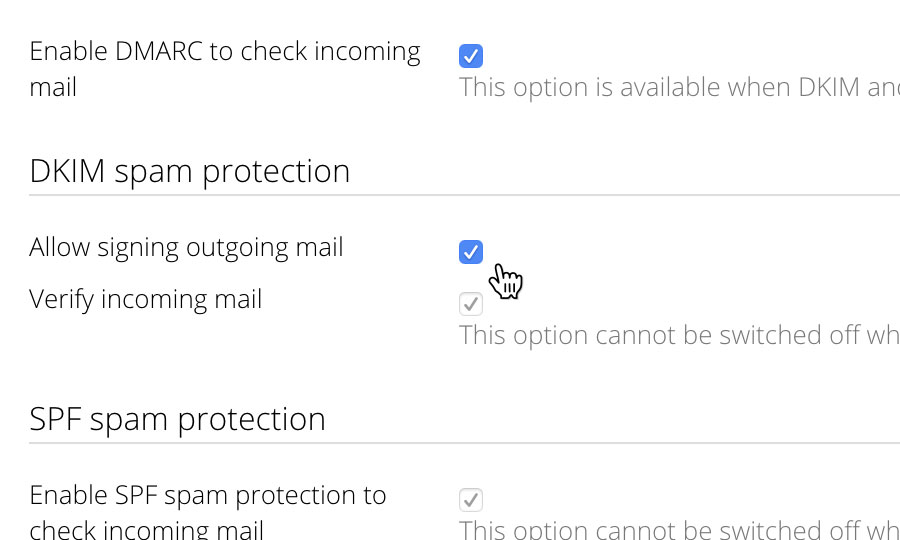
This will bring up a a page with various different settings. Scroll down to the section labelled ‘DKIM spam protection’.
Check the box labelled ‘Allow signing outgoing mail’. Enabling this option means you can switch on the DKIM signing of outgoing mail on a per-domain basis. After enabling this option, you will then need to proceed to Enabling DKIM e-mail signing for a domain.
Underneath is another checkbox, labelled ‘Verify incoming mail’. Checking this box is optional, and enables DKIM checking for all incoming e-mail. When enabled, all incoming e-mails are checked for DKIM and if the check fails, are marked with a special header.
Once you have made your changes, scroll down to the bottom of the page and click on the button labelled ‘OK’ to save your changes.
Enabling DKIM e-mail signing for a domain
STEP 1
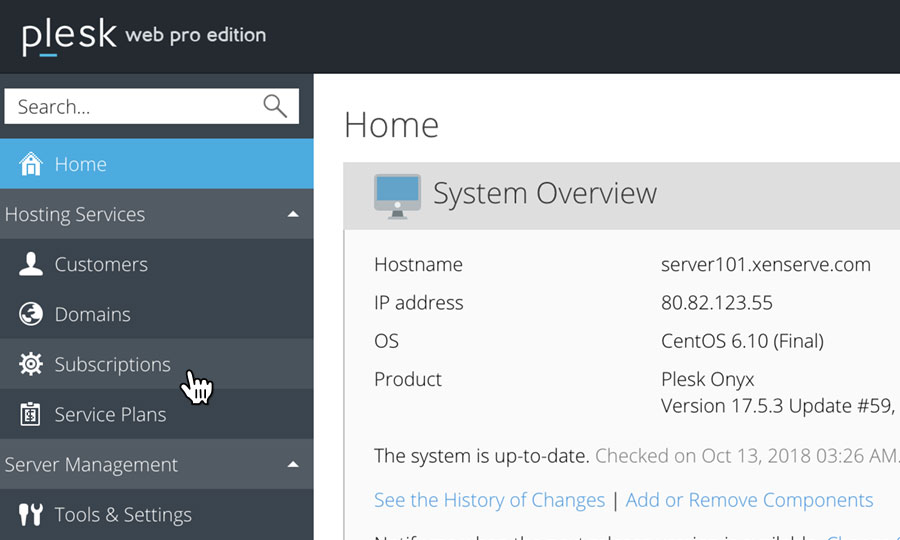
Choose ‘Subscriptions’
Click on the ‘Subscriptions’ option, in the left hand menu.
STEP 2
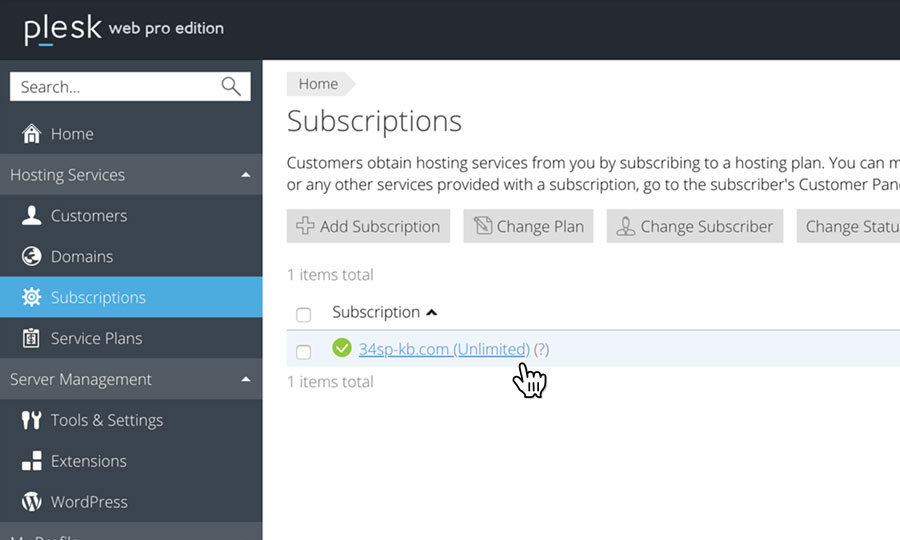
Choose Your Site
This will bring up a list of websites you have on your Reseller Hosting account.
Locate the domain name you wish to access, then simply click on it.
STEP 3
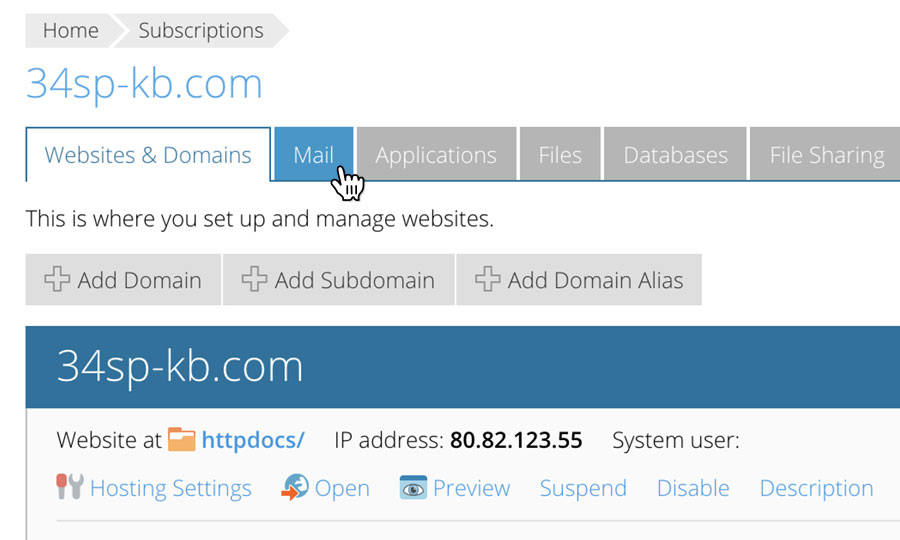
Choose ‘Mail’
On the domain overview page, locate the tab labelled ‘Mail’, and click on it.
STEP 4
Choose ‘Mail Settings’
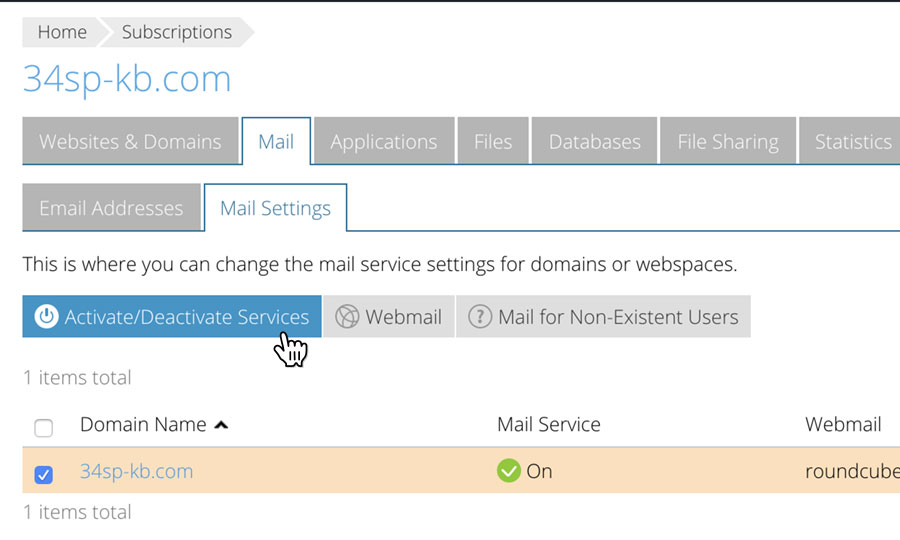
On the ‘Mail’ page, click on the tab labelled ‘Mail Settings’.

STEP 5
Select ‘Activate/Deactivate Services’
Click on the checkbox next to the domain you wish to enable DKIM on, then click on the button labelled ‘Activate/Deactivate Services’.
STEP 6
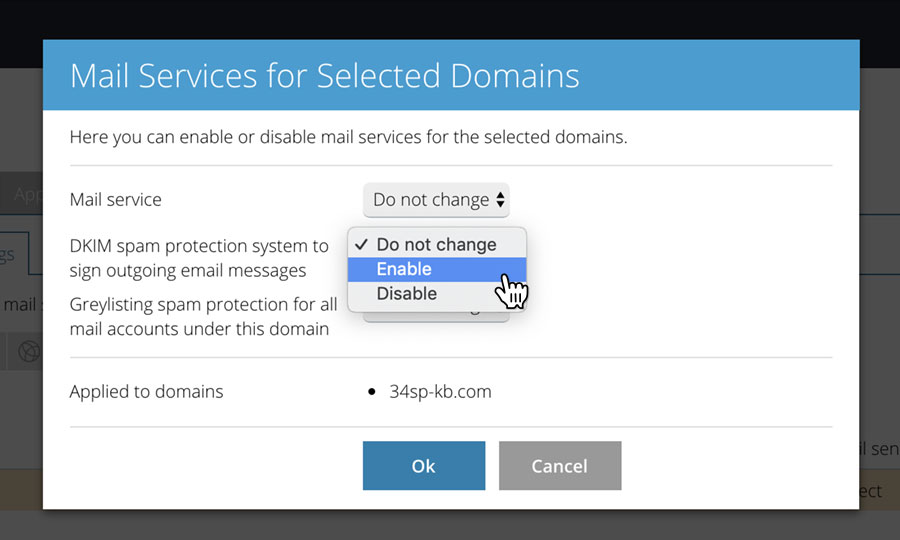
Enable DKIM on your domain
This will open a dialog box. Simply click the dropdown labelled ‘DKIM spam protection system to sign outgoing email messages’, and select the ‘Enable’ option. Then click on the button labelled ‘OK’ to save your changes.