Applies to:
Professional Hosting
Universal Hosting
WordPress Hosting
Difficulty:
Easy
Time Needed:
5 minutes
Introduction
This is a quick step-by-step guide to updating the IMAP path prefix in Outlook (Windows), to correctly route your mail program to show all folders.
STEP 1
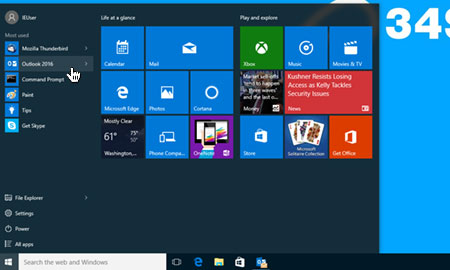
Open Outlook
Firstly, you’ll need to open Outlook by clicking on the Outlook icon.
STEP 2
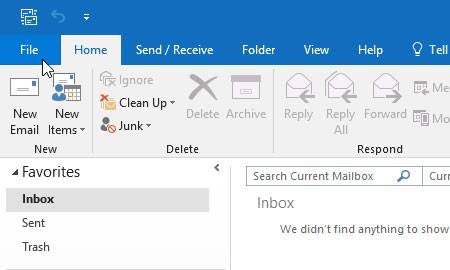
Choose ‘File’
Once Outlook has opened, click on ‘File’ from the main menu.
STEP 3
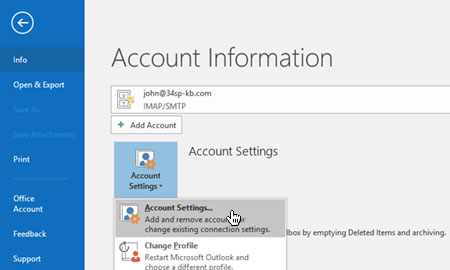
Choose ‘Account Settings’
Select ‘Info’ from the menu on the left hand side. You will then be presented with a page titled ‘Account Information’. Choose the email address you wish to edit, then click on the button labelled ‘Account Settings’. From the drop down menu, click on the option labelled ‘Account Settings…’.
STEP 4
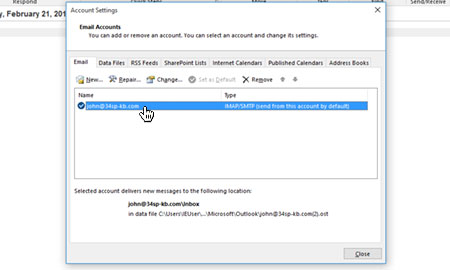
Double click on the email address
You will be presented with dialog box. Please double click on the email address you wish to edit.
STEP 5
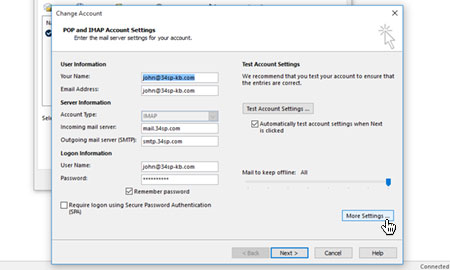
Choose ‘More Settings…’
This will open a new dialog box, listing the details of your email account. Please click on the button labelled ‘More Settings…’.
STEP 6
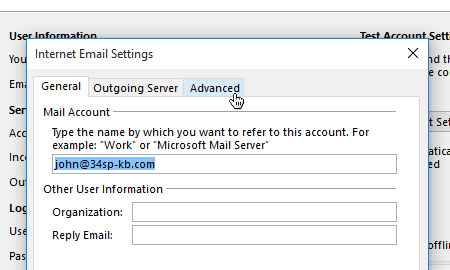
Choose ‘Advanced’
This will open a another new dialog box. Please click on the tab labelled ‘Advanced’.
STEP 7
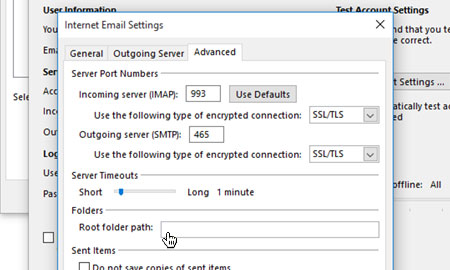
Update the root folder path
When you are viewing the advanced tab, locate the field labelled ‘Root folder path’. If you have anything in this field, please remove it as it should be left blank. Then click on the button labelled ‘OK’ to save your changes.
STEP 8
Save Your Changes
This will return you to the previous dialog box labelled ‘Change Account’. To close this box, simply click on the button labelled ‘Next > ‘, then click on the button labelled ‘Close’.
You may need to close your mail client for the new settings to take effect. Once completed, you should be able to see all files that were present on the old mail system.
