Applies to:
Professional Hosting
Universal Hosting
WordPress Hosting
Difficulty:
Easy
Time Needed:
5 minutes
Contents
Introduction
This is a quick step-by-step walkthrough for updating spam filter settings via the webmail interface.
Please note: This article is only applicable for email mailboxes on 34SP.com’s Mercury Mail system.
Updating spam filter settings
STEP 1
Logging into webmail
Firstly, you’ll need to login to your webmail account at http://mail.34sp.com.
This will bring up a login form. Enter the email address you wish to access for the ‘Username’ and the mailbox password for the ‘Password’. When you have entered the relevant details, click ‘Login’ to access webmail.
Please note: Where domain is “yourdomainname.com”, please replace with your own domain name.

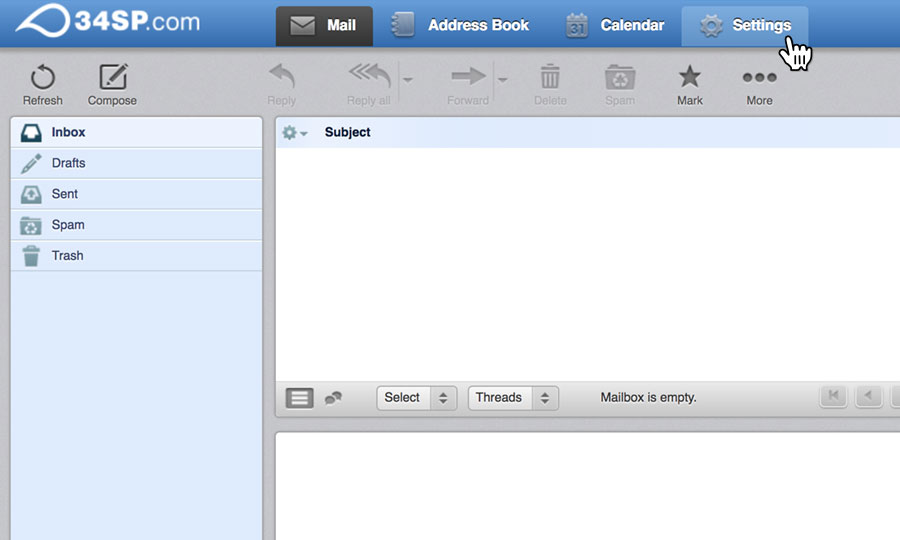
STEP 2
Choose ‘Settings’
Once you have logged in, click on the ‘Settings’ tab.
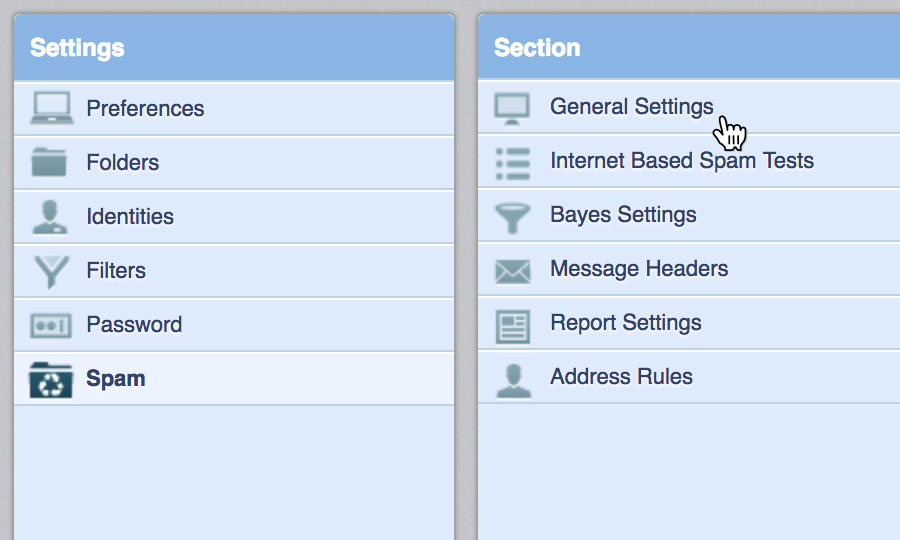
STEP 3
Choose ‘Spam’
After you have clicked on the ‘Settings’ tab, you will be presented with a list of options. Please click on the option labelled ‘Spam’.

STEP 4
Choose ‘General Settings’
After you have clicked on the ‘Spam’ option, you will be presented with another list of options. Please click on the option labelled ‘General Settings’.
STEP 5
Update score threshold
This will bring up a form. Choose your threshold score from the dropdown labelled ‘Score threshold’ if you wish to make the general spam filtering more or less aggressive. The lower the number, the more aggressive the filtering will be.
When you’re done, click ‘Save’ to save your changes.

Blacklist or whitelist specific addresses
STEP 1
Choose ‘Address Rules’
If you wish to blacklist or whitelist a specific email address, simply click on the ‘Address Rules’, when viewing the ‘Spam’ options.

STEP 2
Create rules
This will bring up a form. Create your rules using the dropdown menu to either accept or reject mail, then enter the email address you wish to accept/reject into the adjacent form.
When you’re done, click ‘Save’ to save your changes.

Automatically delete spam
STEP 1
Choose ‘Settings’
If you wish to automatically delete spam, simply click on the ‘Settings’ tab.

STEP 2
Choose ‘Filters’
After you have clicked on the ‘Settings’ tab, you will be presented with a list of options. Please click on the option labelled ‘Filters’.

STEP 3
Add filter
This will bring up 2 columns, labelled ‘Filter Sets’ and ‘Filters’. Navigate to the bottom of the ‘Filters’ column, and click on the plus (+) icon.

STEP 4
Create filter
This will bring up a form. In the ‘Filter Name’ field, give your filter a name such as ‘Delete-SPAM’.
Under the fieldset labelled ‘For incoming mail’, click on the checkbox labelled ‘matching any of the following rules’.

STEP 5
Specify the filter’s conditions
From the first dropdown menu, select ‘…’ (the last option on the dropdown menu). Then in the text field, enter the following:
X-Spam-Flag
Leave the second dropdown menu on ‘Contains’, then in the final text field enter the following:
YES

STEP 6
Delete spam messages
Under the fieldset labelled ‘…execute the following actions’, click on the first dropdown menu and choose ‘Delete message’.
When you’re done, click ‘Save’ to save your changes.

STEP 7
Locate the Move Spam to Junk Folder filter
By default, spam mail will be moved to your Junk folder. If you want to automatically delete spam email, you will need to prevent it being moved to another folder so that it doesn’t fill up your mailbox.
Under the ‘Filters’ list, there will probably be a filter called ‘Move Spam to Junk Folder’ Click on this filter to show details of it to the right.
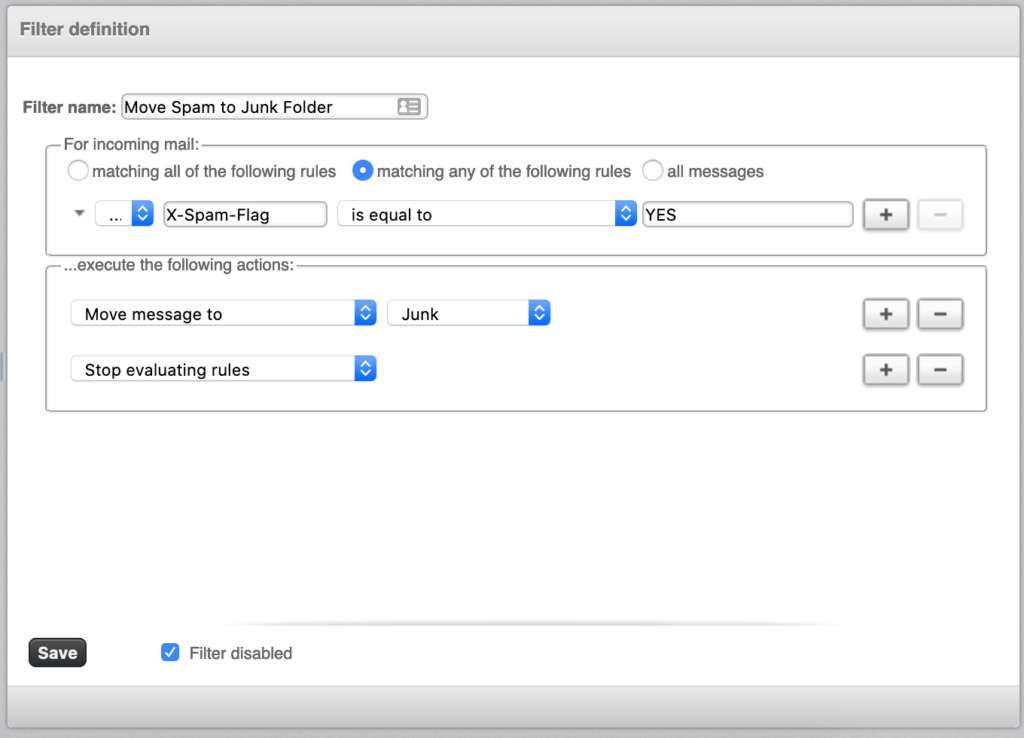
STEP 8
Disable the Move Spam to Junk Folder filter
Tick the box labelled ‘Filter disabled’
Click ‘Save’ to save your changes.
