Many of today’s scripts have become incredibly feature rich and the limitations of PHP ”safemode” can cause issues with functionality in some areas. It is for this reason that we released our PHP CGI installer – to get around the various issues our customers have experienced in this regard. PHP running under CGI is a much more secure environment as it runs the scripts as your user instead of under the webserver’s user. This means that files created or uploaded via your scripts are owned by yourself and therefore do not cause issues.
While we have had this installer available for several years and have seen a great deal of usage, we have decided to make a new style of script installer available. This installer is a point and click system and we hope you will find it much easier to use. See more here.
Here is a run down of the procedure:
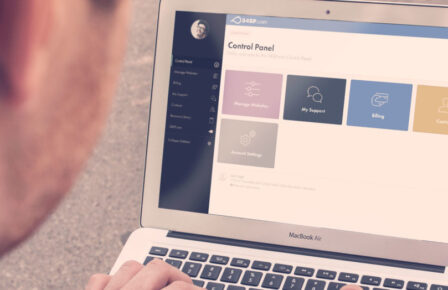
Firstly you need to login to 34SP.com:
1) Login Screen
Once you have logged into this screen you will be presented with a drop down box which will list all of your active hosting with 34SP.com on which you can use the installers. This will cover any personal, business hosting, professional hosting and reseller web hosting accounts.
2) Service Listings
Should your hosting package have any subdomains attached to it they will automatically be listed once you proceed to the next step, where you can choose the main domain (first entry) or one of the subdomains of the account. Unlike the previous installer you no longer need to use unique ftp accounts on subdomains to be able to use the php installer.
3) Subdomains
Once you have chosen your domain/subdomain to install on you will be taken to a screen to choose the version of PHP and type of CGI that you wish to use. The differences are explained on this page, for the majority of installations we recommend that you use PHP 5.2.x and phpfastcgi. On the vast majority of servers if you choose php5.2.x then ZendOptimizer and IonCube will be activated for you automatically where as previously you would have needed to contact us to have these features manually enabled.
4) PHP Screen
The next page offers what we called “Advanced Options” in the old installer. You will see that a few more have been added in response to customer requests, and one additional item at the top which will automatically activate the PHP installation on your domain without the need for manual intervention, as was previously required.
5) Advanced Options
Once you have selected any options, you are taken to a simple agreement page. On this page a test of the connection is made to the server. If you see a message displayed as shown in the next screen shot, please open up a login to your account page on 34SP.com and enable the FTP service for the day (temporary) before proceeding.
6) Agreement
Once the terms have been agreed too, you will see a quick summary of the options you have chosen. Please carefully check these over and if you are happy with them click the install icon, or click the link at the bottom to go back to the start of the installation script.
7) Summary
At this stage the installation will start adding the support files to your hosting account.
8) Installing
Once completed there will be a link to test the installation with. On clicking this if you do not get the message shown in the next screenshot please contact us with full details so we can look into why the installation has not been successful. If you chose not to activate the PHP installation it will also output the lines of code that you need to add to your .htaccess file to enable this.
9) Finished
We hope you find this new style script installation much easier to use and in time we will be replacing other scripts in a similar fashion. Please do let us know any comments that you have on this system or if there are any other areas where you feel there is room for even greater improvement with our website hosting services. As always, contact us through our 34SP.com support channels with any questions or comments.
Related posts

Changes to the 34SP.com login process
If you log in to account.34sp.com page today, you may notice a new added security feature. Starting today all users will now face…
Updating your stored credit or debit card for recurring billing
You may have recently received an email from us asking you to update a stored debit or credit card. This…

More than 100x performance – why you need to choose optimized WordPress Hosting
100x performance; it’s a big and bold claim! If you’ve spent time researching web hosting options, you’ve no…