Applies to:
Professional Hosting
Universal Hosting
WordPress Hosting
Difficulty:
Easy
Time Needed:
10 minutes
Contents
Introduction
This is a quick step-by-step guide to viewing, adding and removing domain aliases via the 34SP.com Control Panel.
Managing aliases
STEP 1
Login to your account
Firstly, you’ll need to login to your 34SP.com account at https://account.34sp.com.

STEP 2
Choose ‘Manage Sites’
Once you have logged in, click on the ‘Manage Sites’ icon.
This will bring up a list of websites or domain names you have in your 34SP.com account. Simply choose the website you wish to edit by clicking on it.

STEP 3
Select ‘Advanced’
After you have clicked on the website you wish to edit, you will be presented with your website overview page. Choose ‘Advanced’ from the product navigation.

STEP 4
Choose ‘Aliases’
Then please click on the icon labelled ‘Aliases’.

STEP 5
Managing your aliases
The ‘Manage Aliases’ page provides an overview of your domain aliases, with each alias listed in a table. Along with viewing each alias, you can also remove each alias via the table, by clicking on the relevant icon.

How to add a new alias
STEP 1
Add new alias
If you wish to add a new alias, simply click on the button labelled ‘Add New Alias’ when viewing the ‘Manage Alias’ page.

STEP 2
Enter domain alias
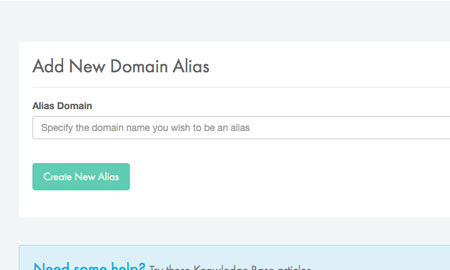
This will bring up a form. Simply fill in the form with your domain name. When you’re done, click ‘Create New Alias’ to save your changes.
You’ll then be returned to the ‘Manage Aliases’ page, were your new alias will be listed.

STEP 3
Update your domain’s DNS
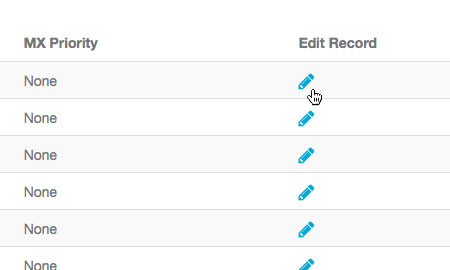
After your alias has been created, you will need to update the DNS for the domain name you are using as an alias. In the large majority of cases, this will mean editing the A-record (IP address) so that it is the same as the hosting account you have set the alias up on. If you would like to set up an email mailbox via the alias, you also need to update the MX records on the domain to point to the same mail server as the hosting package.
If you wish to find out the IP address of your hosting account, you can find it in the DNS section of the Server Guide page.
Please note: For more information on updating your DNS, please read ‘How to manage DNS records’.

How to delete an alias
STEP 1
Remove an alias
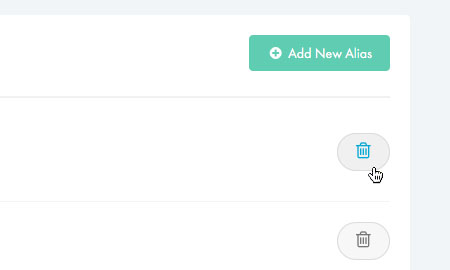
If you wish to delete a existing alias simply click on the ‘Remove’ button (the ‘trash’ icon) for the alias you wish to remove, when viewing the ‘Manage Aliases’ page. This will remove the alias permanently.
