Applies to:
Professional Hosting
Universal Hosting
Reseller Hosting
WordPress Hosting
Difficulty:
Easy
Time Needed:
5 minutes
Contents
Introduction
This is a step-by-step walkthrough for uploading and using images in WordPress.
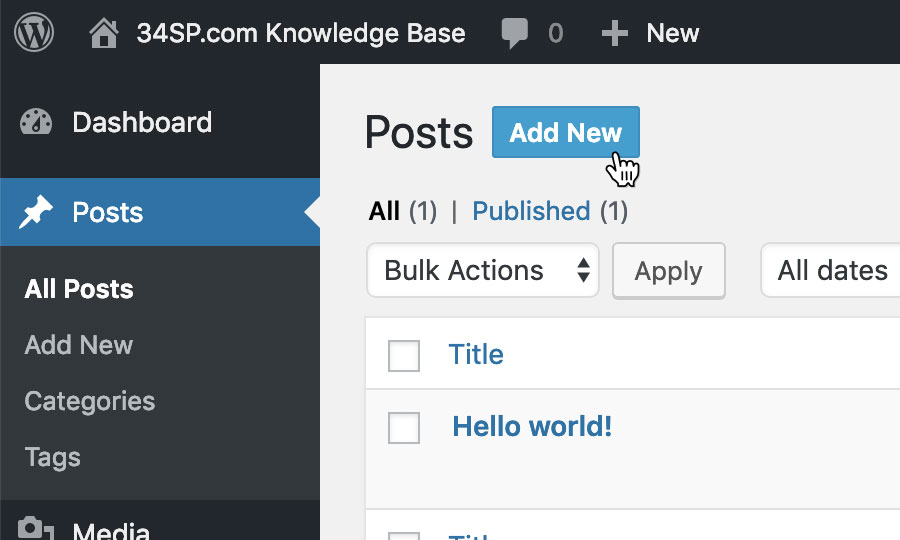
STEP 1
Create a new post or page
Firstly, you’ll need to log in to the WordPress admin dashboard and create a new post or page. If you are unsure how to do this, see the following guides.
- How to add a new post in WordPress
- How to add a new page in WordPress
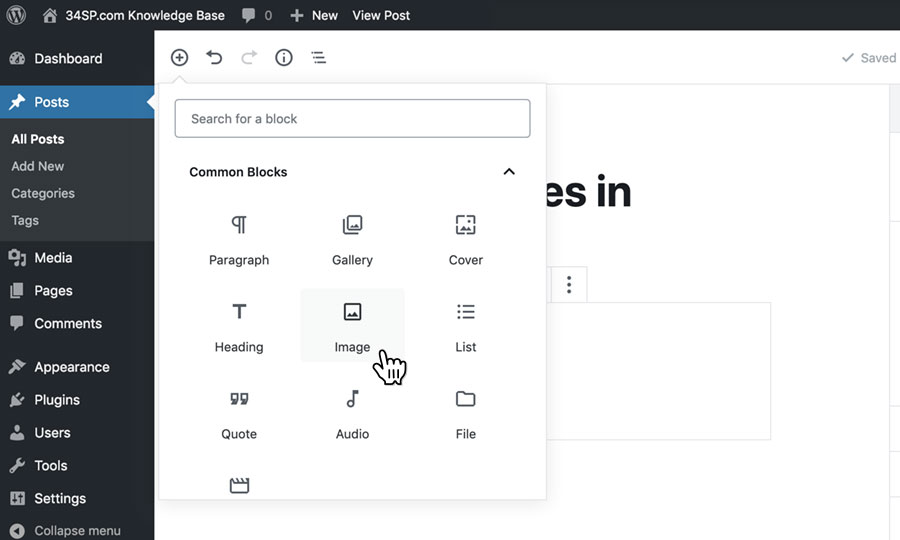
STEP 2
Add an image block
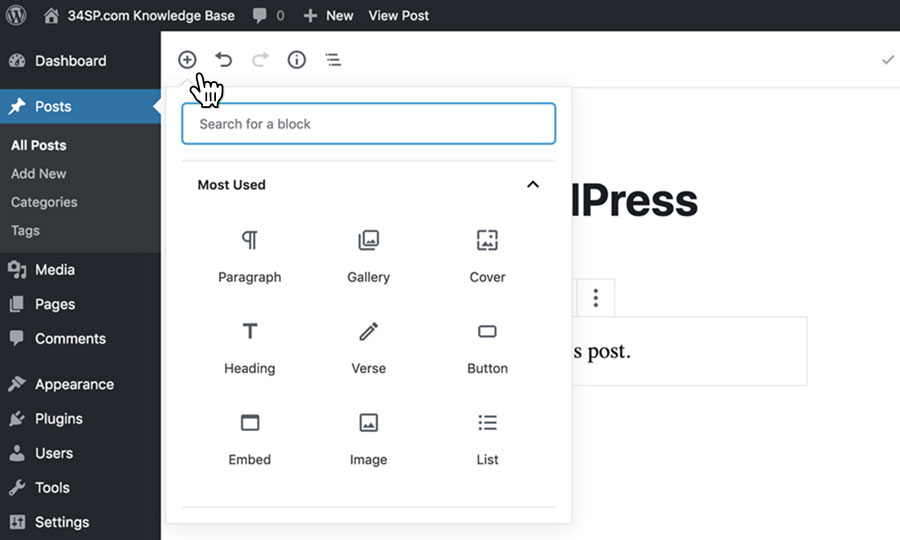
To add an image into your content, simply click on the + icon, in the top left hand corner of the editor. Clicking this button will open the block browser.

STEP 3
Choose ‘Image’
Scroll down the block browser and click on the heading ‘Common Blocks’, then choose ‘Image’.
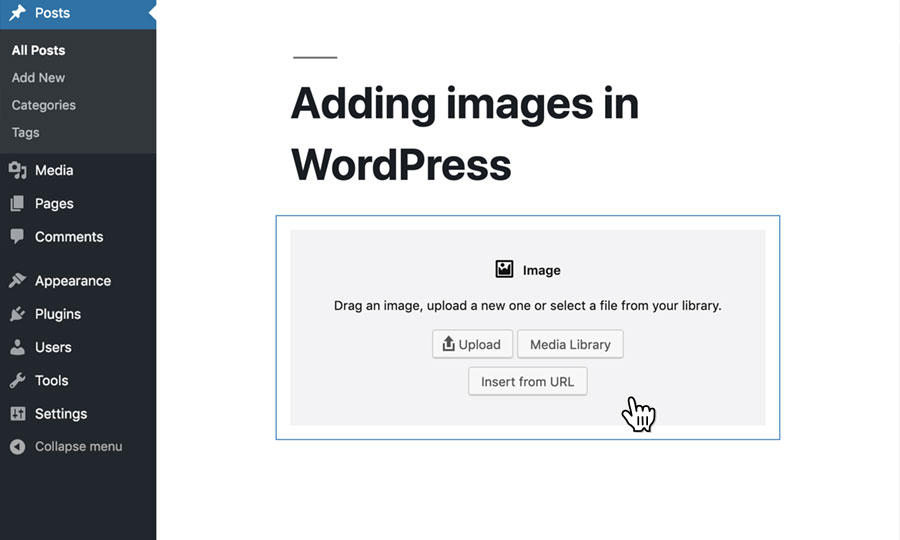
STEP 4
Add your image
There are three different ways you can add your image.
- Upload an image from your computer
- Choose an image from your media library
- Insert from URL
Clicking ‘Upload’ will open a file browser, then you can use the file browser to locate the image stored on your computer.
Choosing ‘Media Library’ will open up your WordPress media library, which is way of browsing media files you have previously uploaded to your site.
If you want to use an image that is already online click ‘Insert from URL’. Then simply enter the full URL into the text field provided.
STEP 5
Resizing your image
After adding your image to your page or post, there are various options to change how the image is displayed within your content.
Clicking on your image will give you 2 blue circular ‘handles’, which you can click and drag to resize your image.
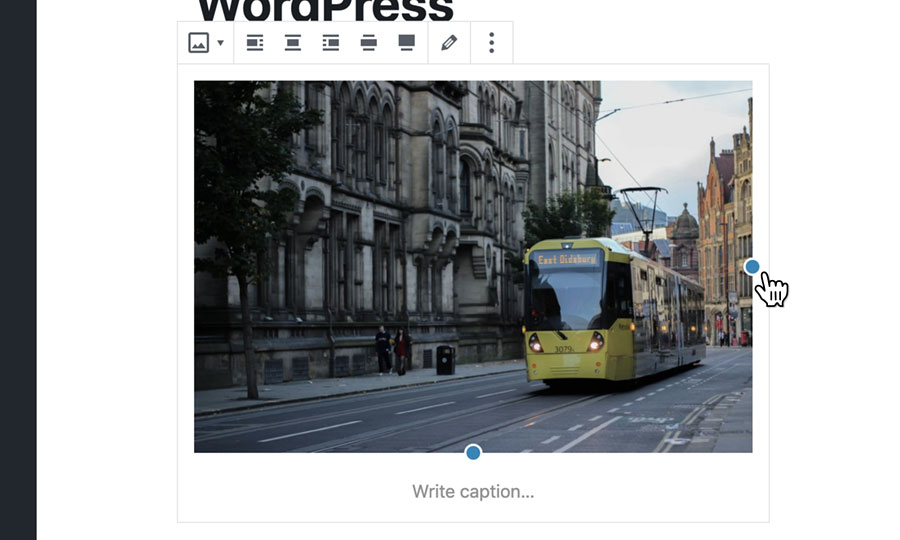
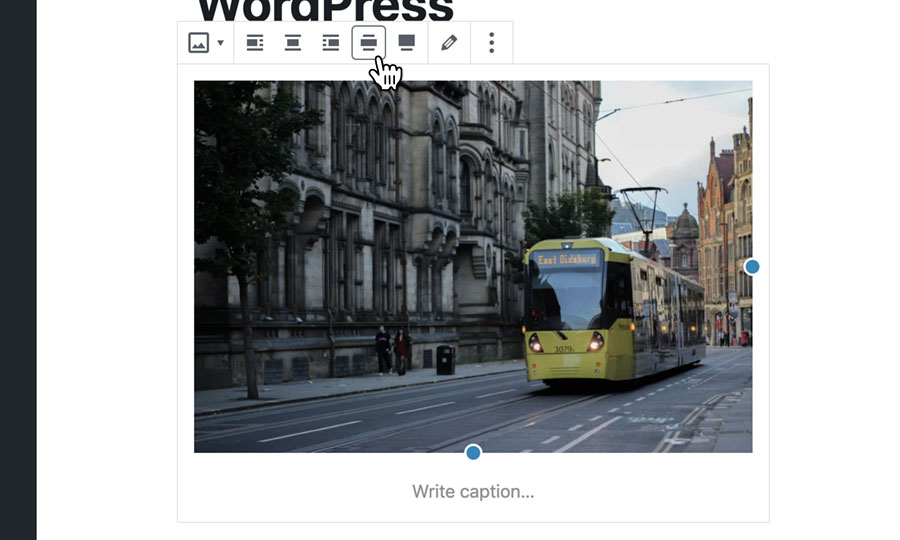
STEP 6
Aligning your image
Clicking on your image will also make the image toolbar appear above your image. The toolbar lets you choose how your image sits within your content.
Choosing ‘Align left’ or ‘Align right’ will position your image to either the left or right of the page. It will mean that any text you write will ‘wrap’ around the image.
Choosing ‘Wide width’ will remove any image resizing adjustments you have made, and force the image to display the full width of your content.
Choosing ‘Full width’ will also remove any image resizing adjustment you have made, and force the image to display the whole width of your site.
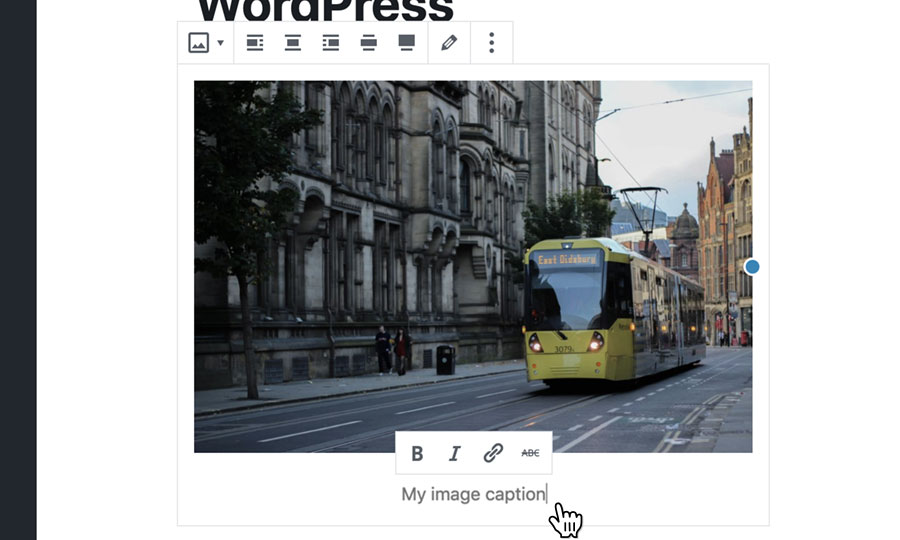
STEP 7
Adding a caption to your image
If you wish to add a caption to your image, simply click on the text that reads ‘Write caption’ and start typing.
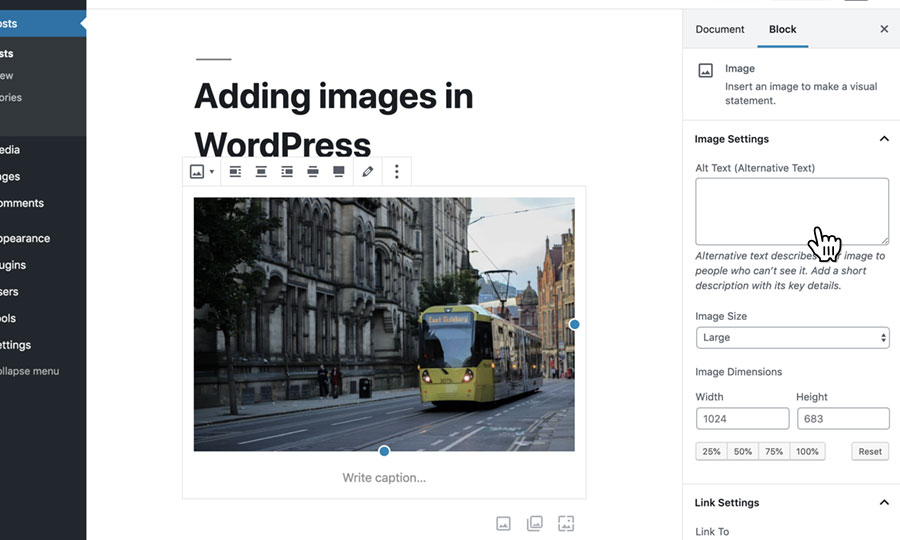
STEP 8
Image settings
Additionally, when you click on your image, a range of settings appear in the right-hand menu.
These options include entering your images alternative text (hidden text used to describe your image for screen readers), as well as more image size options.
You can also add a link to your image, either choosing for the image to link through to a full size version of itself, or a custom URL of your choosing.
Creating cover images
STEP 1
Add your cover image
Cover images are a new addition to WordPress, and are a great way to add large images, or call to actions, to your posts or pages. Cover images are an effective way to break up sections of your content.
To add an image into your content, simply click on the + icon, in the top left hand corner of the editor. Clicking this button will open the block browser.

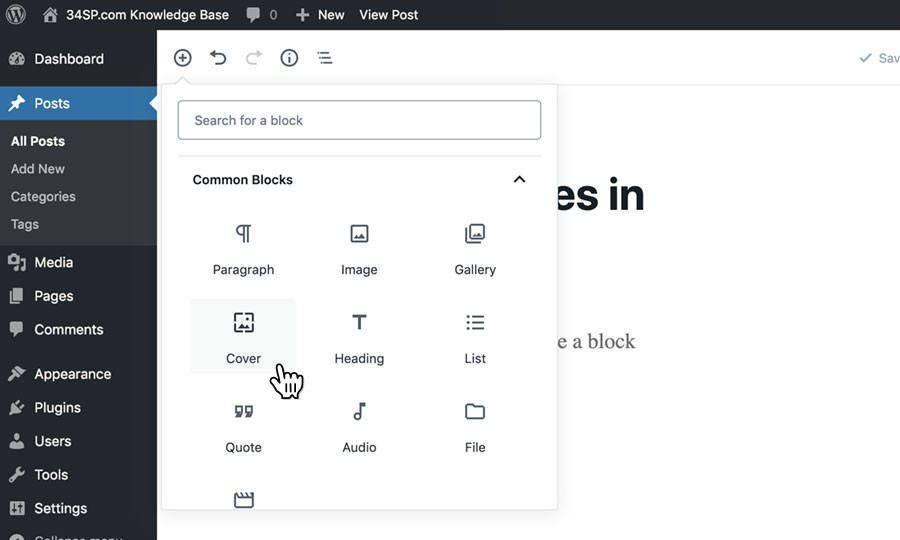
STEP 2
Choose ‘Cover’
Scroll down the block browser and click on the heading ‘Common Blocks’, then choose ‘Cover’.
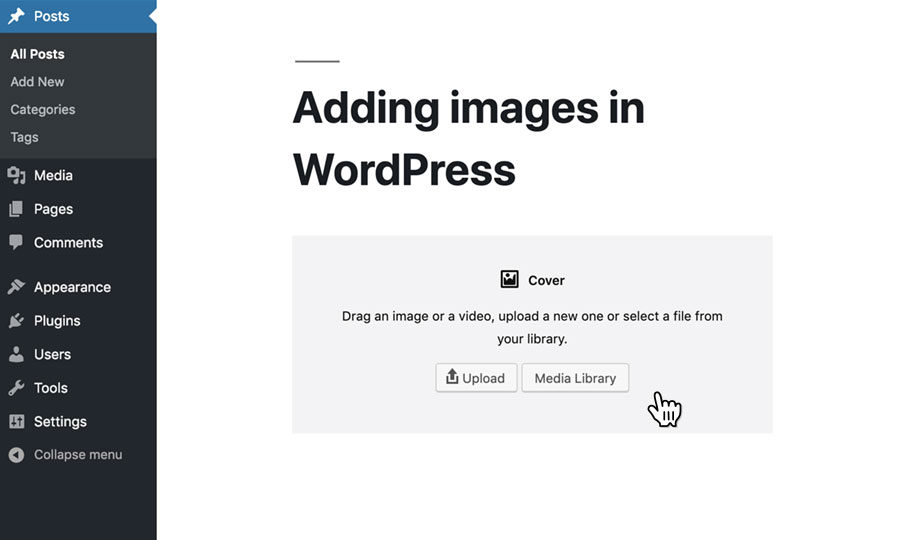
STEP 3
Add your cover image
When picking an image to use as a cover image, it’s important to use an image that isn’t too small. Smaller images will not scale well, and are likely to look pixalated.
There are two different ways you can add your cover image.
- Upload an image from your computer
- Choose an image from your media library
Clicking ‘Upload’ will open a file browser, then you can use the file browser to locate the image storaged on your computer.
Choosing ‘Media Library’ will open up your WordPress media library, which is way of browsing every image you’ve upload to your site.
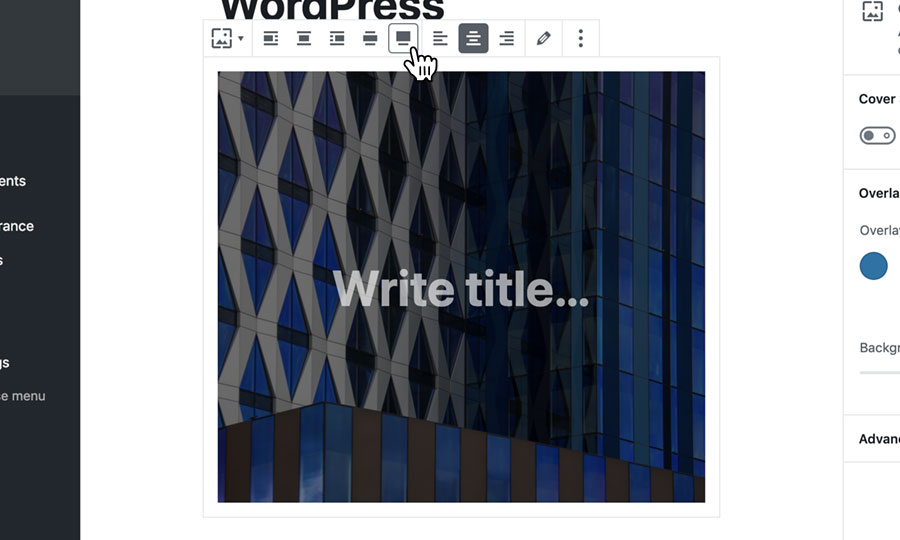
STEP 4
Aligning your cover image
Clicking on your cover image will make the image toolbar appear above your cover image. The toolbar lets you choose how your cover image sits within your content.
Choosing ‘Align left’ or ‘Align right’ will position your cover image to either the left or right of the page. It will mean that any text you write will ‘wrap’ around the image.
Choosing ‘Wide width’ will force the image to display the full width of your content.
Choosing ‘Full width’ will force the image to display the whole width of your site.
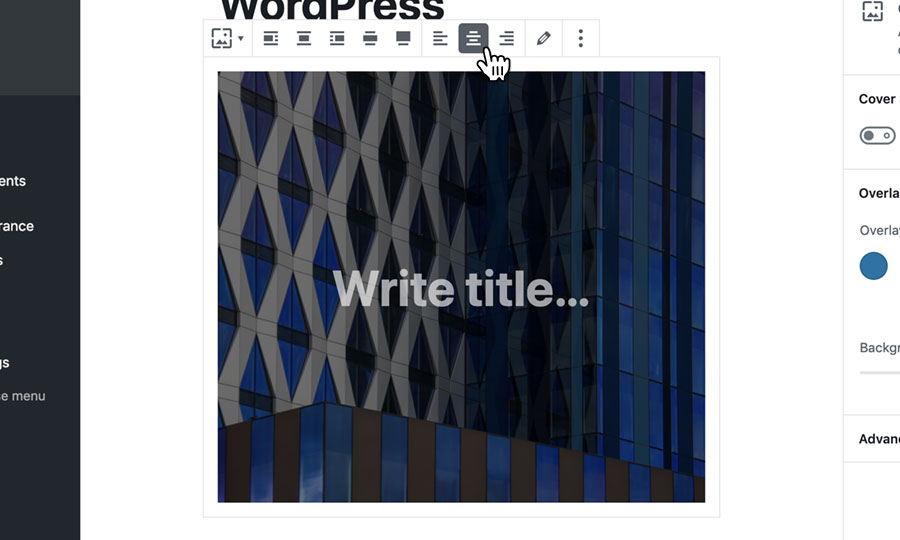
STEP 5
Aligning the text within the cover image
Should you wish to, you cover image can contain text overlaying your image. Using the image toolbar, you can choose to align your text to the left, right or center.
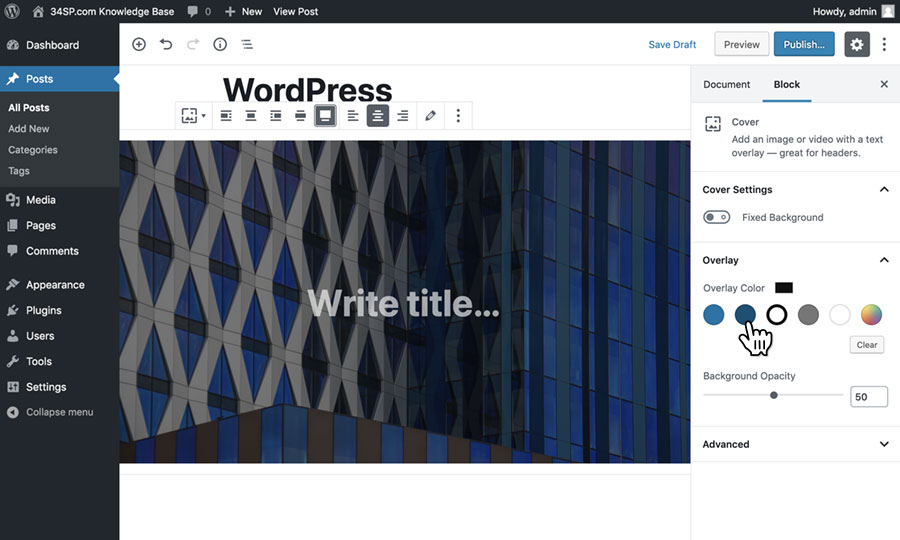
STEP 6
Cover image settings
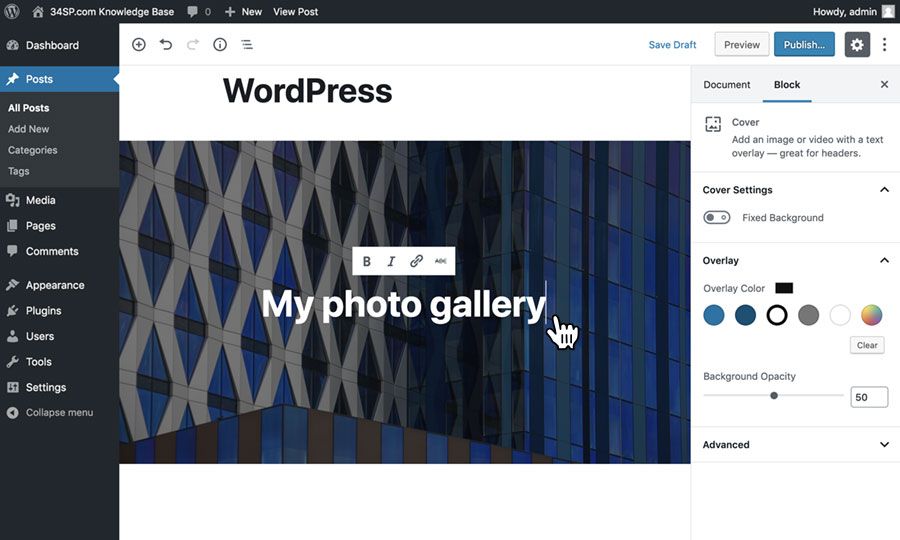
Additionally when you click on your cover image, a range of settings appear in the right-hand menu.
These options include toggling ‘Fixed Background’, which when turned on, gives your cover image a parallax style effect.
You can also adjust the color of the overlay on your cover image, which acts as a tint so that your cover image text is readable. You can also adjust ‘Background Opacity’, which controls the transparency of your overlay.
STEP 7
Add your cover image text
Should you wish to add text to your cover image, just click on image and click on th text that reads ‘Write title’, and start typing.
Creating an image gallery
STEP 1
Create a cover image
To add an image gallery to your content, simply click on the + icon, in the top left hand corner of the editor. Clicking this button will open the block browser.
STEP 2
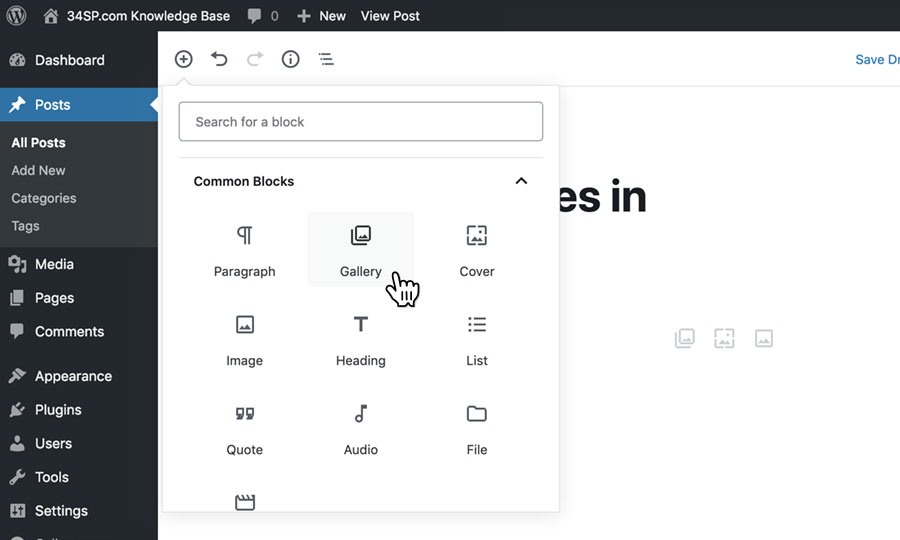
Choose ‘Gallery’
Scroll down the block browser and click on the heading ‘Common Blocks’, then choose ‘Gallery’.
STEP 3
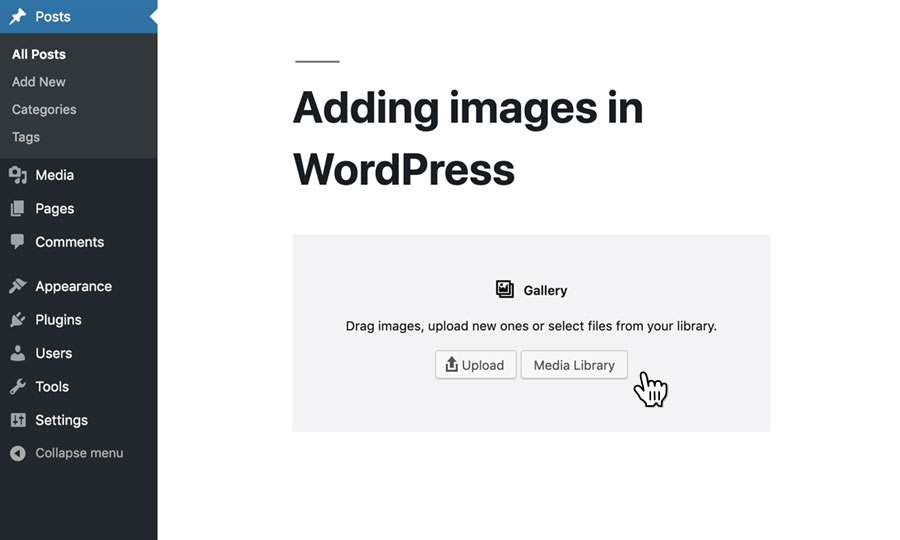
Add the images for your gallery
There are two different ways you can add images to your gallery.
- Upload an image from your computer
- Choose an image from your media library
Clicking ‘Upload’ will open a file browser, then you can use the file browser to locate the images storaged on your computer.
Choosing ‘Media Library’ will open up your WordPress media library, which is way of browsing every image you’ve upload to your site.
STEP 4
Aligning your gallery
Clicking on your gallery will make the gallery toolbar appear above your images. The toolbar lets you choose how your gallery sits within your content.
Choosing ‘Align left’ or ‘Align right’ will position your gallery to either the left or right of the page. It will mean that any text you write will ‘wrap’ around the image.
Choosing ‘Wide width’ will make the gallery display the full width of your content.
Choosing ‘Full width’ will make the gallery display the whole width of your site.
STEP 5
Editing your images gallery
If you wish to edit your gallery to add or remove images, click on the pencil icon, located on the gallery toolbar.

STEP 6
Uploading more images gallery
If you wish to upload more images to your gallery, simply scroll down and find the ‘Upload your image’, which will be underneath your images. Click this link to open a file browser, that you can use to locate the images stored on your computer.
STEP 7
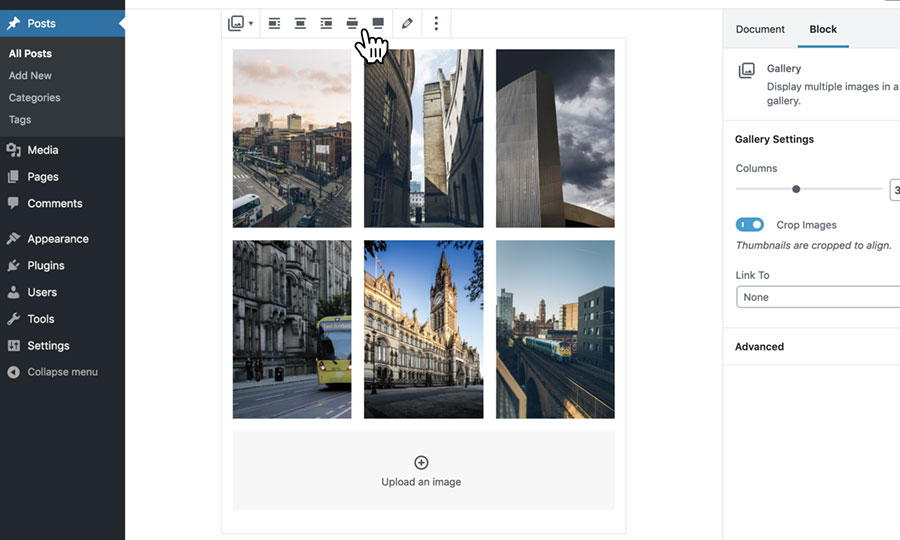
Gallery settings
Additionally when you click on your gallery image, a range of settings appear in the right-hand menu.
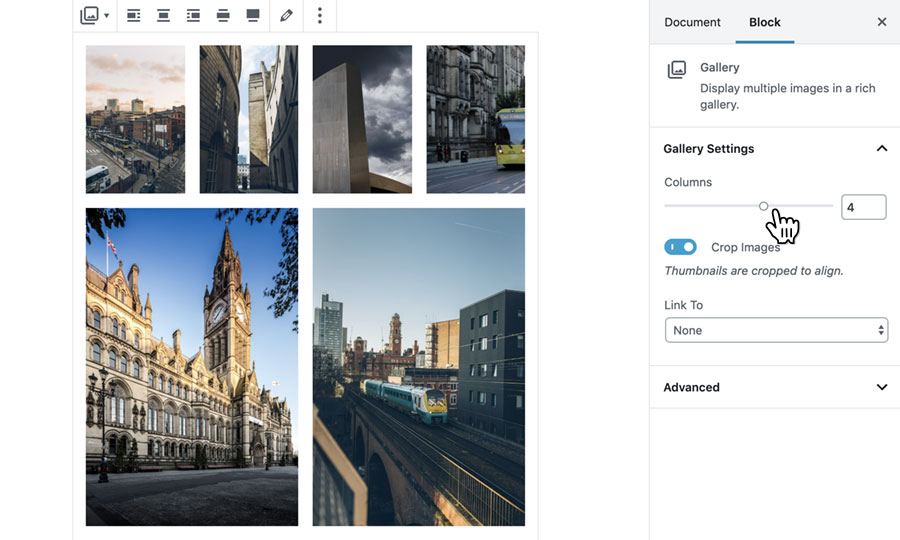
These options include adjusting the number of columns uses to display your images. Adjusting this means your gallery images will automatically resize to fit whichever column layout you prefer.
By default, your gallery images are cropped to thumbnails, so so that they are all the same size. You can displayed this setting by clicking on the ‘Crop images’ toggle button.
Finally, you can add a link to your gallery images, so they link through to a full size version of the image.
STEP 8
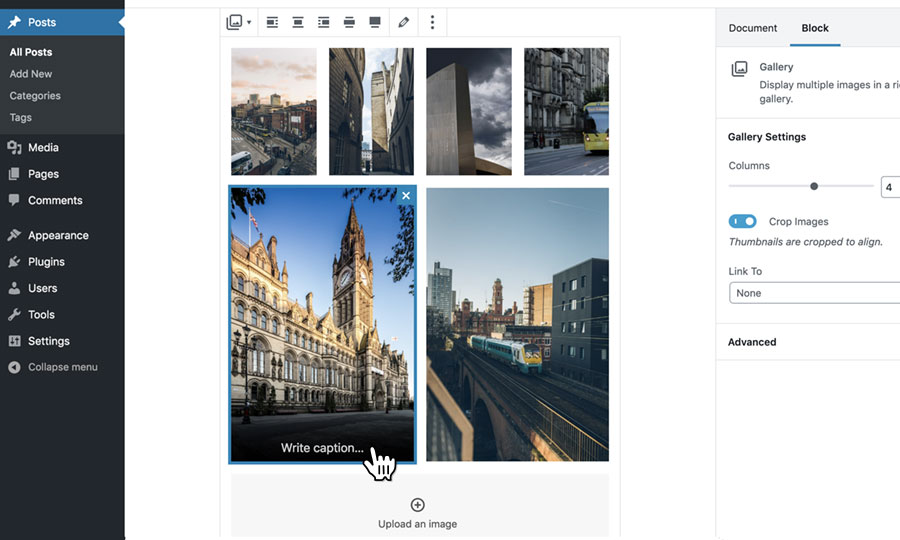
Adding captions to your images
If you wish to add a caption to your gallery images, firstly click on the image you want to edit. Then simply click on the text that reads ‘Write caption’ and start typing.